A group is a color-coded section on your board that contains your items (rows). When creating a board, you then need to create your groups. A group can be a week, a month, a specific step of a project, or whatever you want! This article covers everything you can do with a group 🙌
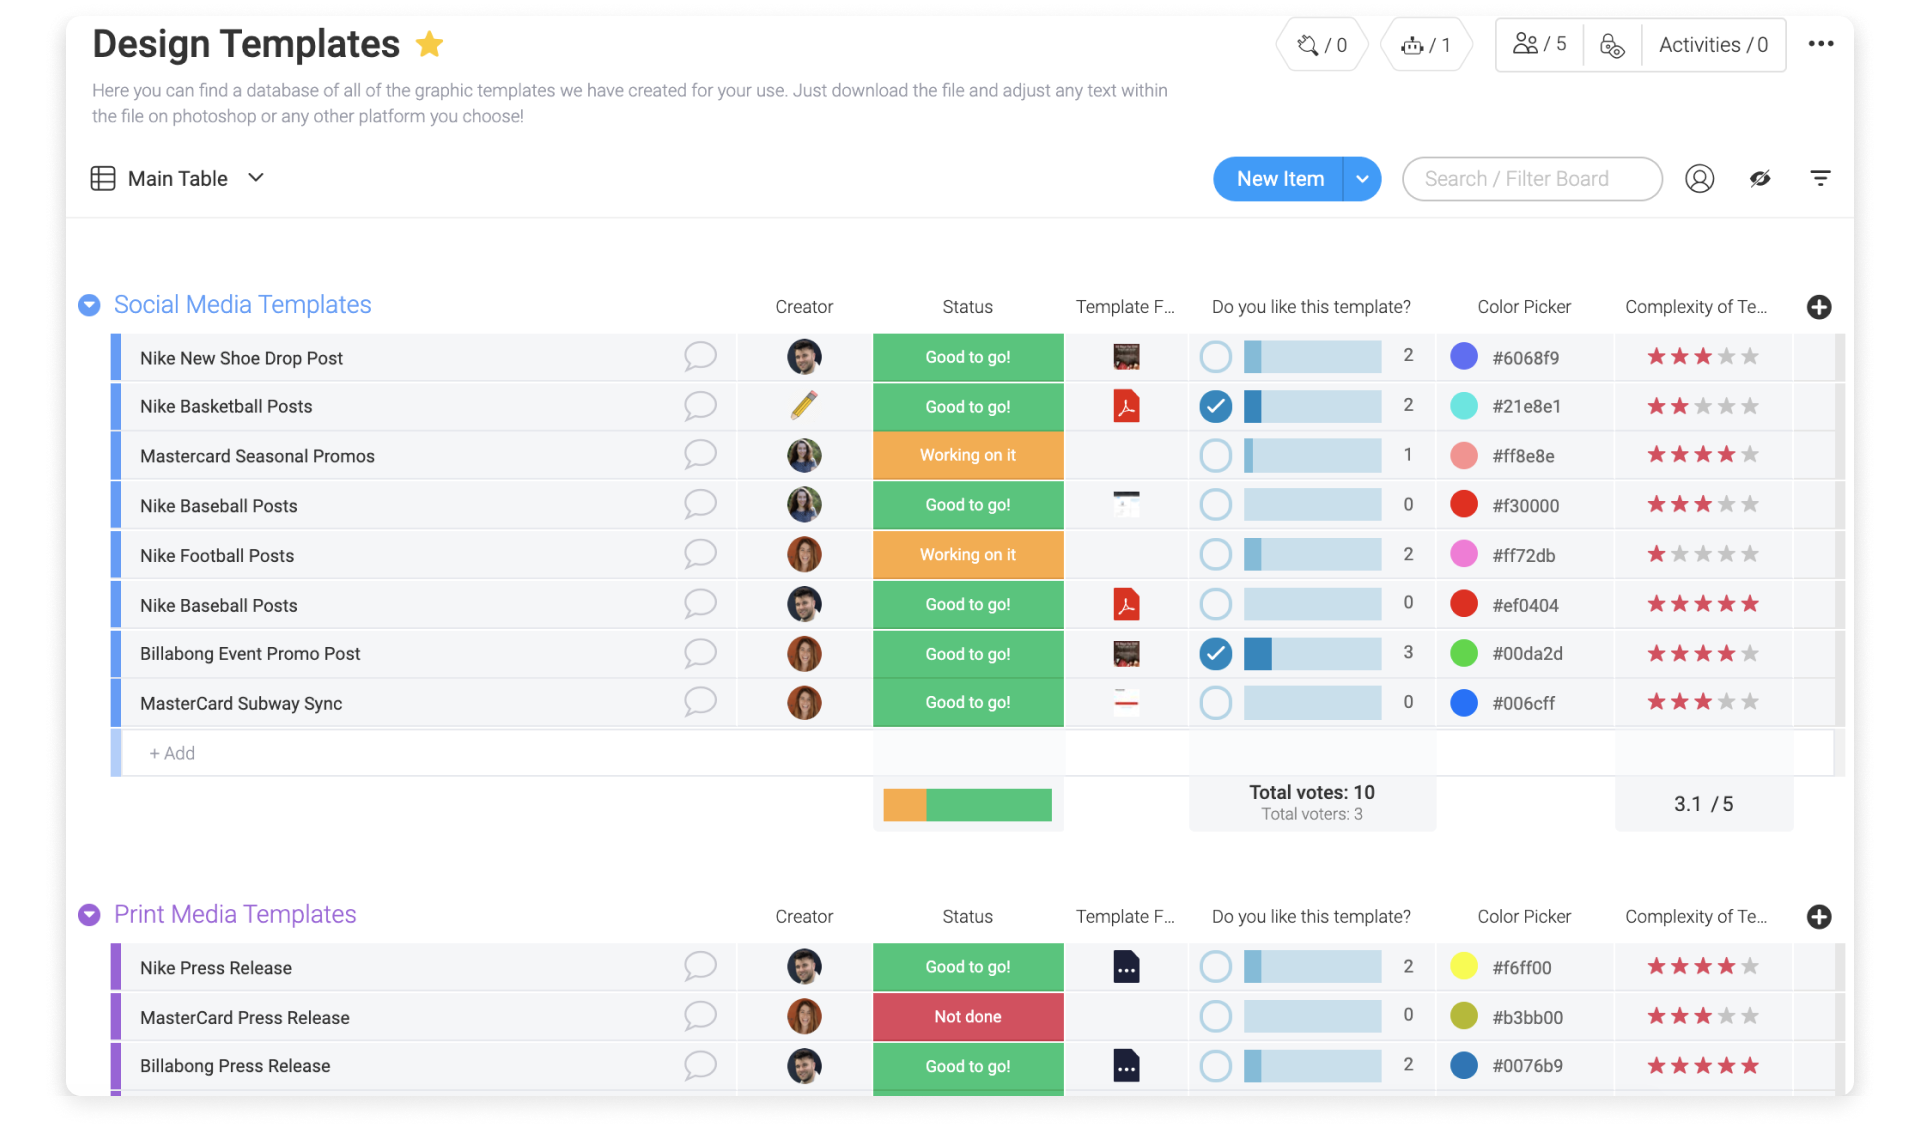
How to add a group?
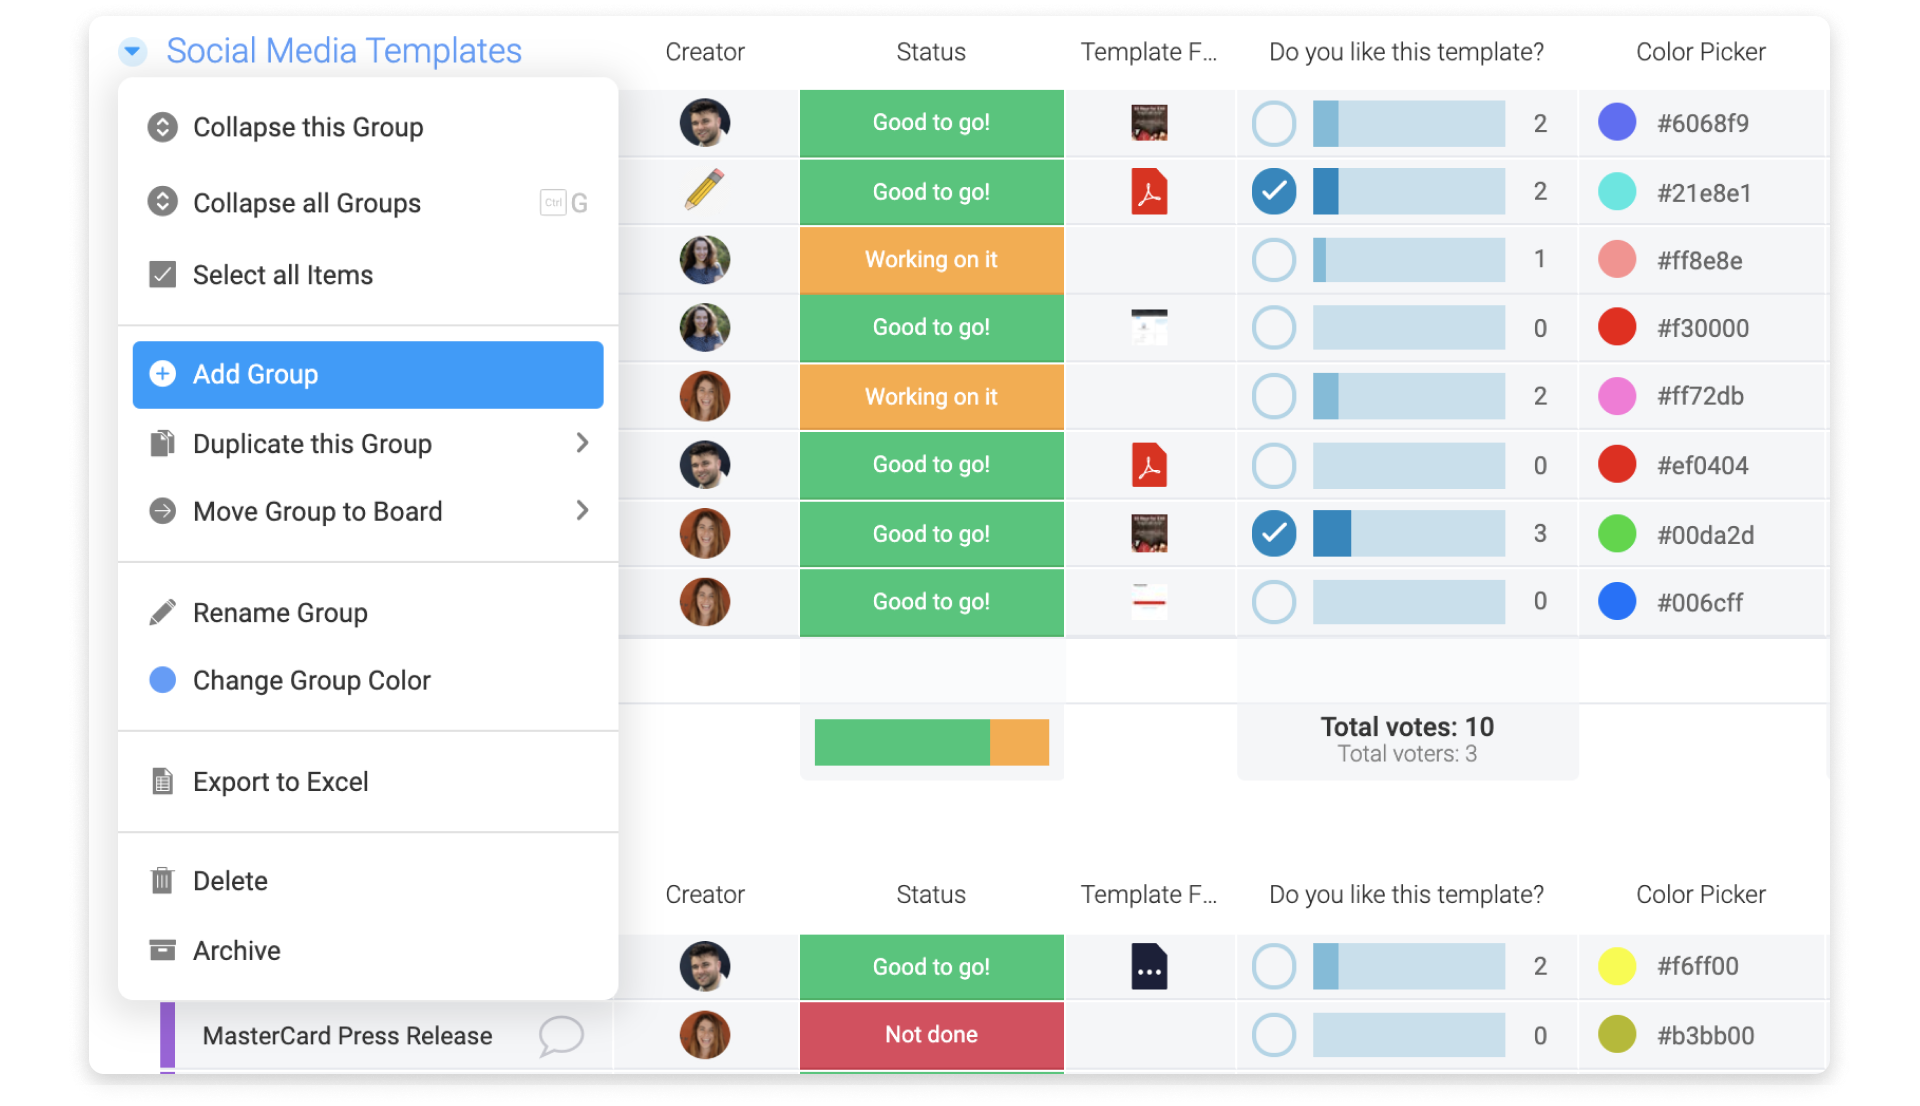
Your board will by default always contain at least one group. To add a new group to your board, hover over the title of any existing group. You will see an arrow appearing on the left side. Click it and choose "Add Group".
Next, type the name of the name of your group, press enter and you are done!
How to customize a group?
Once your group is created, you can rename it and change its color. It is so simple, just click on the arrow on the left of your group's titles as below:

From there you can choose amongst 20 different colors:

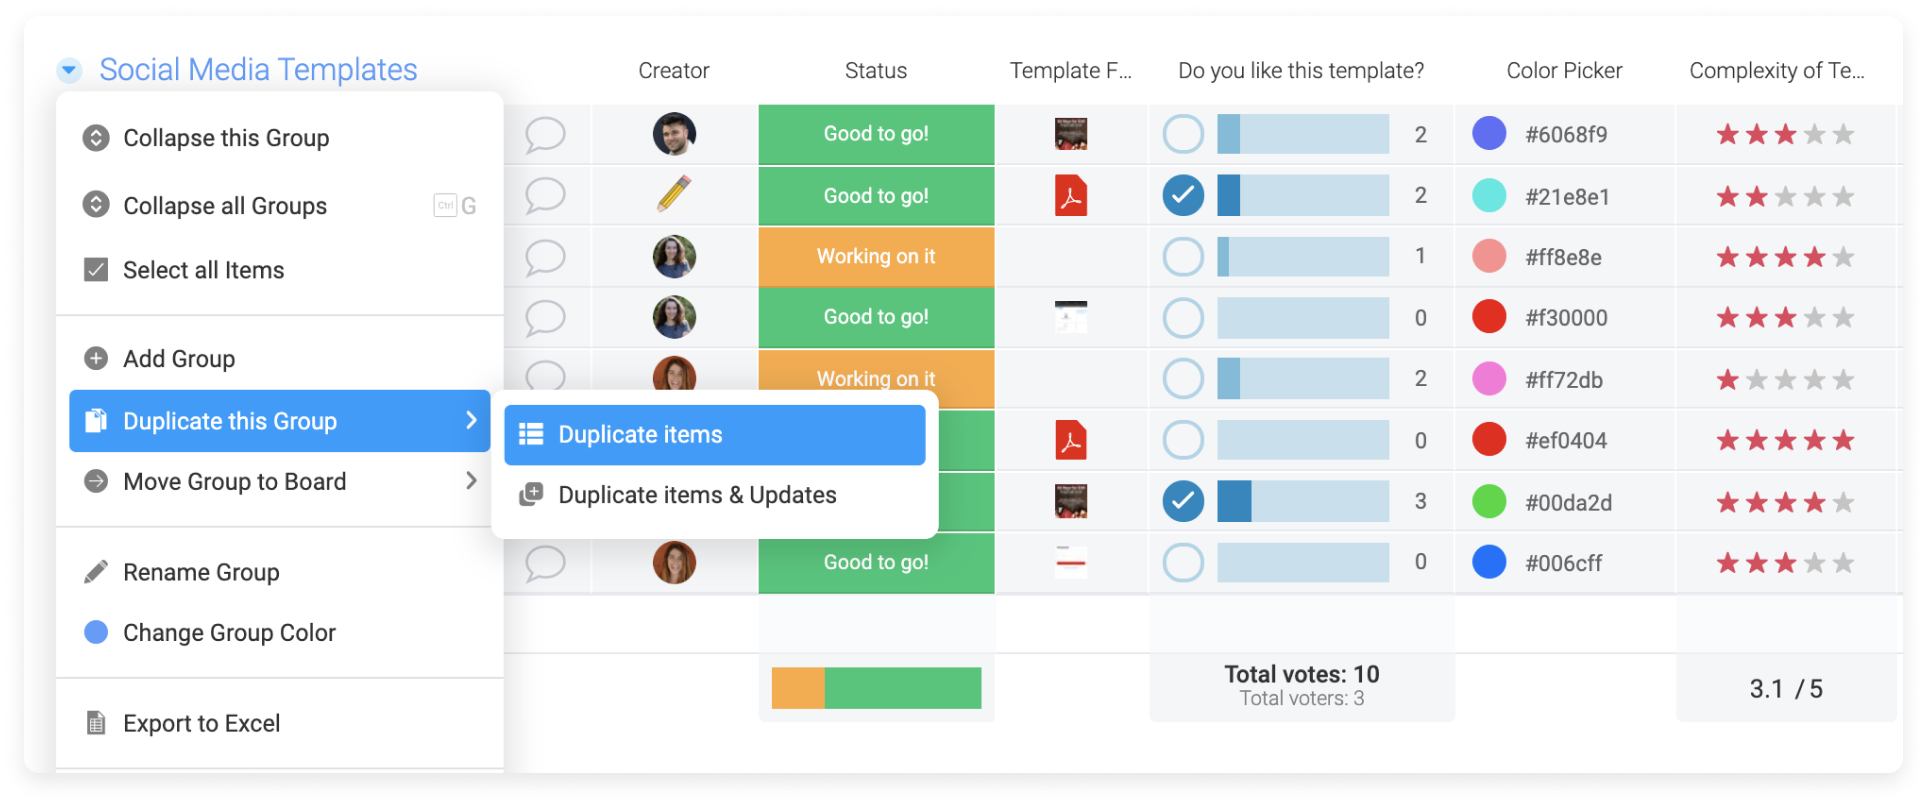
How to duplicate a group?
In case you need an exact copy of the group you already made, you can simply duplicate the group, instead of recreating it from the start. By choosing "duplicate items", your group and the columns will be duplicated. You can also duplicate the updates by choosing "duplicate items and updates".
You can also duplicate your groups automatically by using our monday.com automations. Check out this article to learn more about it.
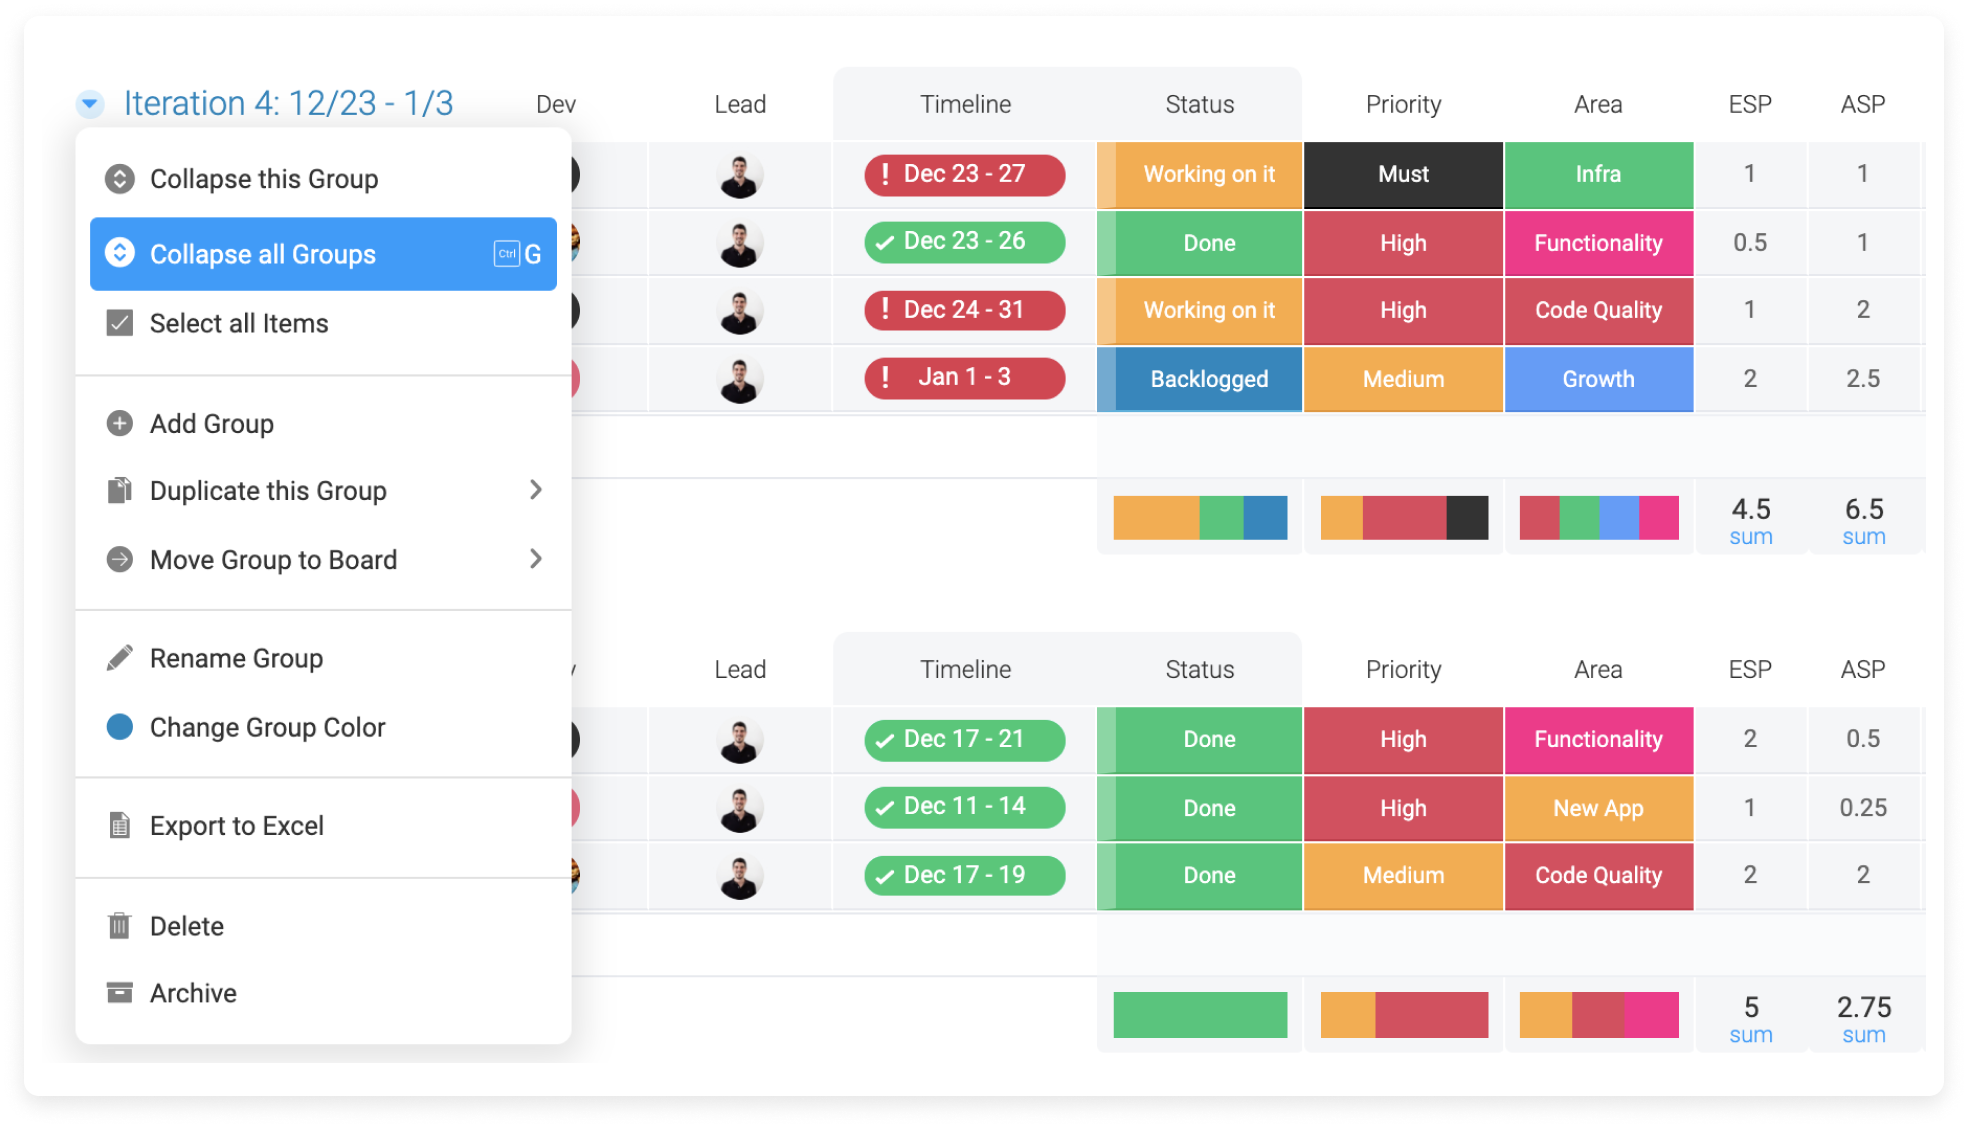
How to collapse a group?
If you'd like to get an overview of all the groups within your board, you can collapse all your groups. To do so, click on any of your groups and select "collapse all groups" as below:
This is how your board will looks like after collapsing:

How to move a group?
To move your groups easily within your board, we recommend to first collapse them all (see right above to learn how). Then simply drag and drop them to re organize them to way you want.
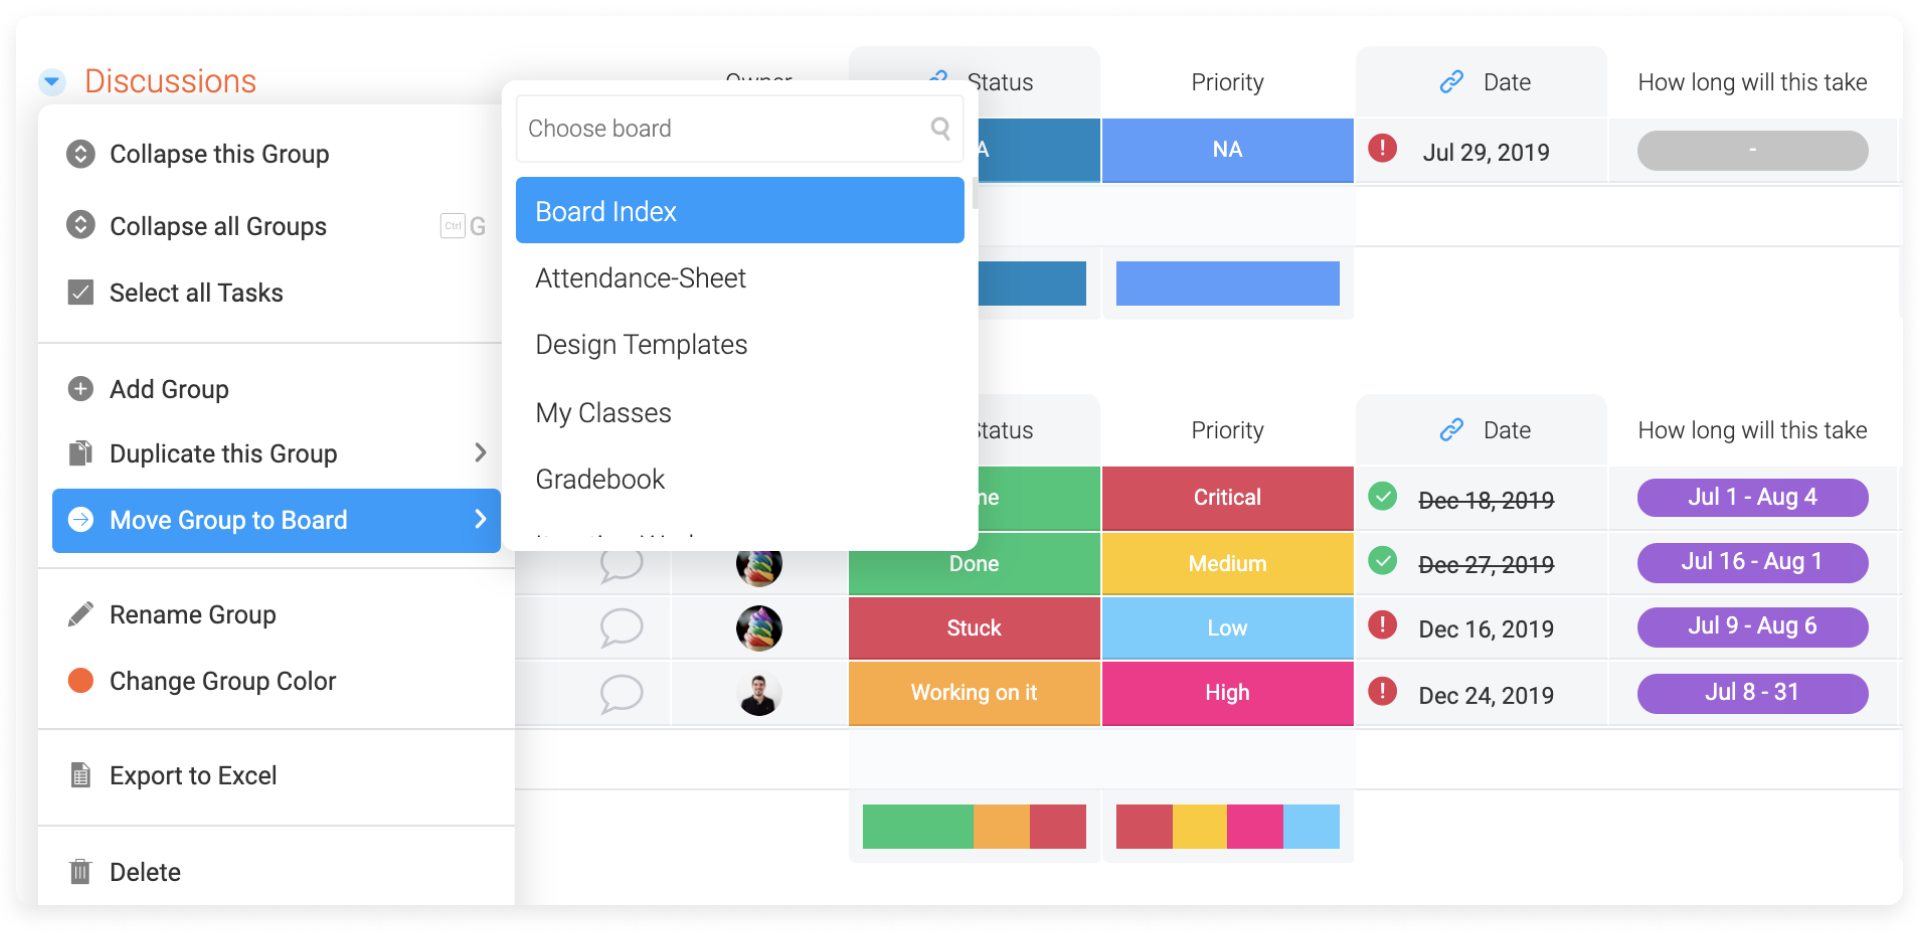
You can also move your group to a different board by clicking on "move group to board" as below:
If you have any questions about how to sort your groups, please feel free to reach out to our customer success team right here. We are available 24/7 and happy to assist.