About Workspaces
We understand the pains of having many different departments and teams using one platform - everything can quickly become messy and confusing as the teams and workloads grow. With that in mind, we've created workspaces.
Workspaces are here to help your organization better manage multiple departments, teams and projects in one unified place. They provide your account with a hierarchy of organization, allowing you to keep everything orderly as you seamlessly scale your account.
With so much going on around you, you can now stay focused on what's relevant to you, while at the same time easily navigate across teams, departments, or projects.
Creating Workspaces
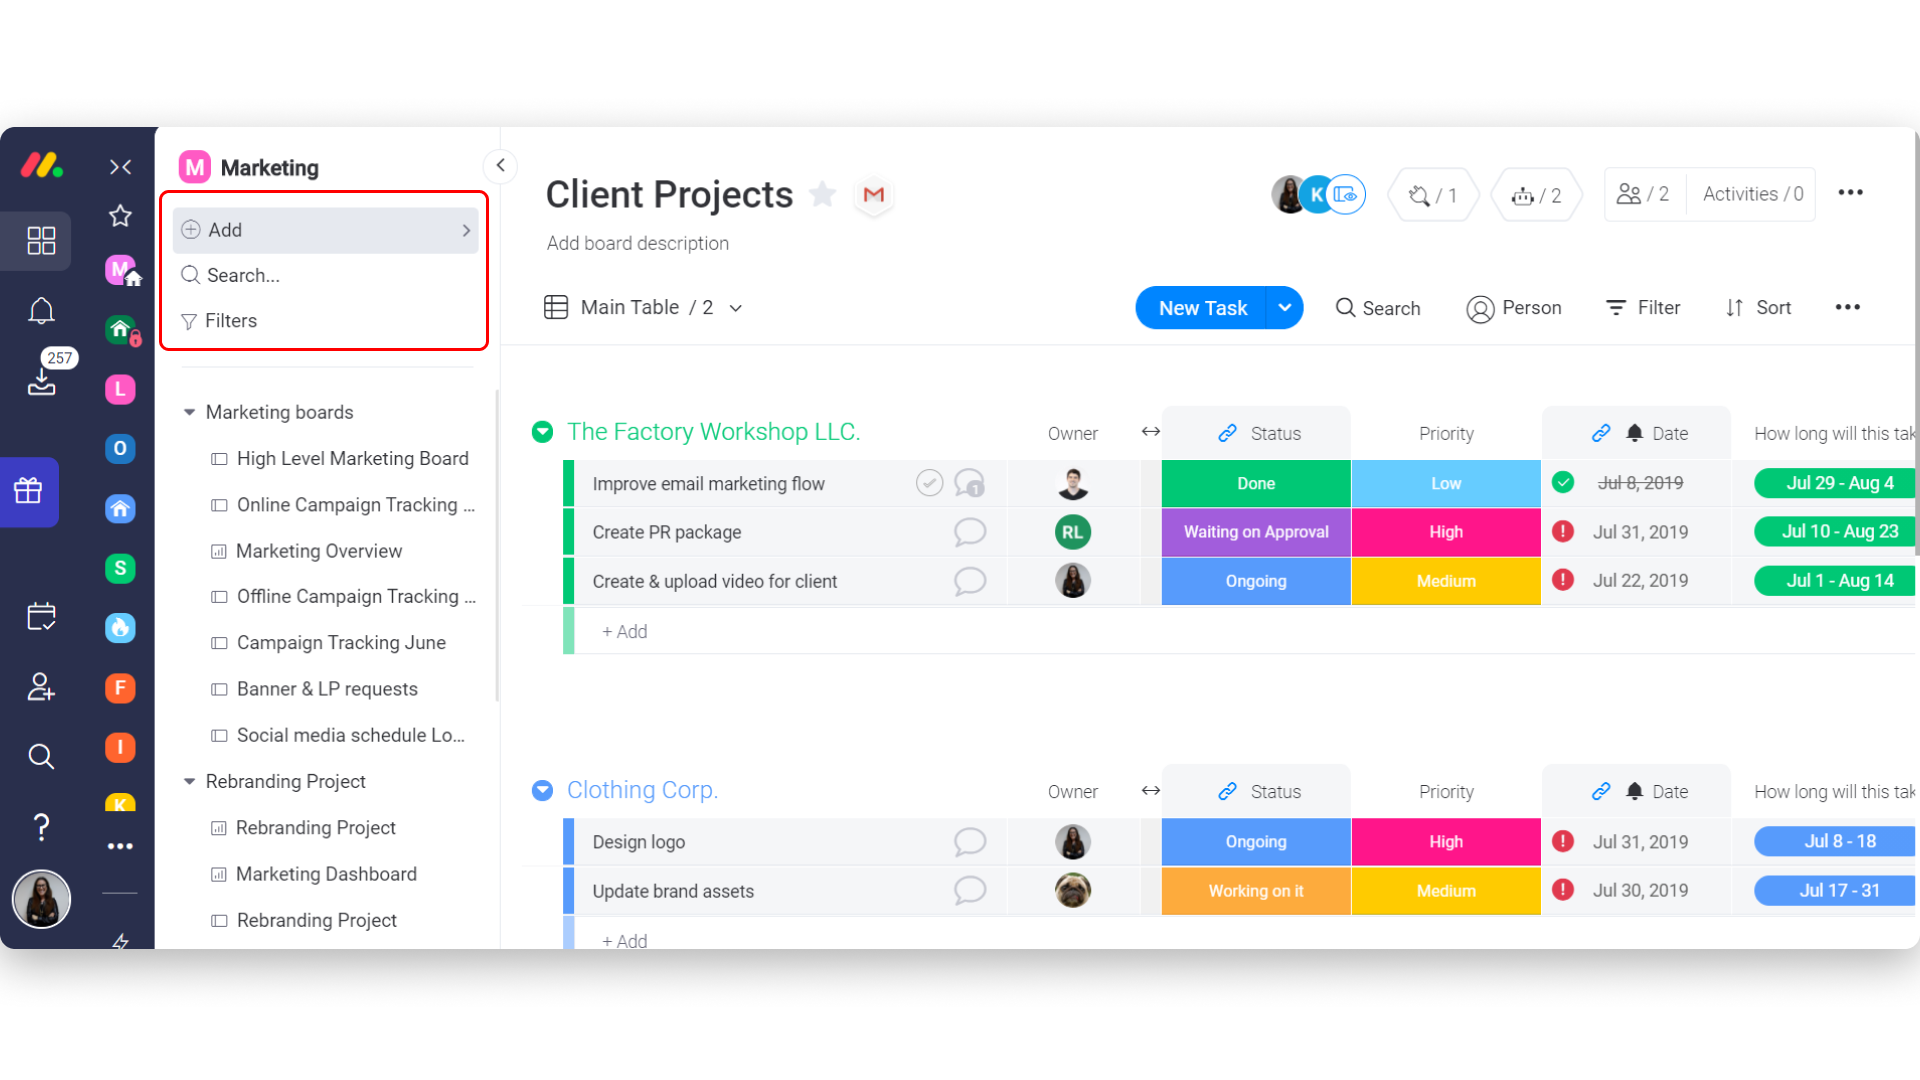
To create a workspace, click on the 3-dot-menu on the bottom of your workspace list (this is the panel on the left side of your screen). From there, click on "Add new Workspace".
After creating the workspaces, team members can then simply move the boards to the relevant workspaces to keep things organized in the different departments and projects. You can create as many workspaces as you want :)
Managing Team Members on Workspaces
Subscribing team members to workspaces
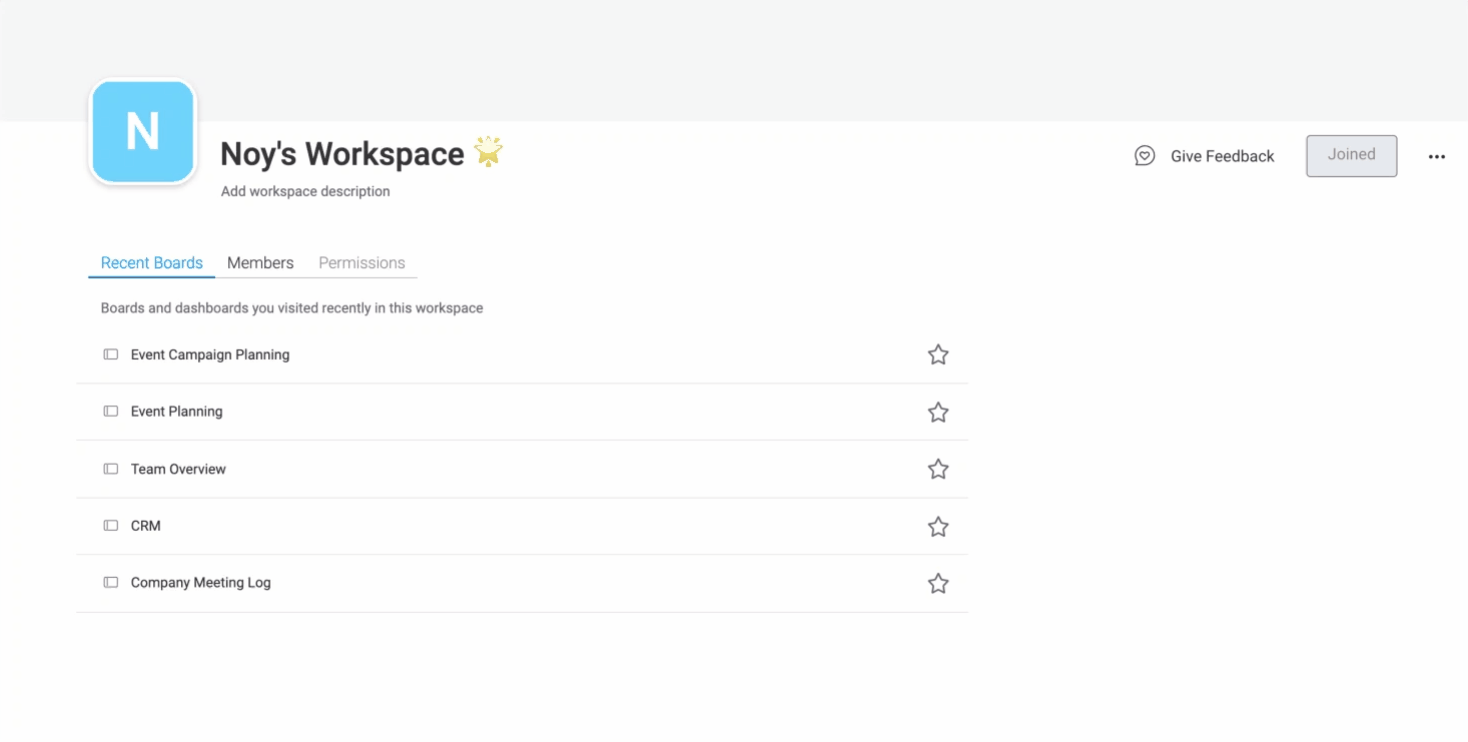
After creating your workspace, you can invite who you'd like to this workspace by clicking into the "Members" tab and adding the name of the user who you want to invite. All workspace members will have access to all Main boards in the workspace, as well as any Private and Shareable boards to which they're subscribed.
Joining or leaving a workspace
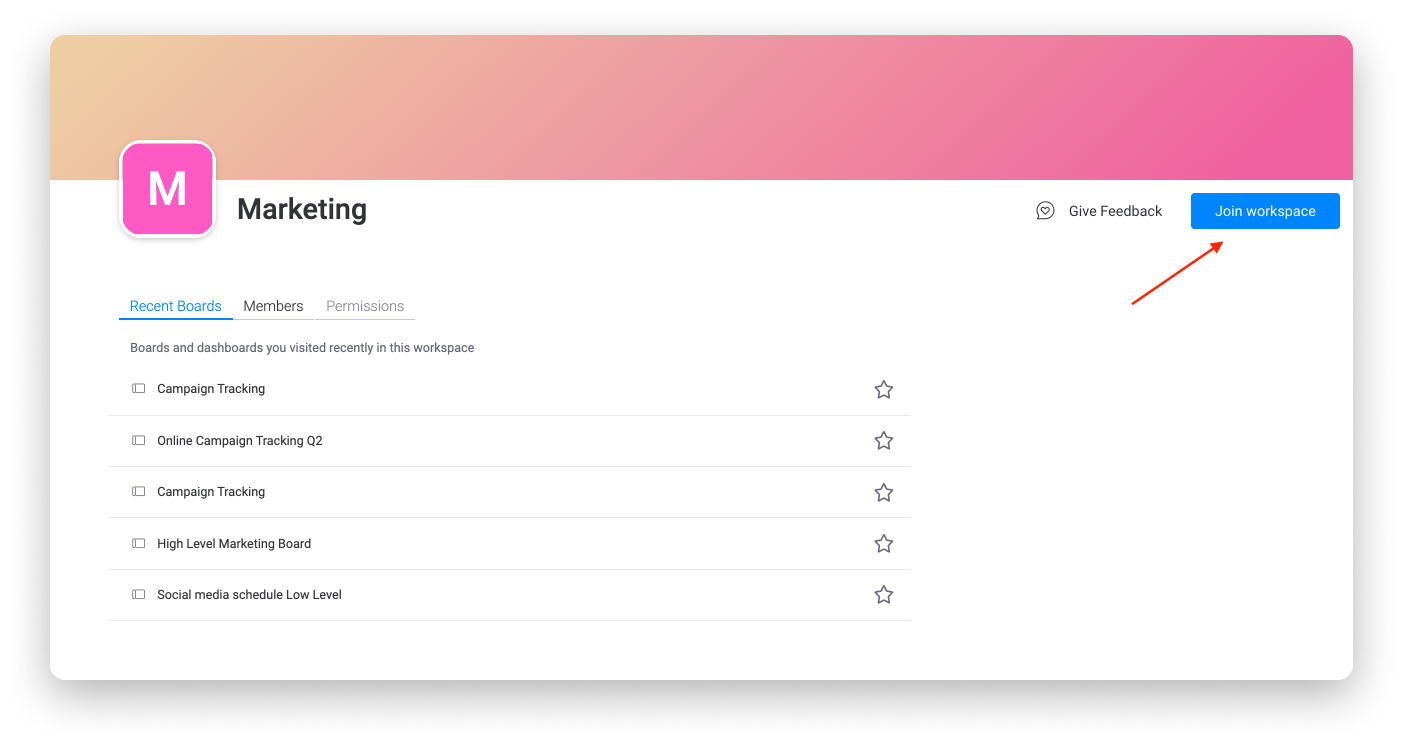
Joining a workspace can be done by clicking on the name of the workspace, then clicking on "Join workspace" on the top right corner. All team members can join, including admins and viewers, except for guests.
Closed workspaces, on the other hand, will have the option to "Request to Join", which will prompt a request to the workspace owner to approve this. Once you've joined the workspace, you can leave using the same button.
Removing team members from workspaces
When clicking on the workspace name, workspace owners can see all team members who have joined the workspace in the "Members" tab. They can then remove (or add) team members accordingly, to keep the relevant people in the loop.
 Navigating Between Workspaces
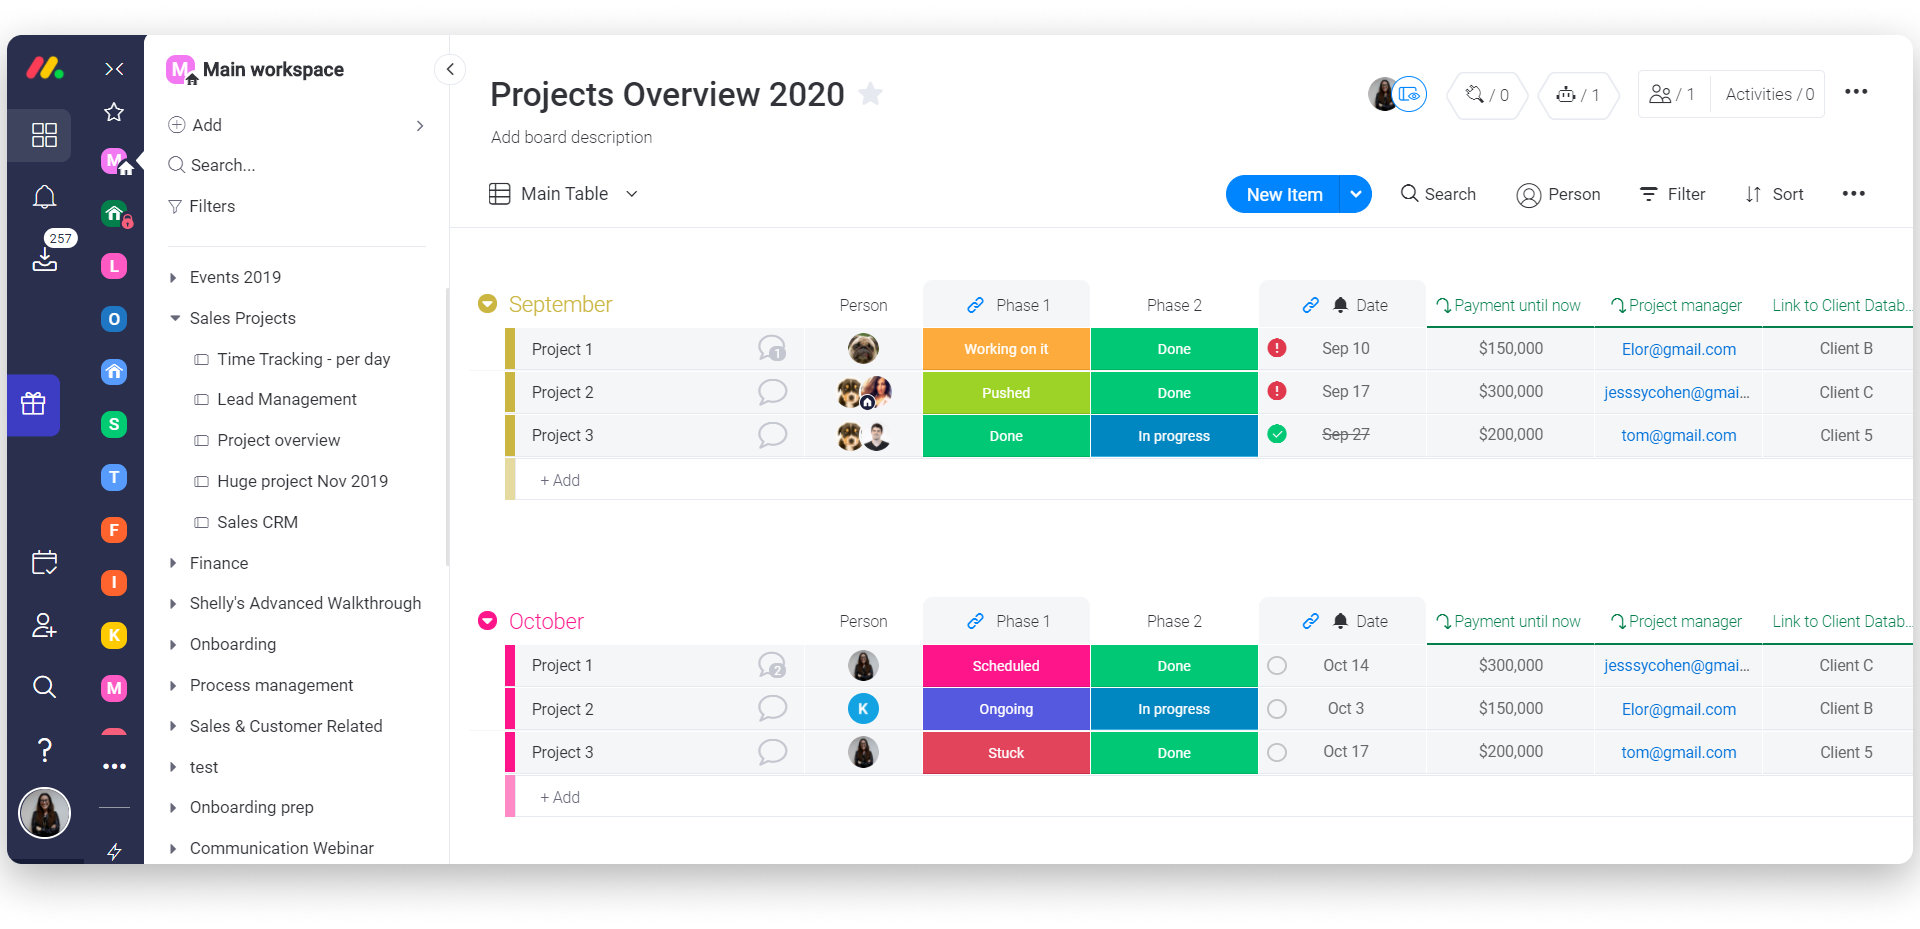
You can switch between workspaces by easily clicking on the relevant workspace icon on the workspace list. You can also do a quick search, filter or add new boards and dashboards with the help of these three buttons under each workspace name:
You can collapse and un-collapse your workspaces list and view the boards in a way that works best for you.

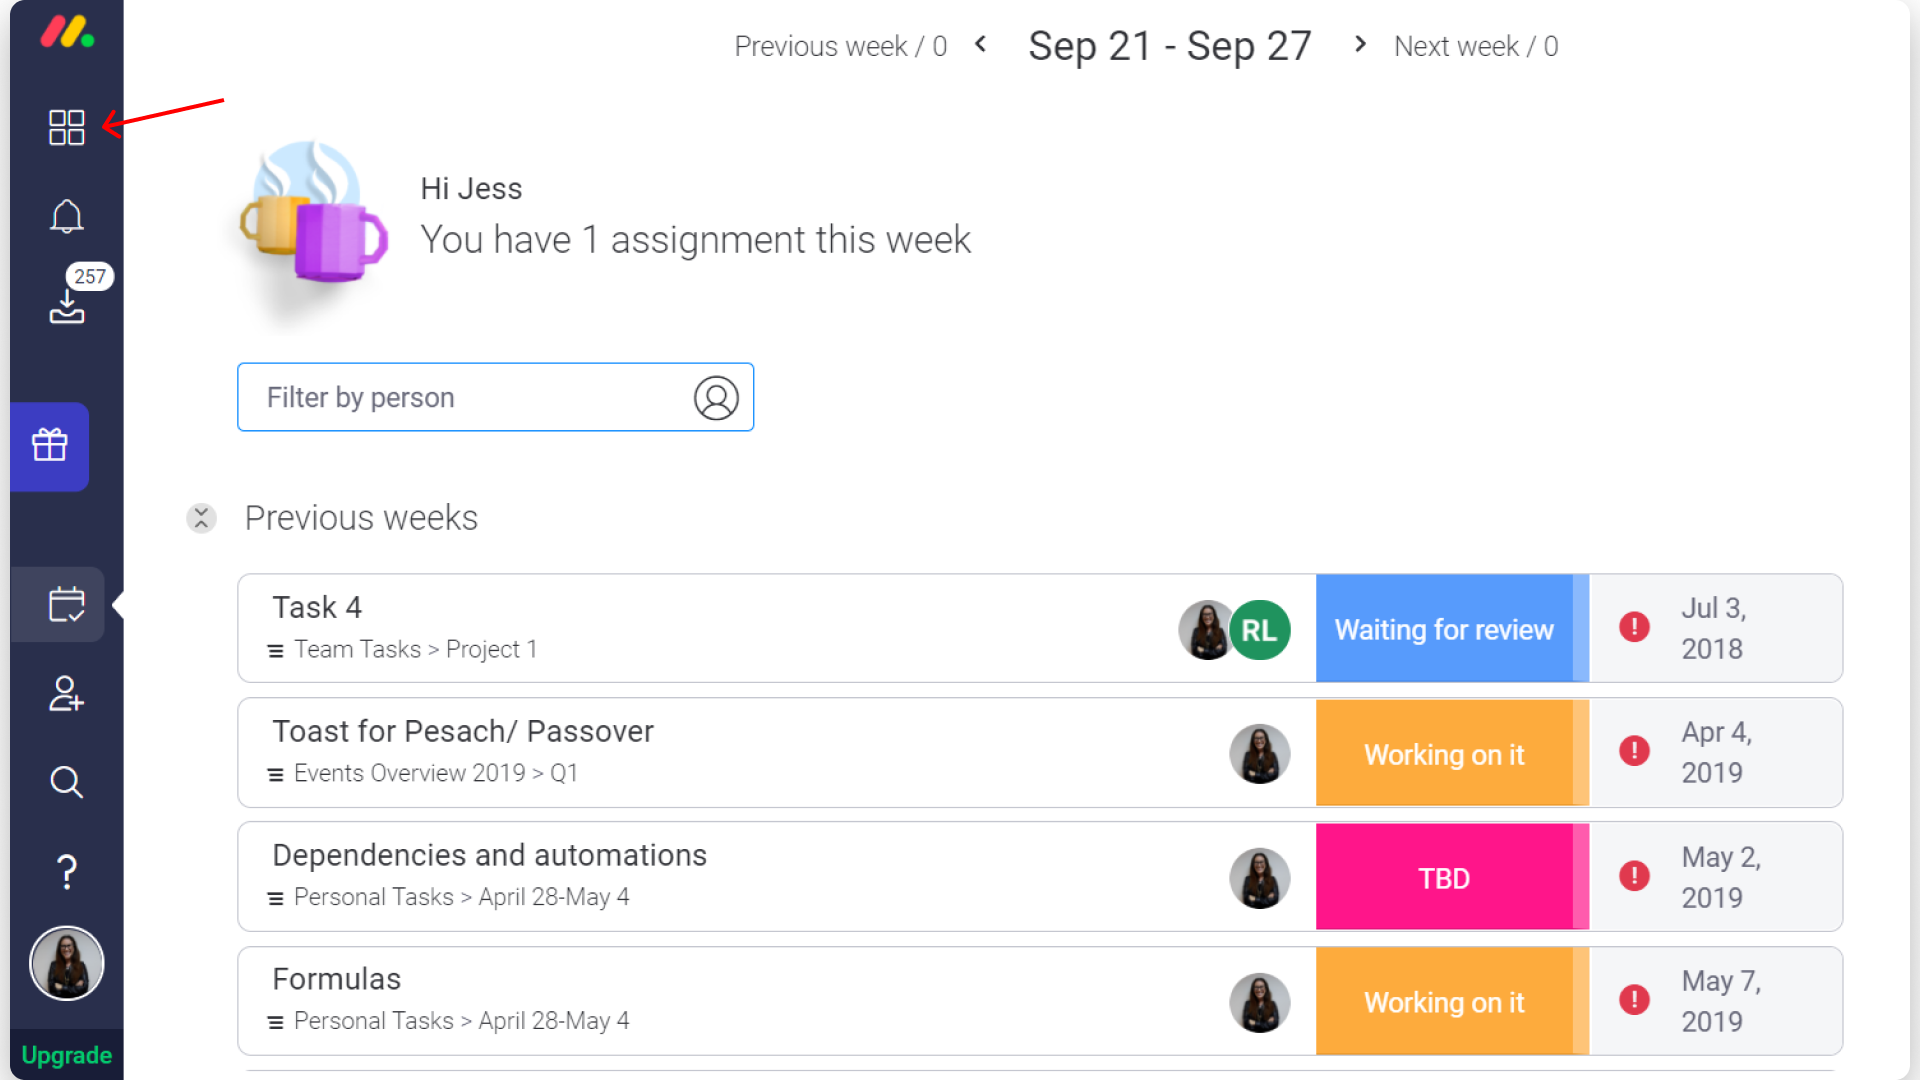
When viewing your Inbox or My Week section, your workspaces list will be collapsed. To open it up again, simply click on the workspaces icon as shown below.
 The Order of Workspaces
Workspaces on the account will appear in the following order on each individual's workspaces list:
- Main workspace - this is the Main workspace of the account which cannot be deleted
- Workspaces I'm the owner of
- Workspaces to which I'm subscribed
- Workspaces to which I'm subscribed only to a board within
Then, within each category the workspaces are ordered alphabetically.
Workspaces can be ordered alphabetically by going to the 3-dot-menu at the bottom of the workspace list, and selecting "Sort by alphabetical order".
 Pin/Unpin Workspaces
Use the Pin📌 workspaces feature to make sure your important and most used workspaces remain in sight and easily accessible! By default, all workspaces that you are subscribed to or to a board within, will be pinned to your workspaces list. You can choose to unpin the irrelevant ones should you wish. If you are not subscribed to the workspace or a board inside it, the workspace will not be pinned.
To pin a workspace, hover over the workspace name, and click on the 3-dot-menu that appears next to it. Then, click on "Pin workspace to menu"

To unpin the workspace, hover over the workspace name, and click on the 3-dot-menu that appears next to it. Then, click on "Unpin workspace to menu"

You can pin and unpin multiple workspaces and search for specific workspaces using the 3-dot-menu at the bottom of your workspace menu as shown below:
 Customizing your Workspace
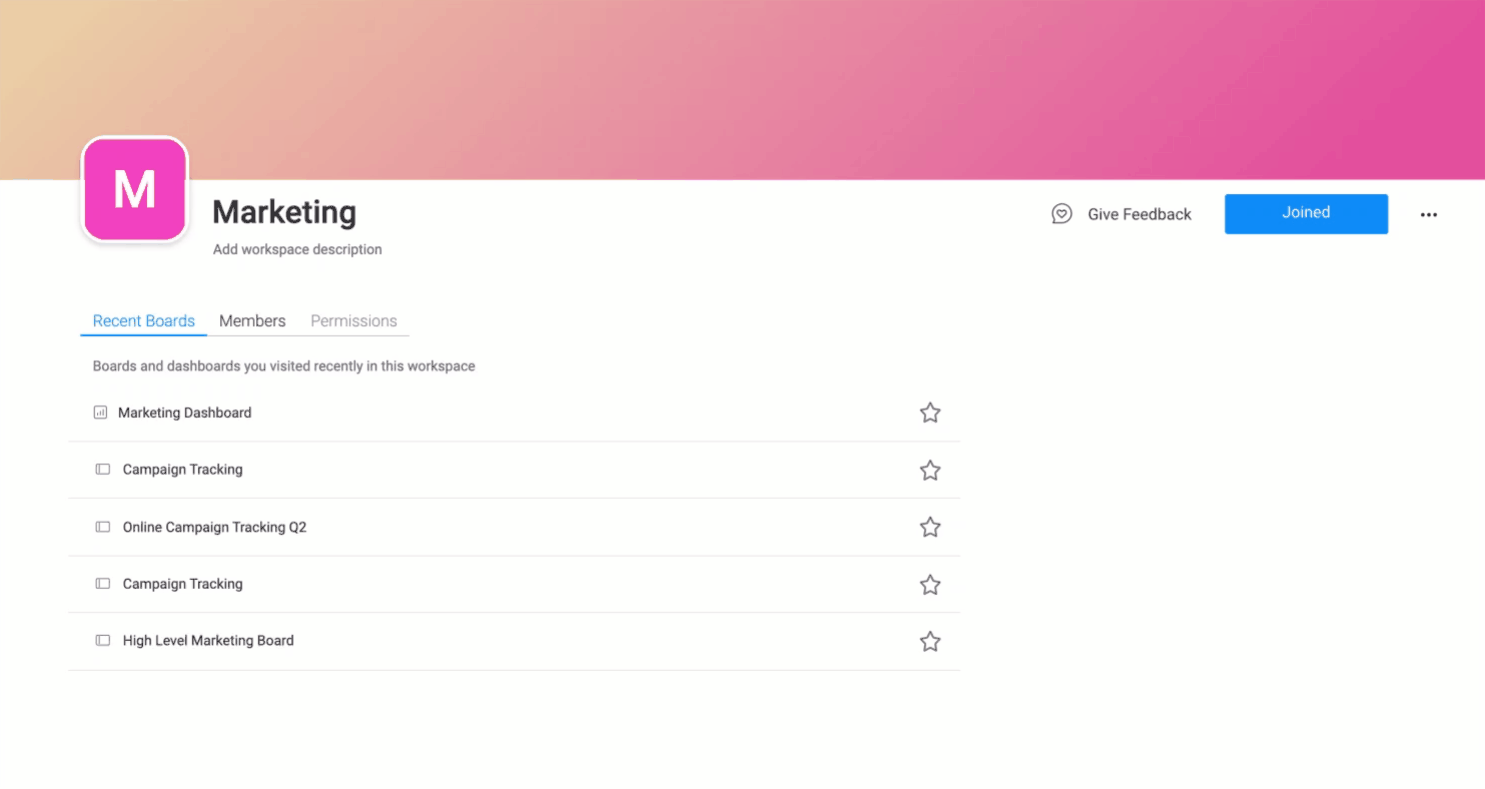
Each workspace can be customized to make it more personal and reflect the nature of that team or project. You can add a workspace description, customize the cover photo as well as the workspace icon.
Customizing the workspace icon, color, name and cover photo can be done by clicking on the 3-dot-menu next to the workspace name, then clicking on "Manage workspace".

To customize the workspace cover photo, hover over the cover photo and click on "Add cover" on the top right corner.
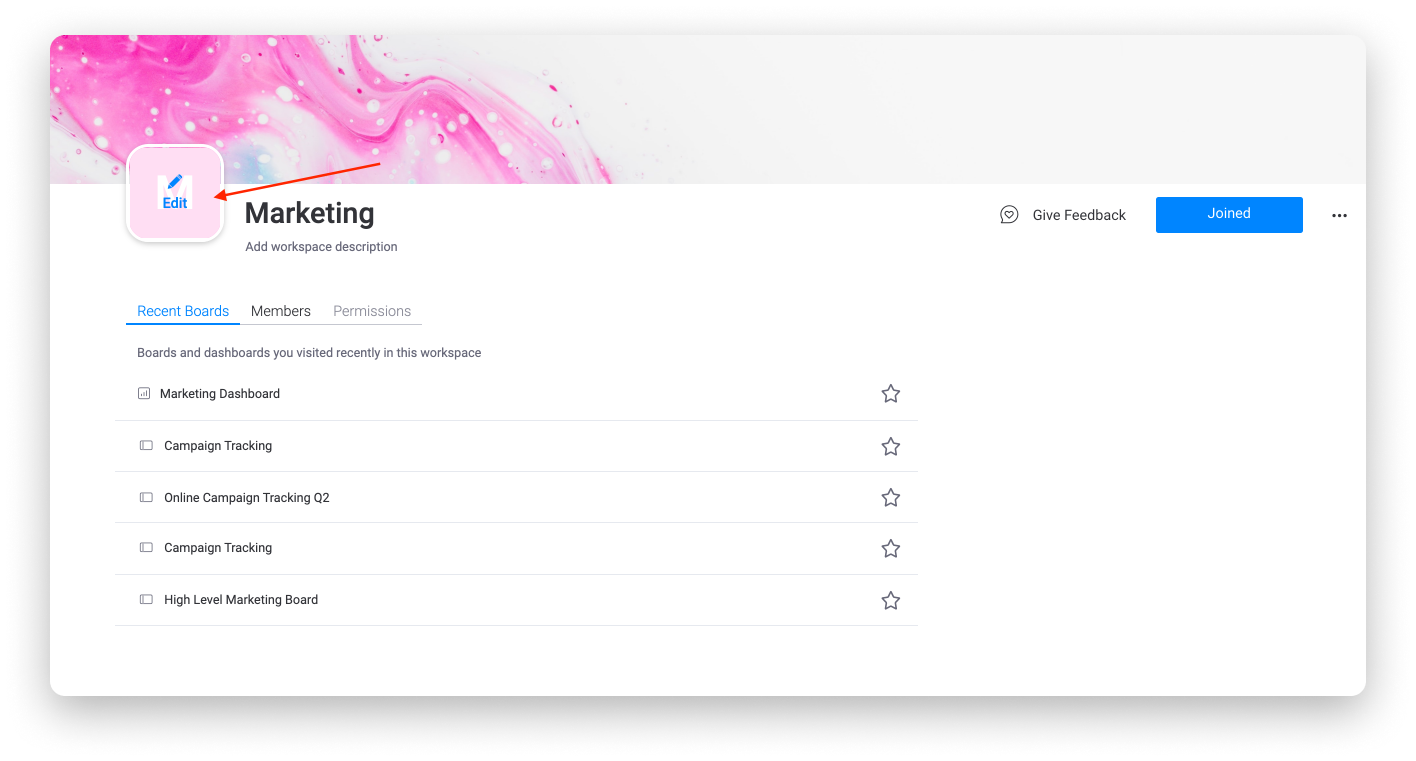
To customize the workspace background color and icon, click on "Edit" on the workspace avatar.
These customized icons will appear on the workspace list, making it easier than ever to jump around different workspaces and collaborate with other teams.
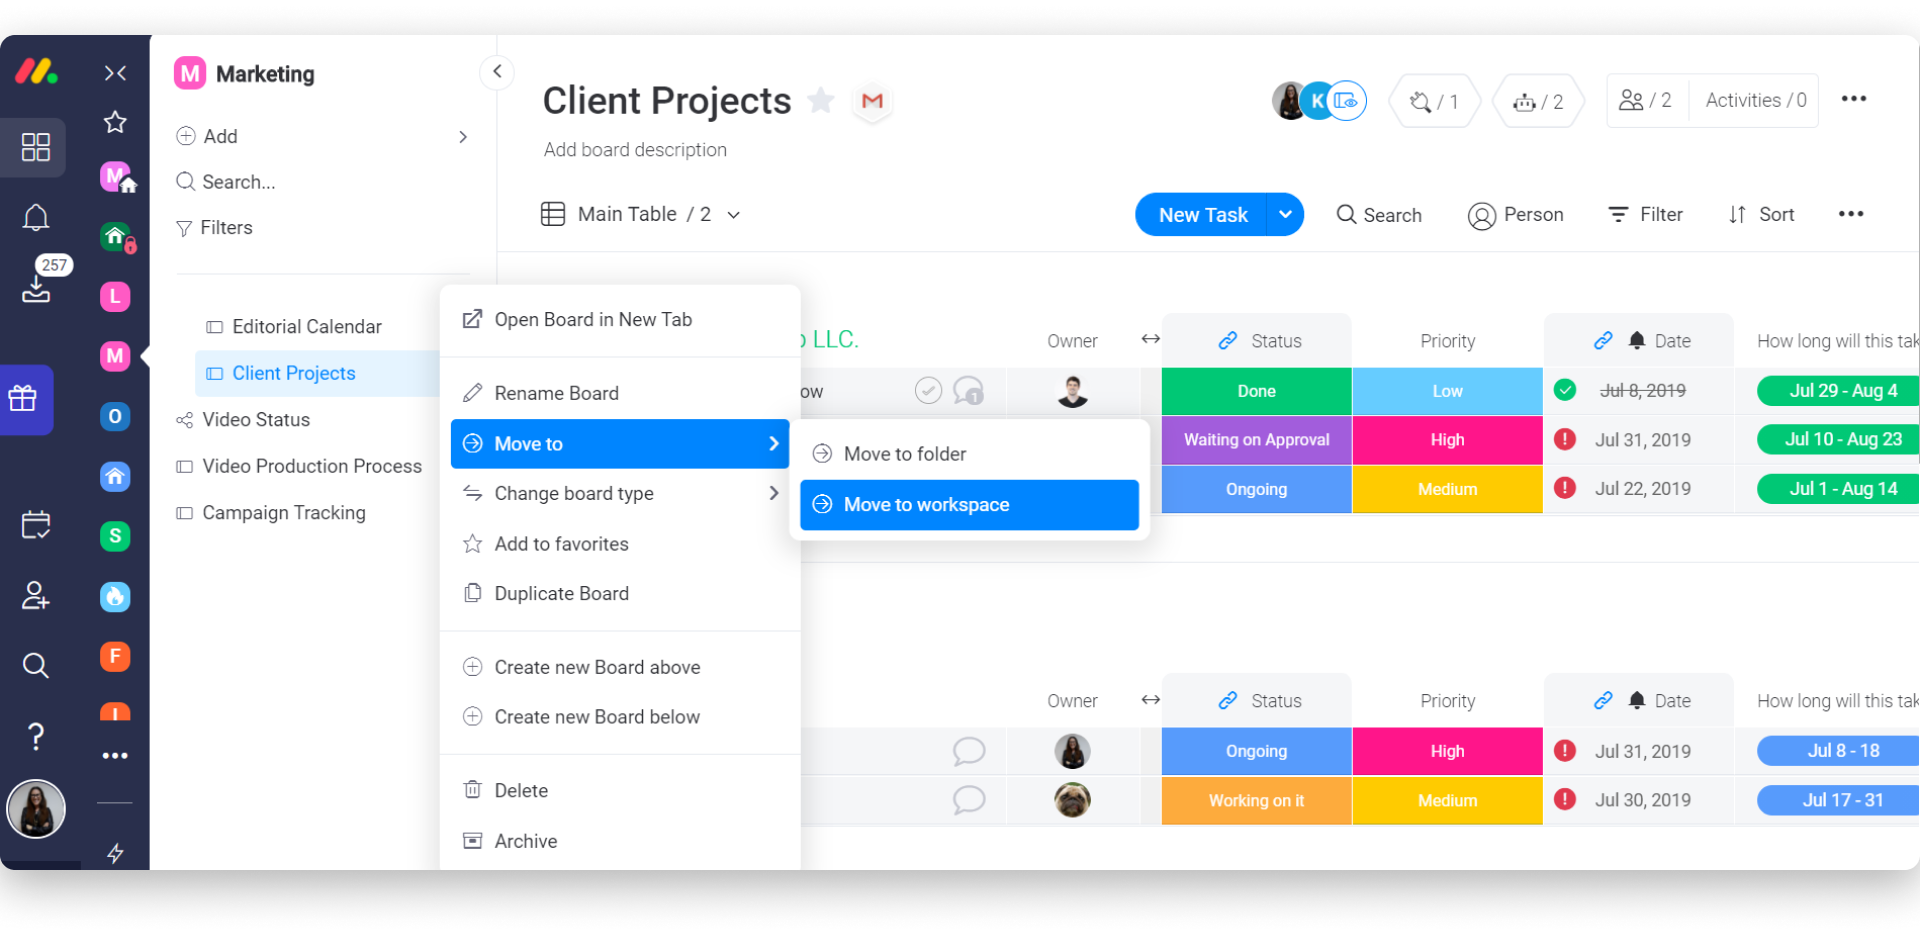
Moving Boards From One Workspace to Another
Boards can be moved from one workspace to another by dragging and dropping the board into the relevant workspace or by clicking on the 3-dot-menu next to the board name. Only board owners and admins on the account can move boards to Workspaces that they are a part of.
Deleting Workspaces
Deleting a workspace can be done from the workspace management page (click on the workspace name). From there, click on the 3-dot-menu on the top right corner of the page. A menu will open up, where you can select the option to "Delete workspace".
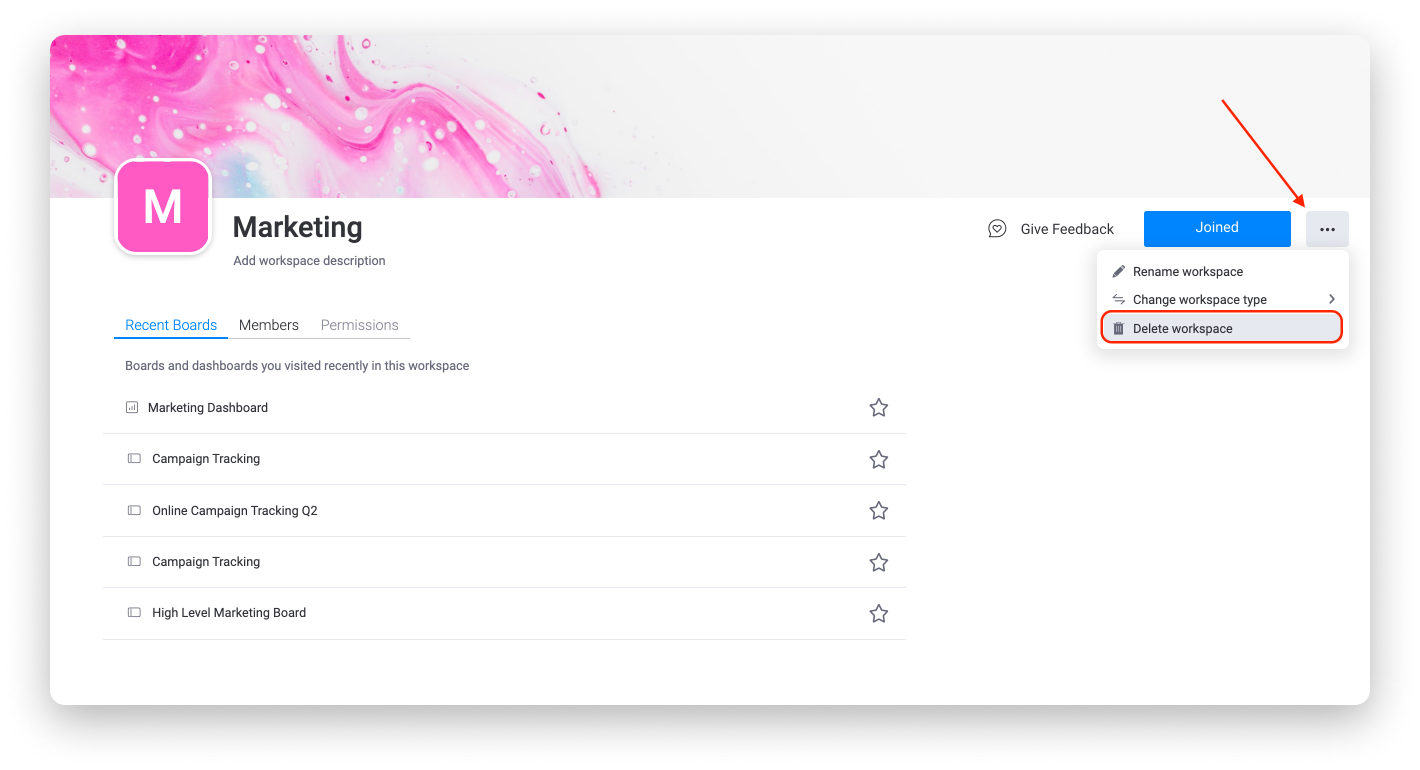
Alternatively, it can be deleted from the 3-dot-menu when hovering over to the workspace name.

Organize Further by Using Folders
Under each separate workspace, you can add folders to group related boards and organize work processes better. Folders add an extra layer of detail and organization and ensure that your account is always manageable for your teams. To learn more about Folders, check this out.

The Different Types of Workspaces
Open workspaces
- Any team member can join an Open workspace.
- Any team member will have access to all Main boards in all Open workspaces and any Private/Shareable boards they have been invited to.
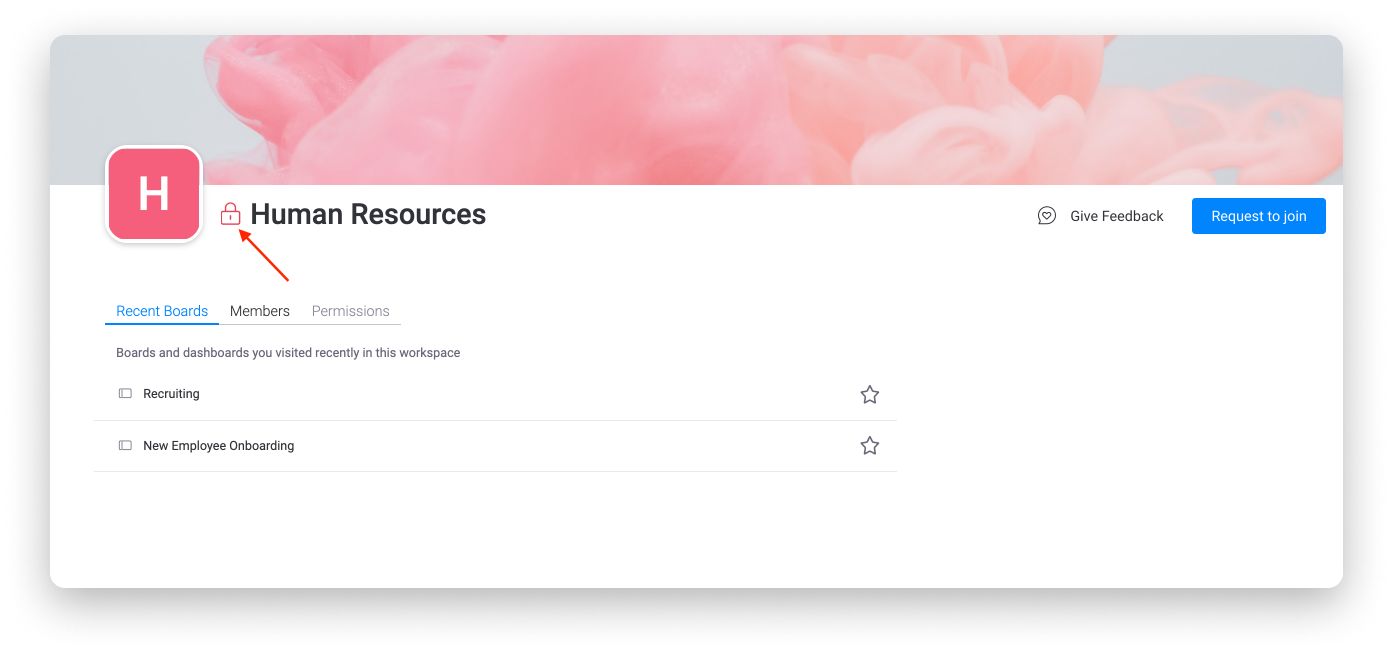
Closed workspaces
- Any team members can join by invite or request to join.
- Once joining, they have access to all Main boards within that workspace, and any Private/Shareable boards they've been invited to.
- Any team member subscribed to a board from a closed workspace will have access to that board but will not be able to see anything else within the workspace.
- Main boards in Closed workspaces are accessible only to team members who have joined the workspace (and board subscribers as mentioned above).
- These workspaces will be marked with a lock symbol, indicating a Closed workspace.
Restrict Who Can Create Workspaces
By default all team members can create a workspace. Admins on the account can then define who is able to create workspaces allowing an extra level control, ensuring your account stays orderly at all times.
This can be done by going to the avatar, then "Admin", and navigating to "Permissions".
FAQs
Who will see Main boards on my account?
All team members can access all main boards in all Open workspaces, through Bolt Switch and Search Everything. For workspaces they have joined, team members will see all main boards on their boards list. In Closed workspaces however, only team members who are subscribed the workspace or to a specific board, will have access to them.
Who will see Private/Shareable boards on my account?
Only team members subscribed to those boards can access them in both Open and Closed workspaces. Guests will have access only to the Shareable boards to which they've been invited.
Can Admins access all workspaces and boards in my account?
Admins can join Closed and Open workspaces without requesting access. As with team members, they will be able to access all Main boards in Open and Closed workspaces in the account, and any Private/Shareable boards to which they've been invited.