Import your data from Excel
In Just a few steps, you can transform all of the data from your Excel spreadsheet into a monday.com board! Check out this video or keep reading for a step-by-step guide:
- Step 1
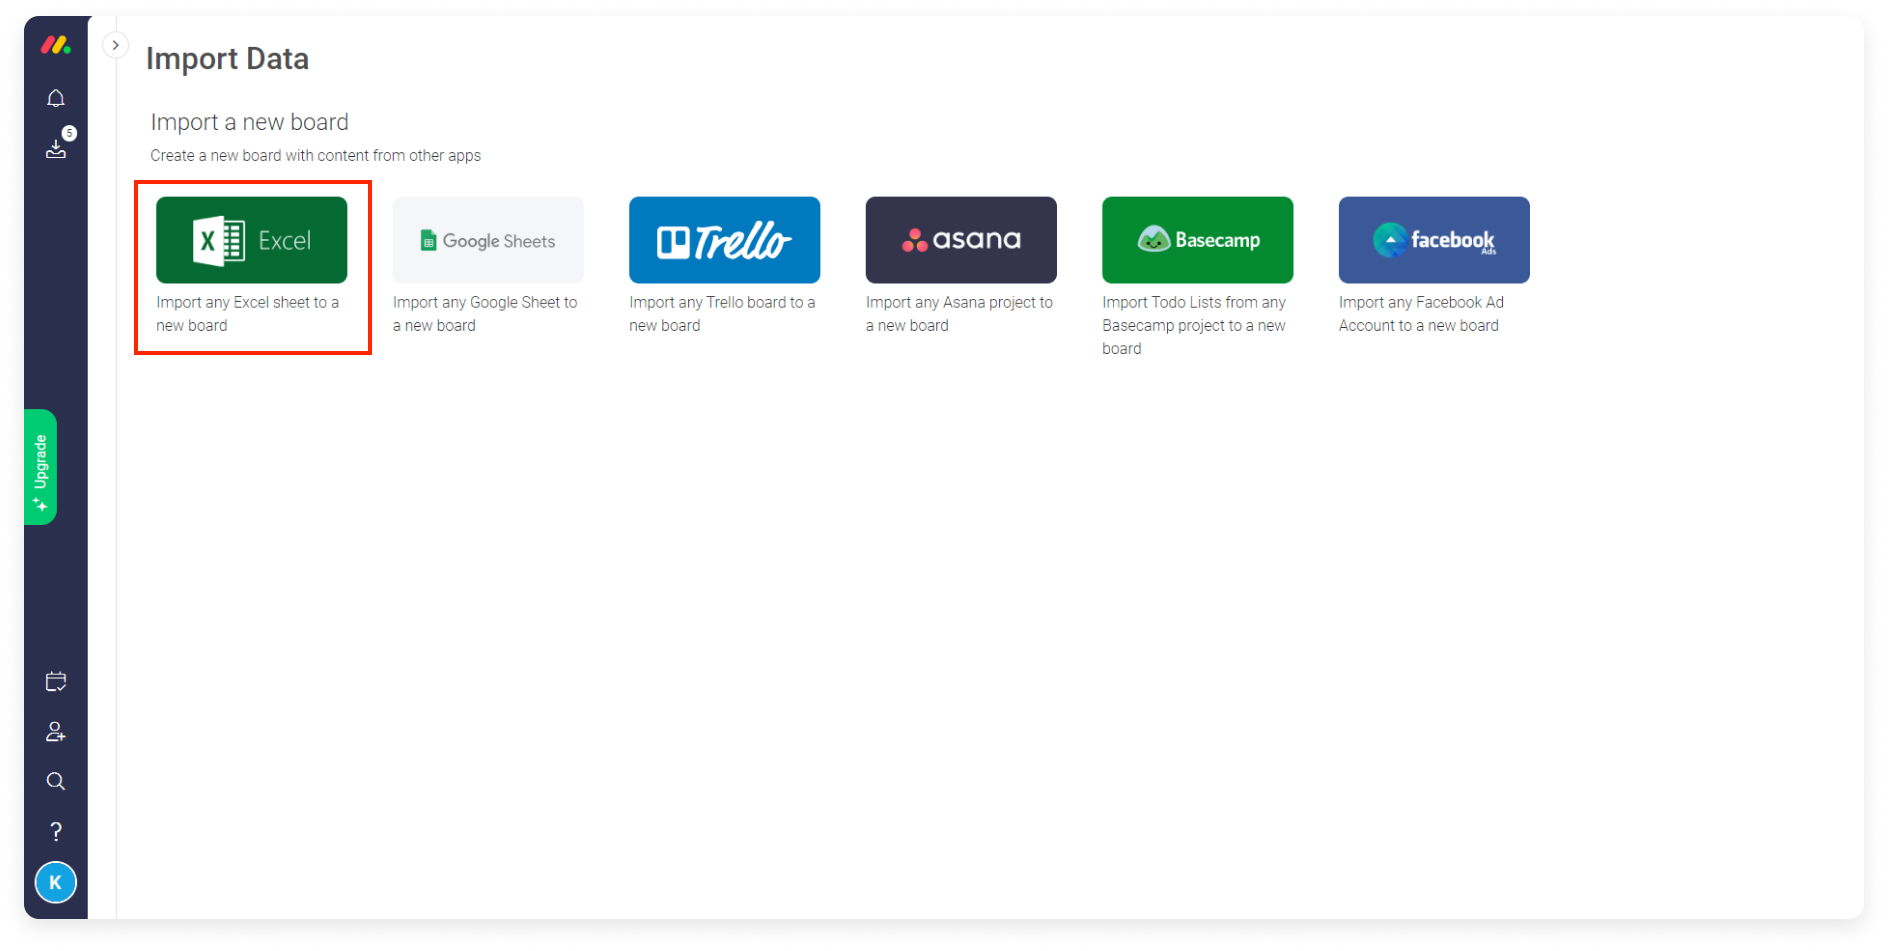
Click your profile picture and select 'Import Data' like this:

Select "Excel" as shown here:
- Step 2
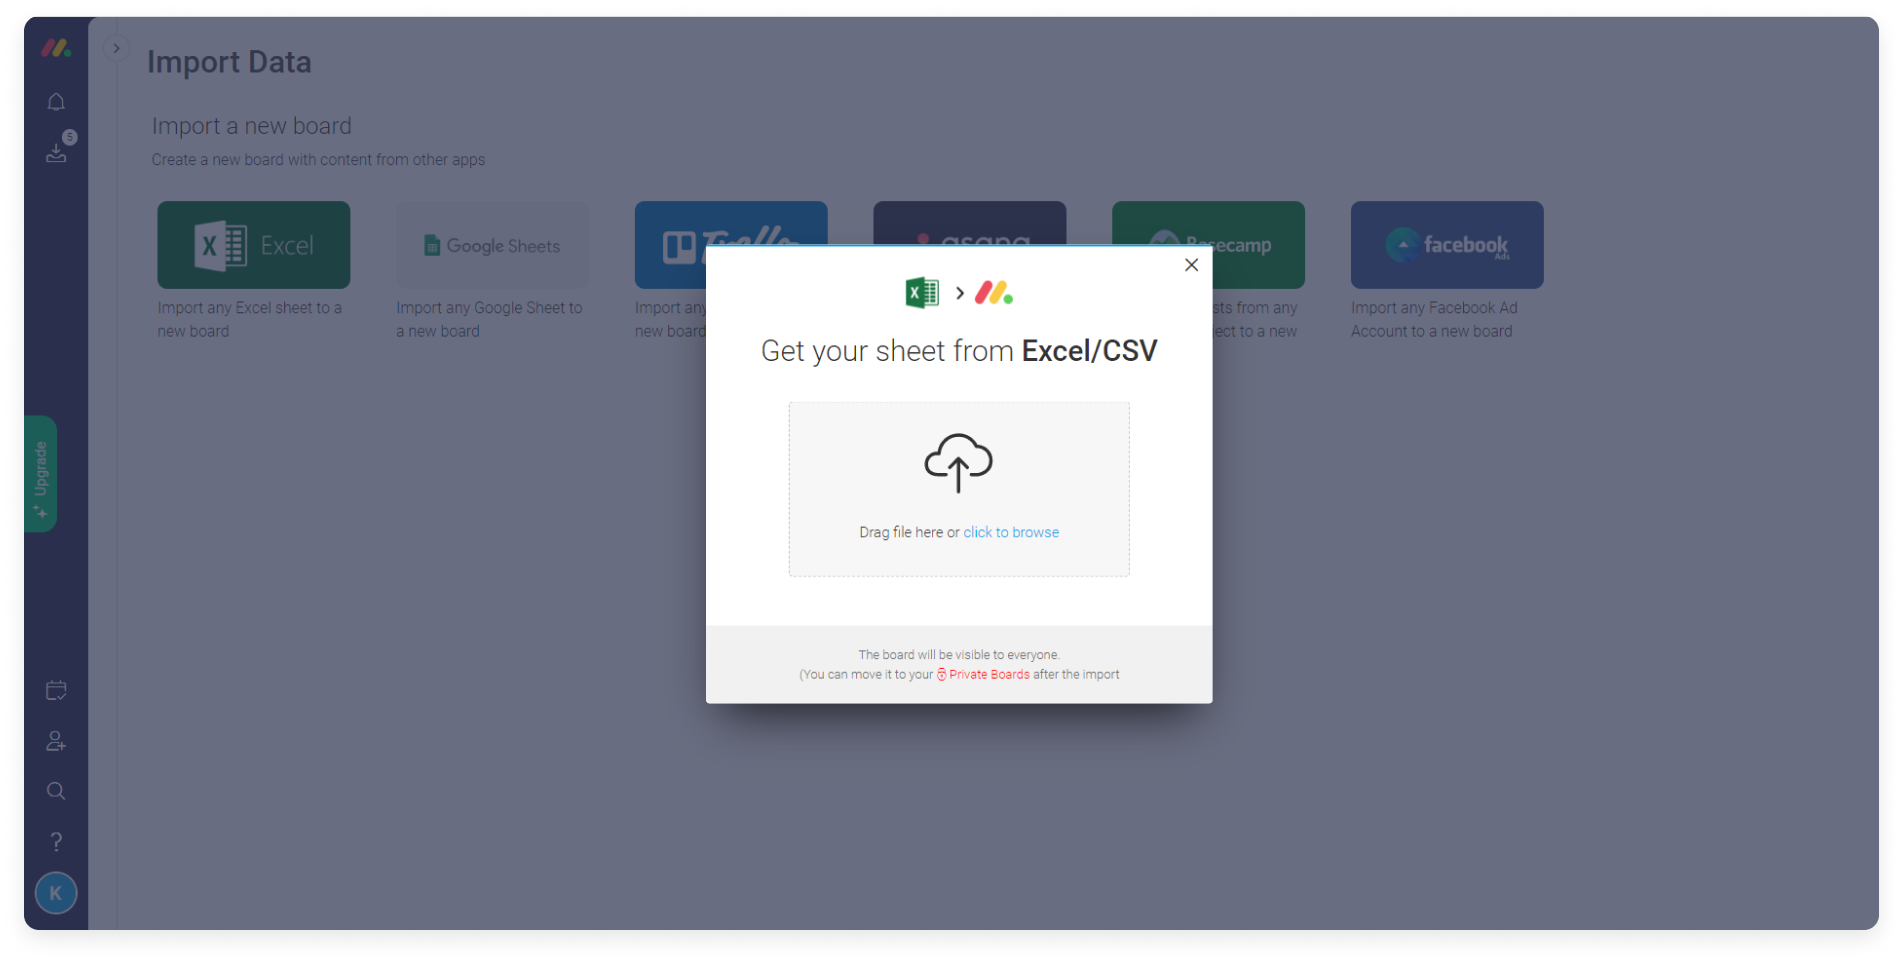
You can choose to either drag and drop your Excel file into the pop-up in the center of the screen or you can click to browse your documents and select your spreadsheet.
Once you've selected your file, you'll receive the following message:
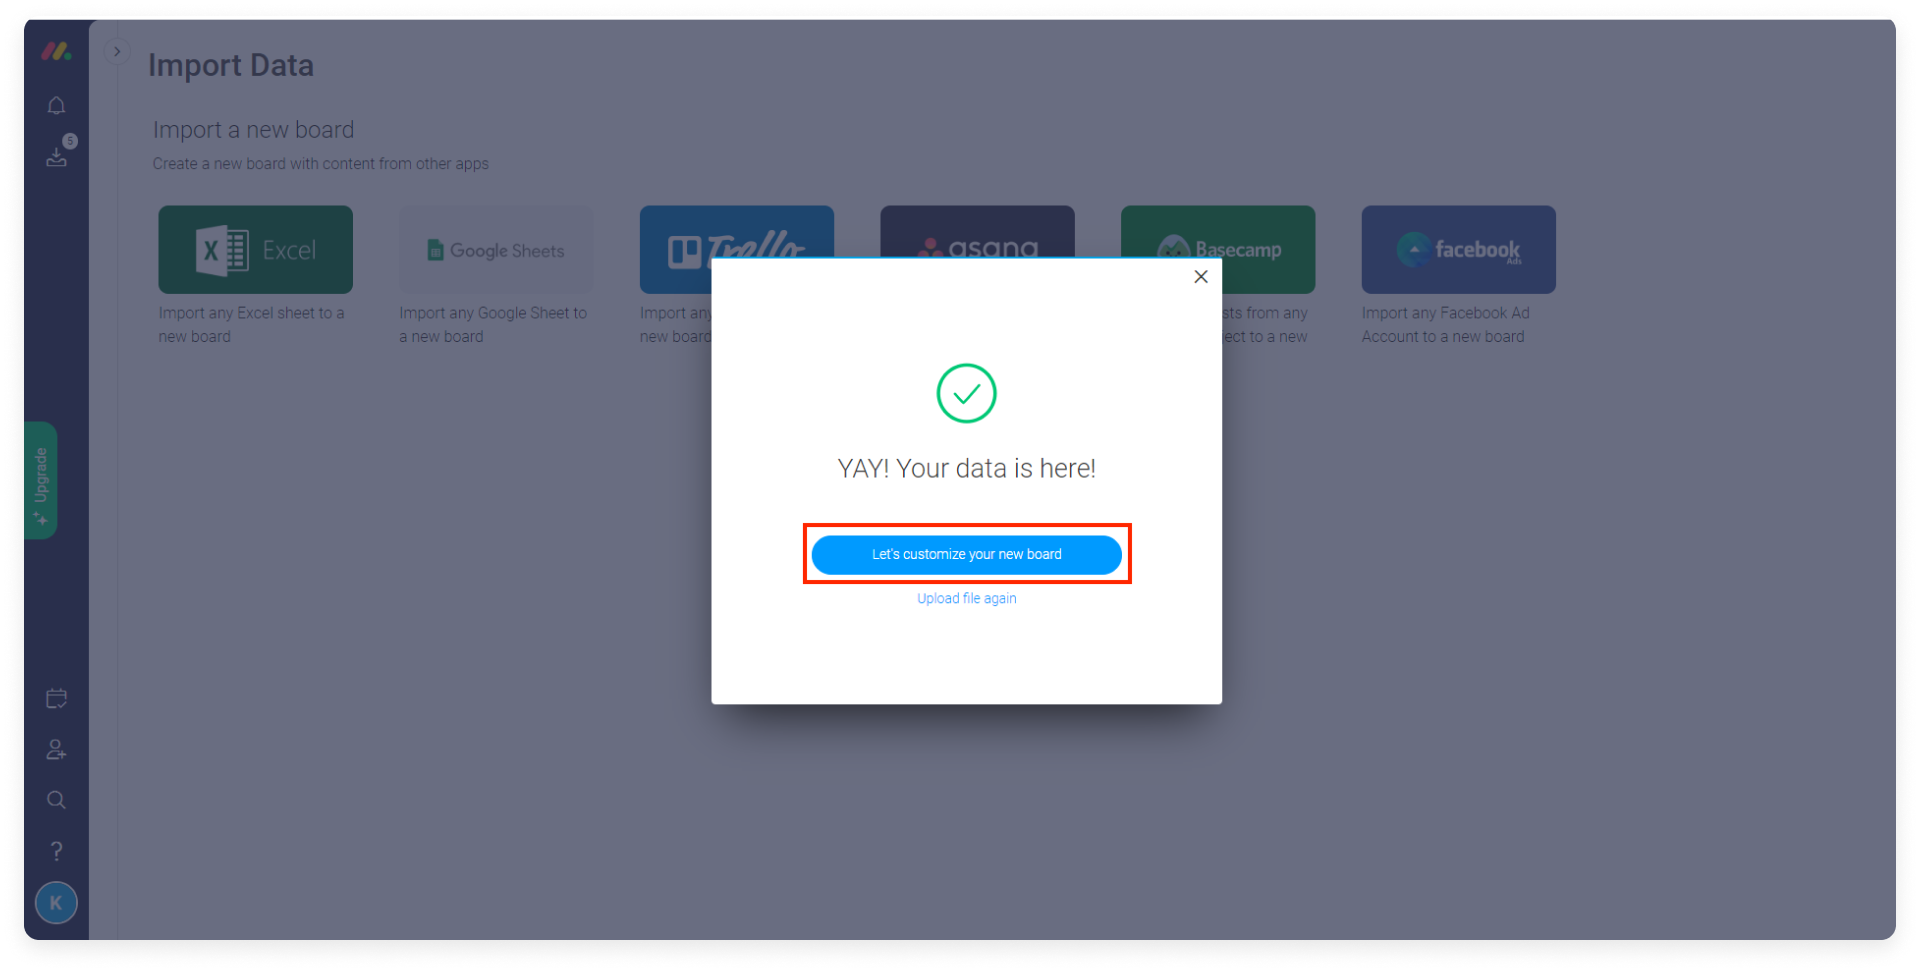
Click "Let's customize your new board" to make sure everything appears exactly how you want!
- Step 3
Select the row in your spreadsheet that will become the headings for your new board's columns and then click "Next" like this:
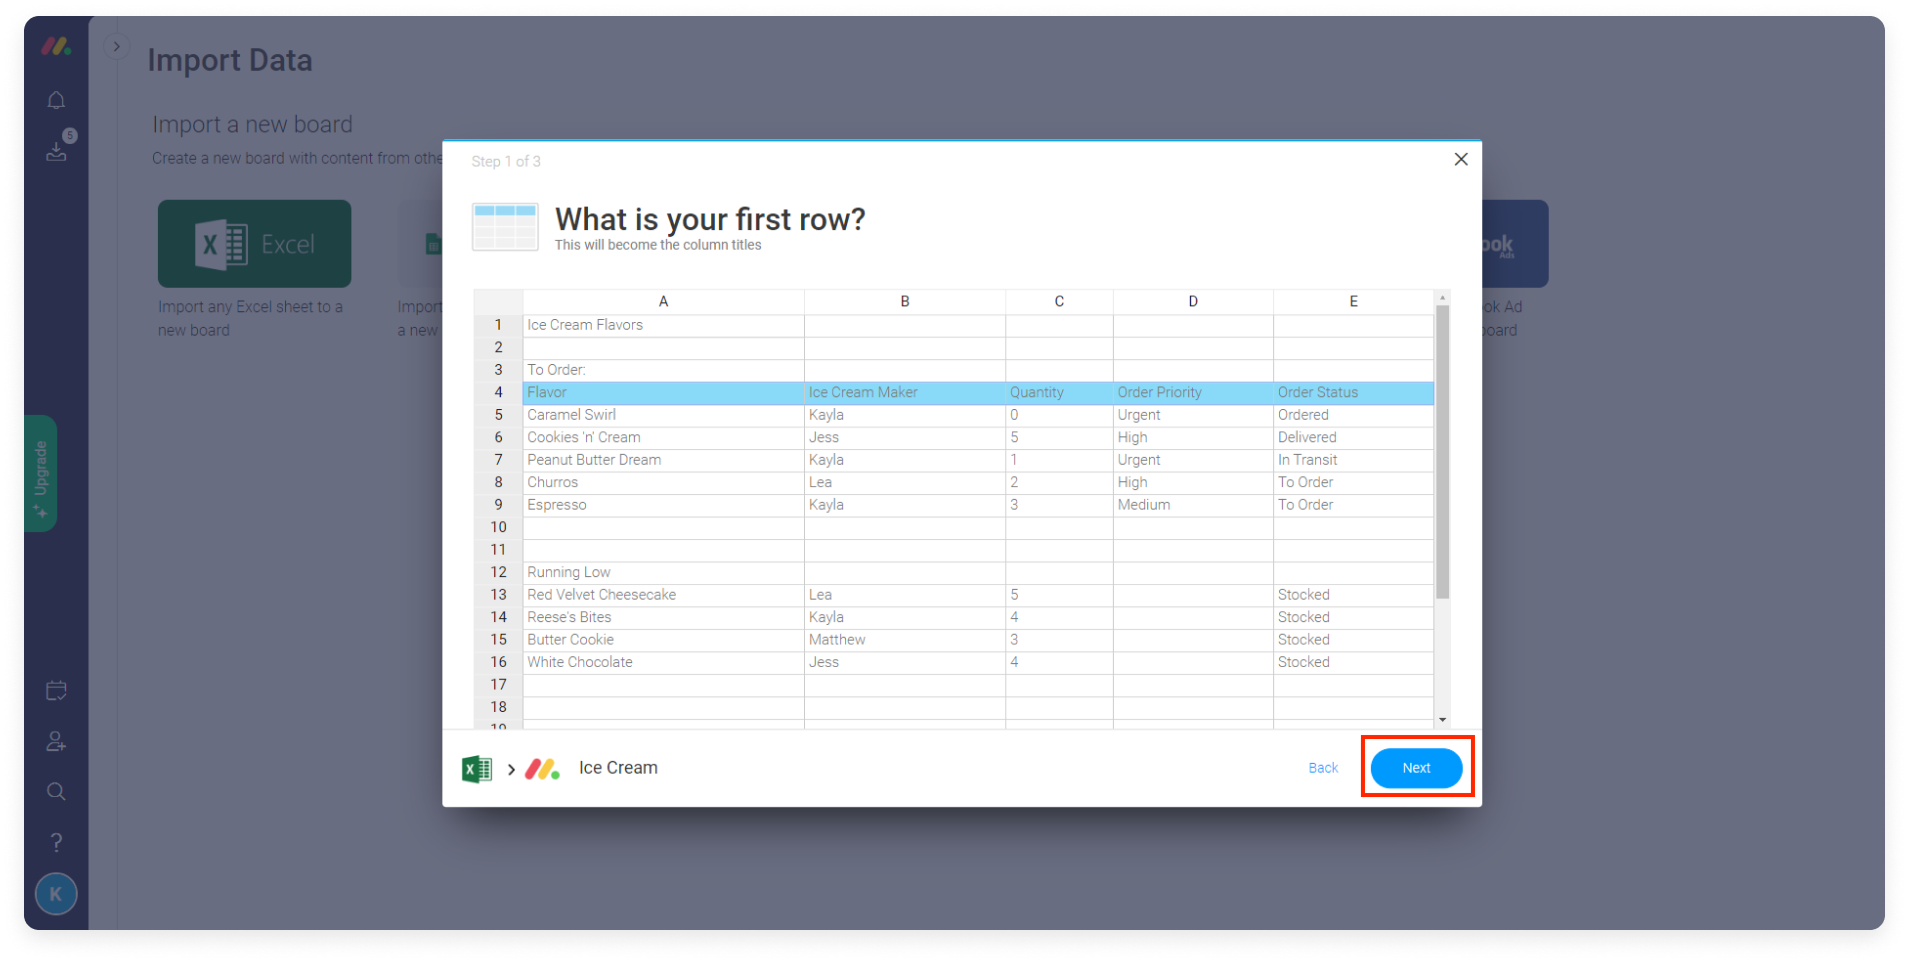
Everything above your first row will not be imported into your board.
- Step 4
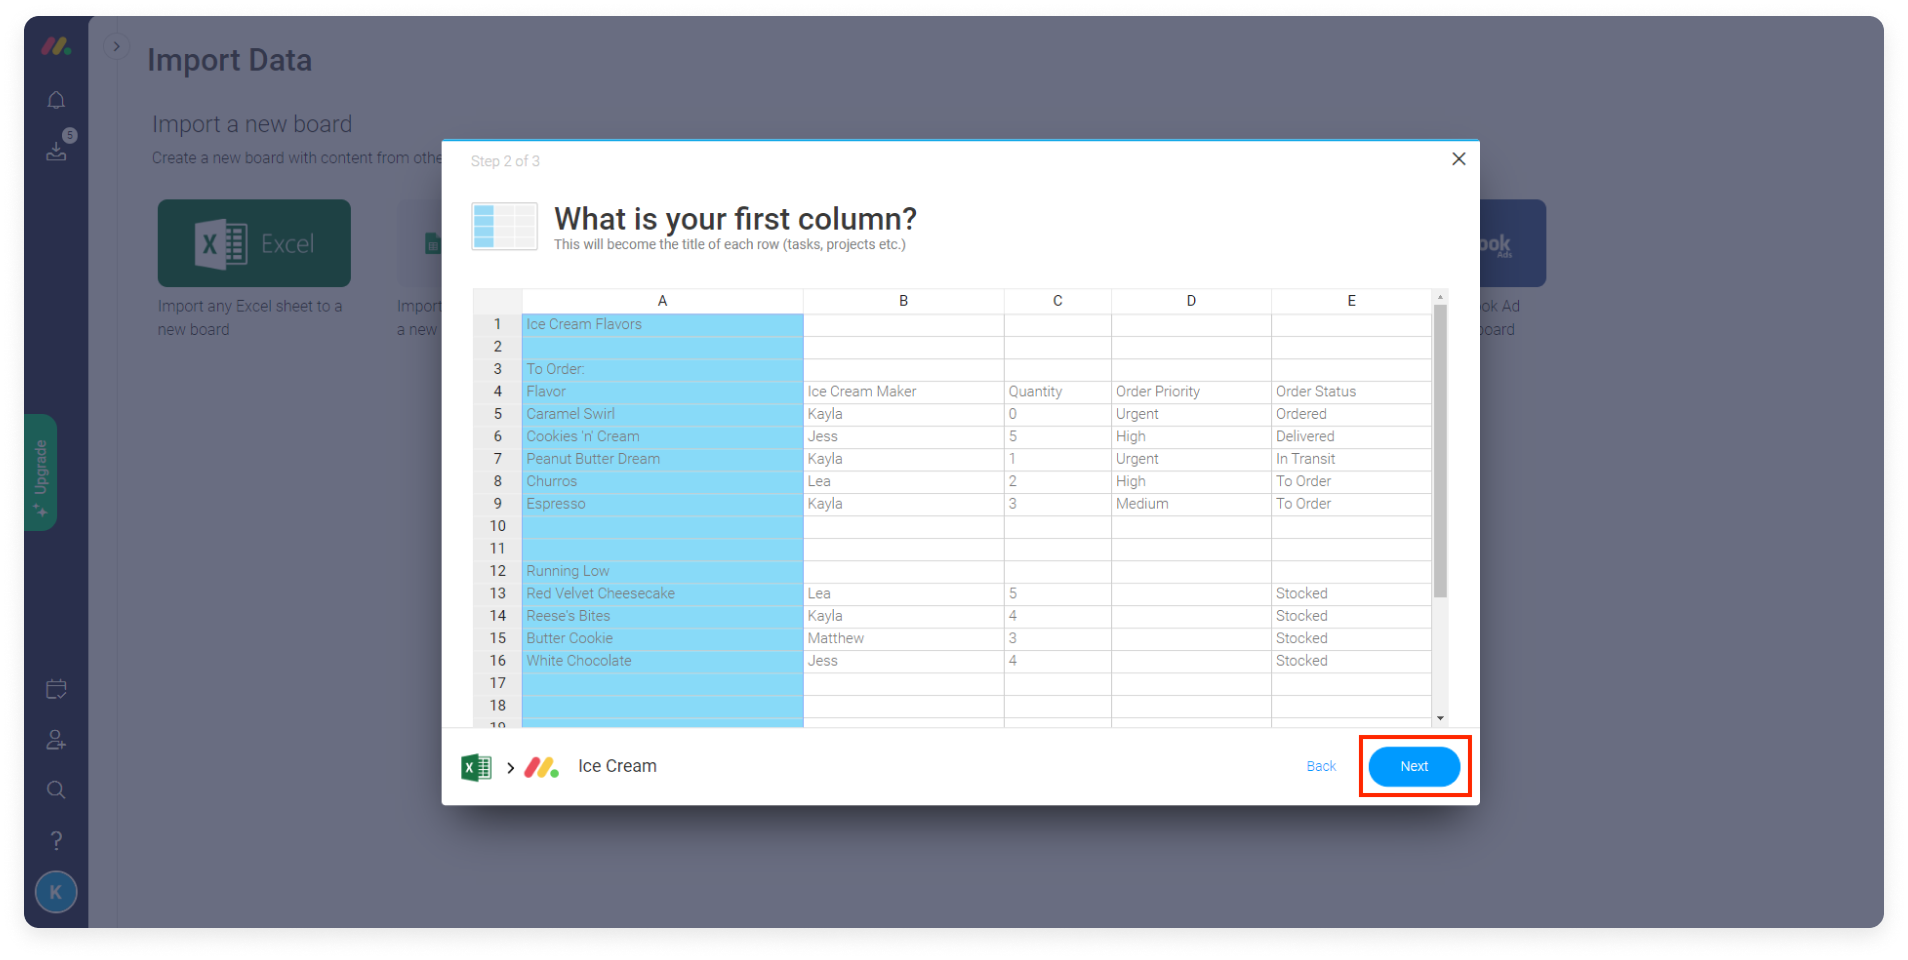
Select the column in your spreadsheet that will become the first column in your board (the names of your items) and then click "Next" like this:
- Step 5
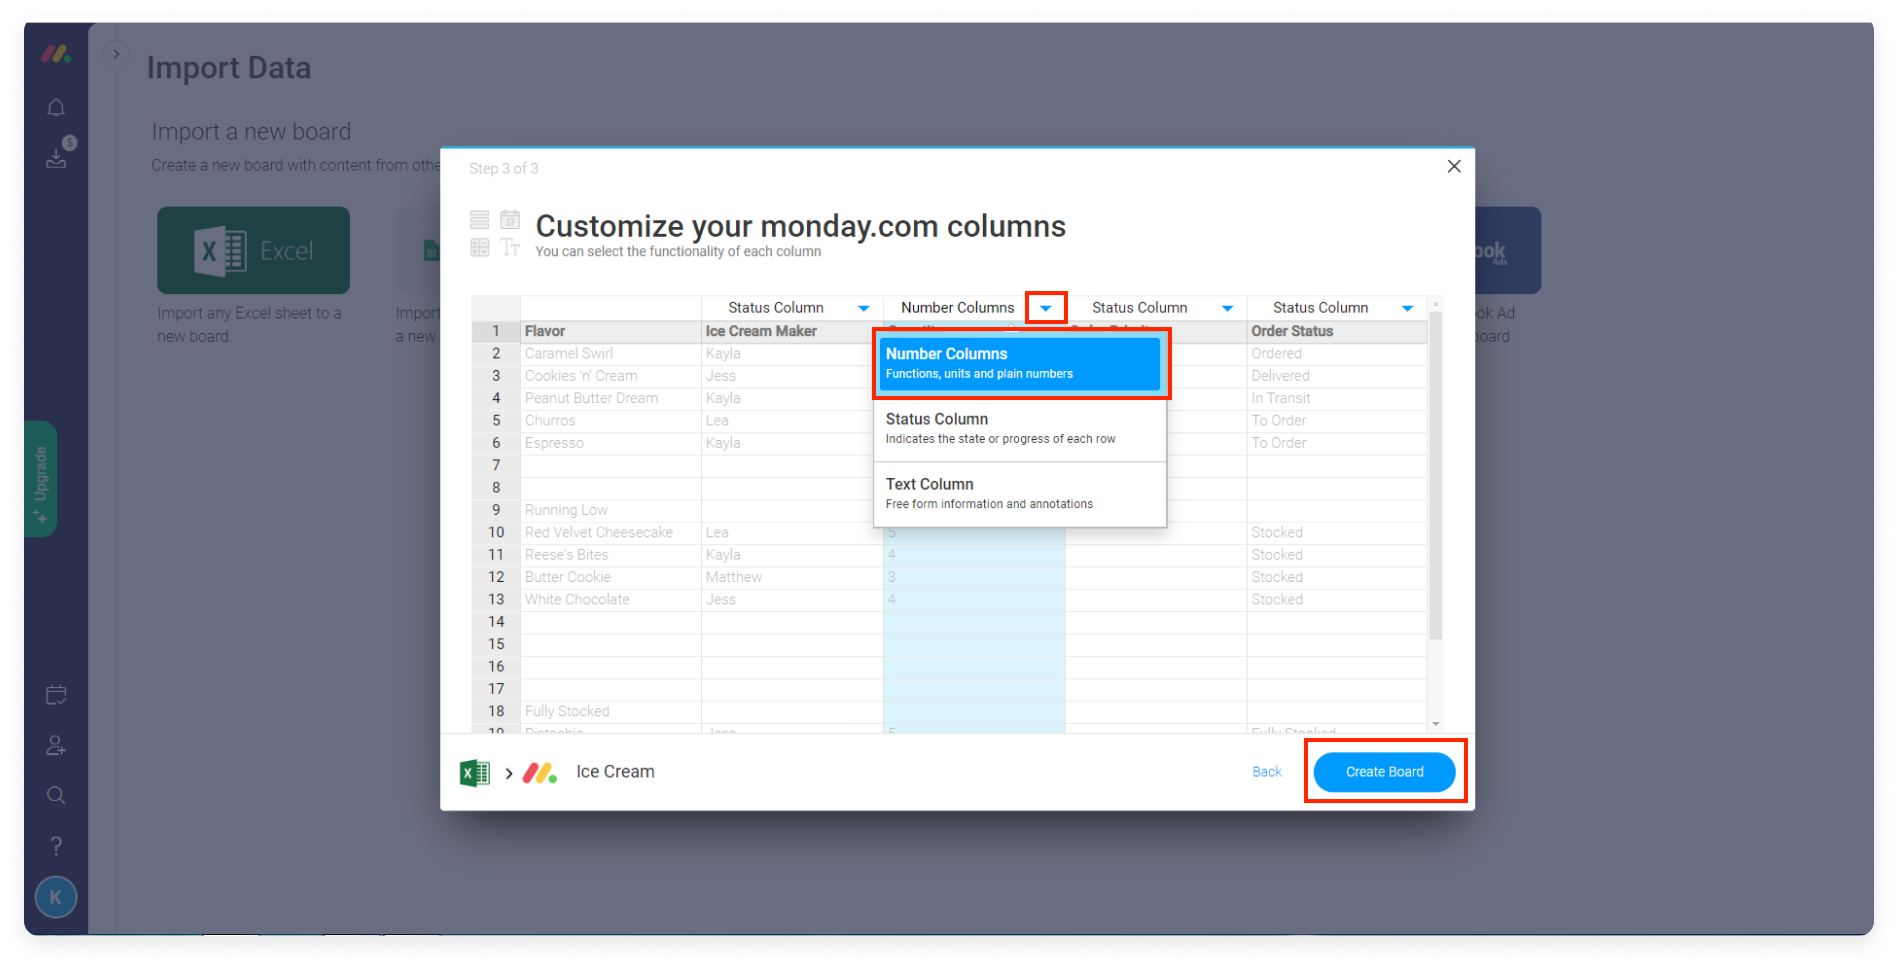
Our system is pretty good at guessing which column types are a good fit for your data, but you can change them manually by clicking the drop-down menu for each column. You can only import columns as a Number, Status, Email, Date, or Text column. You can, however, change the column type after import.
When you're done, click "Create Board".
Import data into an existing board
There are a few ways to import your data from any external source, including Excel, Google Docs, Microsoft Word, and more! Keep reading to check out these time-saving tips!
Import from Excel or CSV
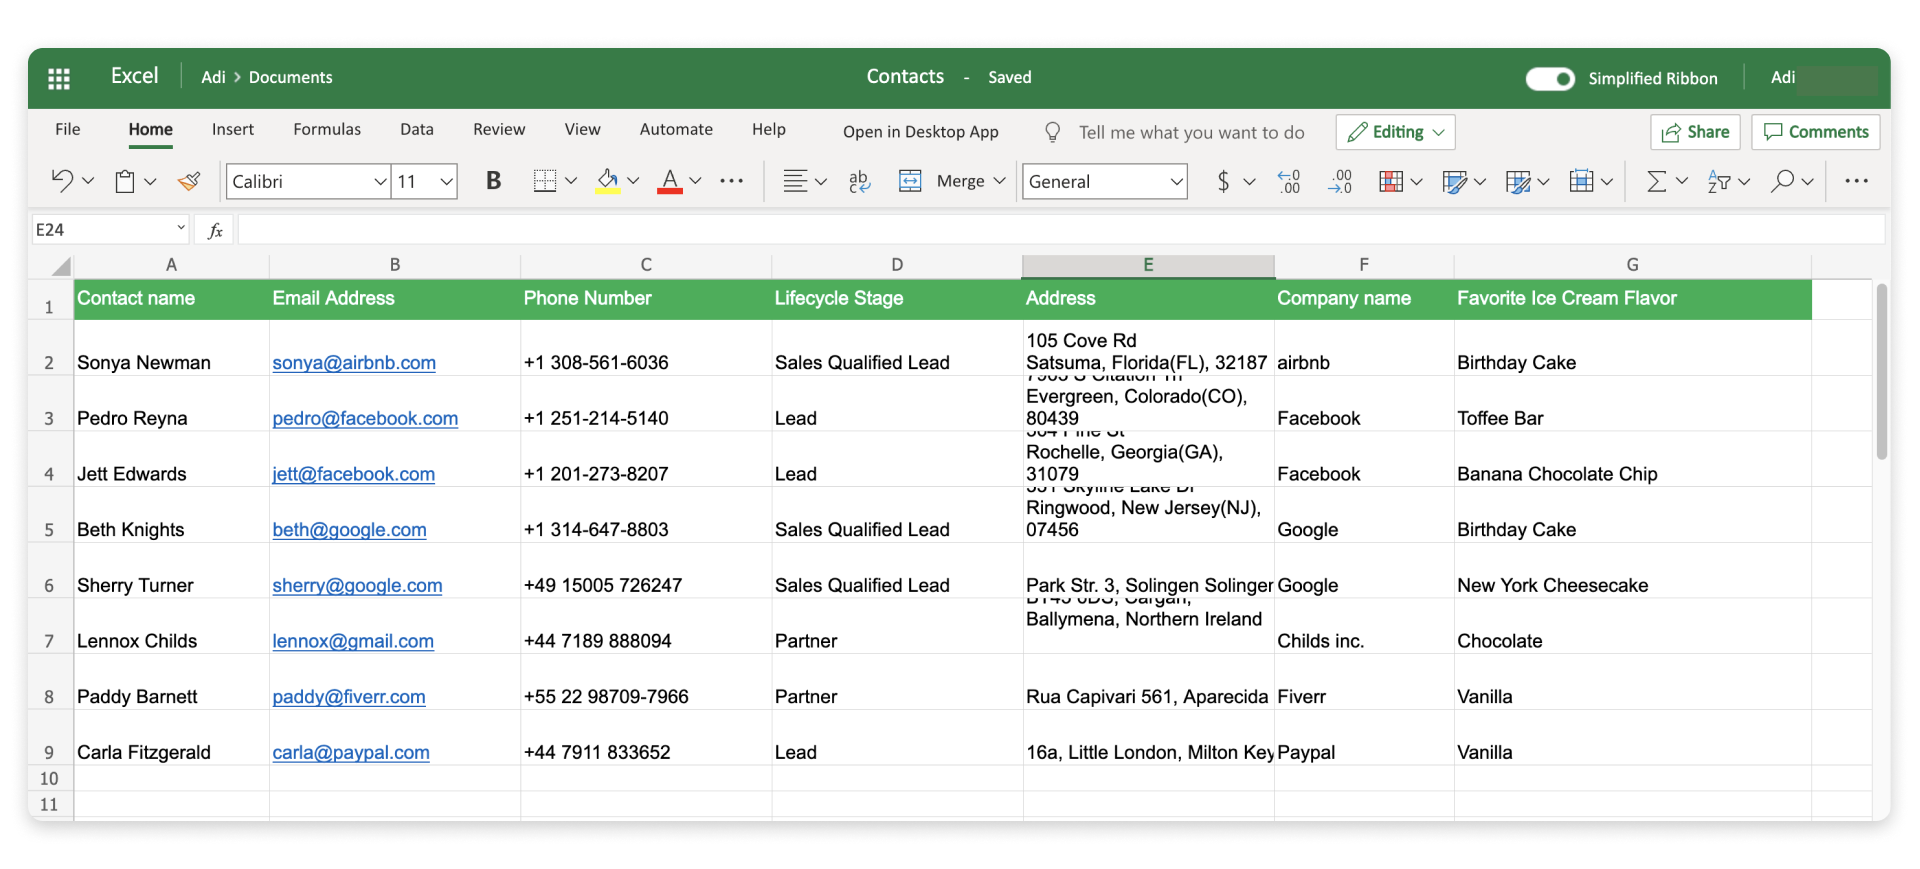
For this example, let's say that you want to import the following Excel sheet into your existing board:
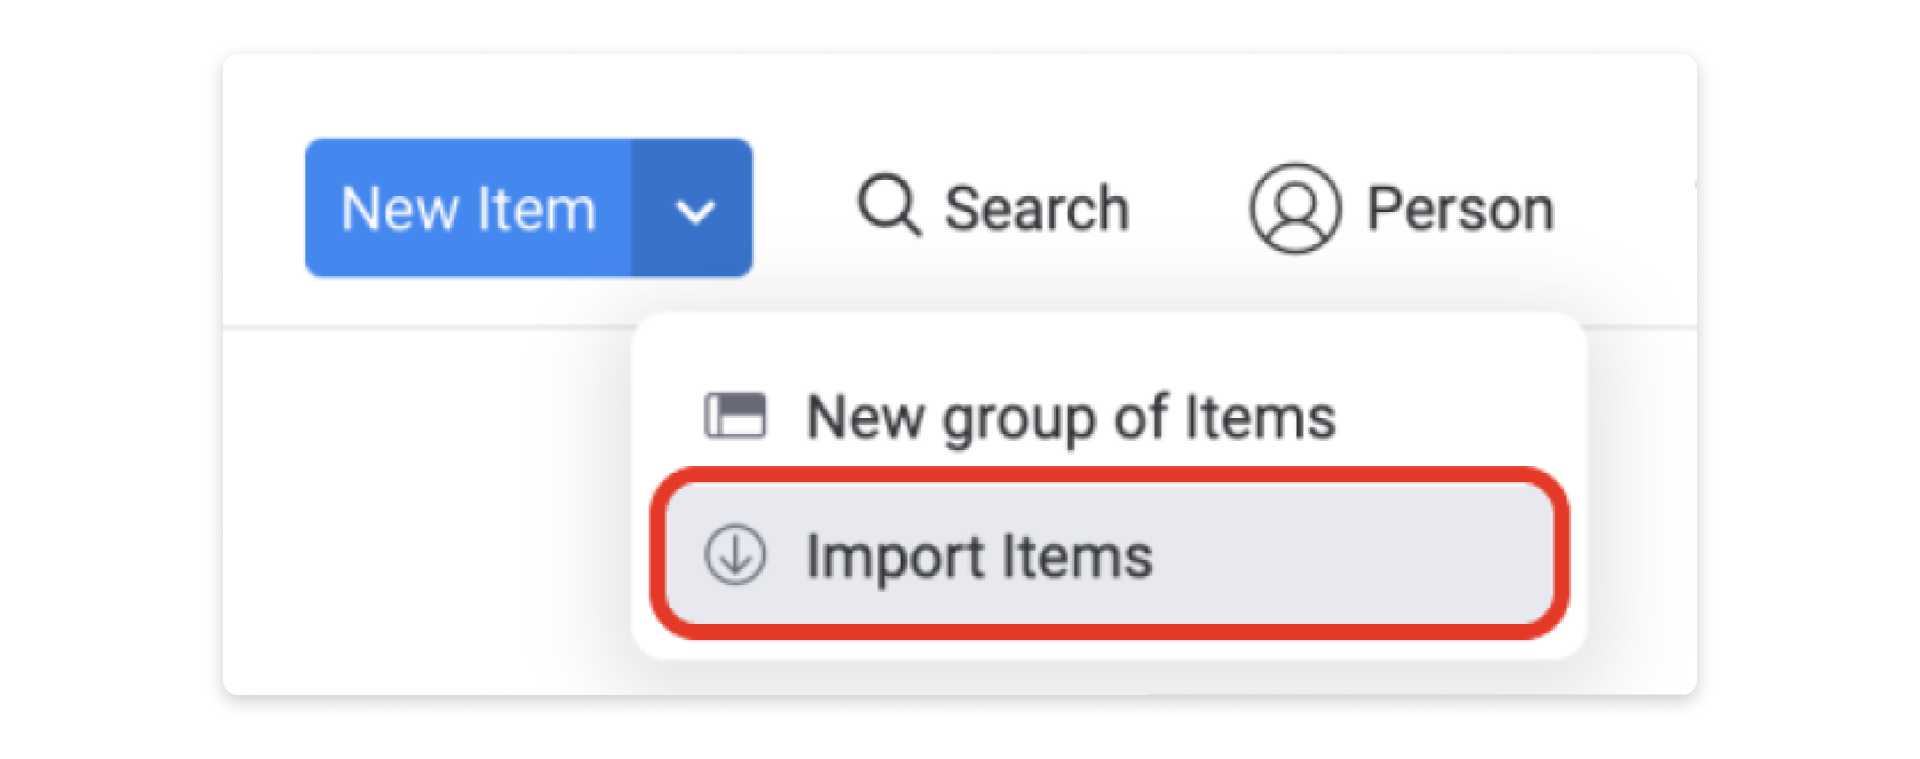
To import this data directly to an existing board, go to the blue "New Item" button at the top of the board and select "Import Items" from the dropdown menu:
On the next screen, you can either drag your Excel or CSV file into the frame or choose "click to browse" to select the document from your computer. Once you have made your selection and the file has been successfully uploaded, you will see the following confirmation:
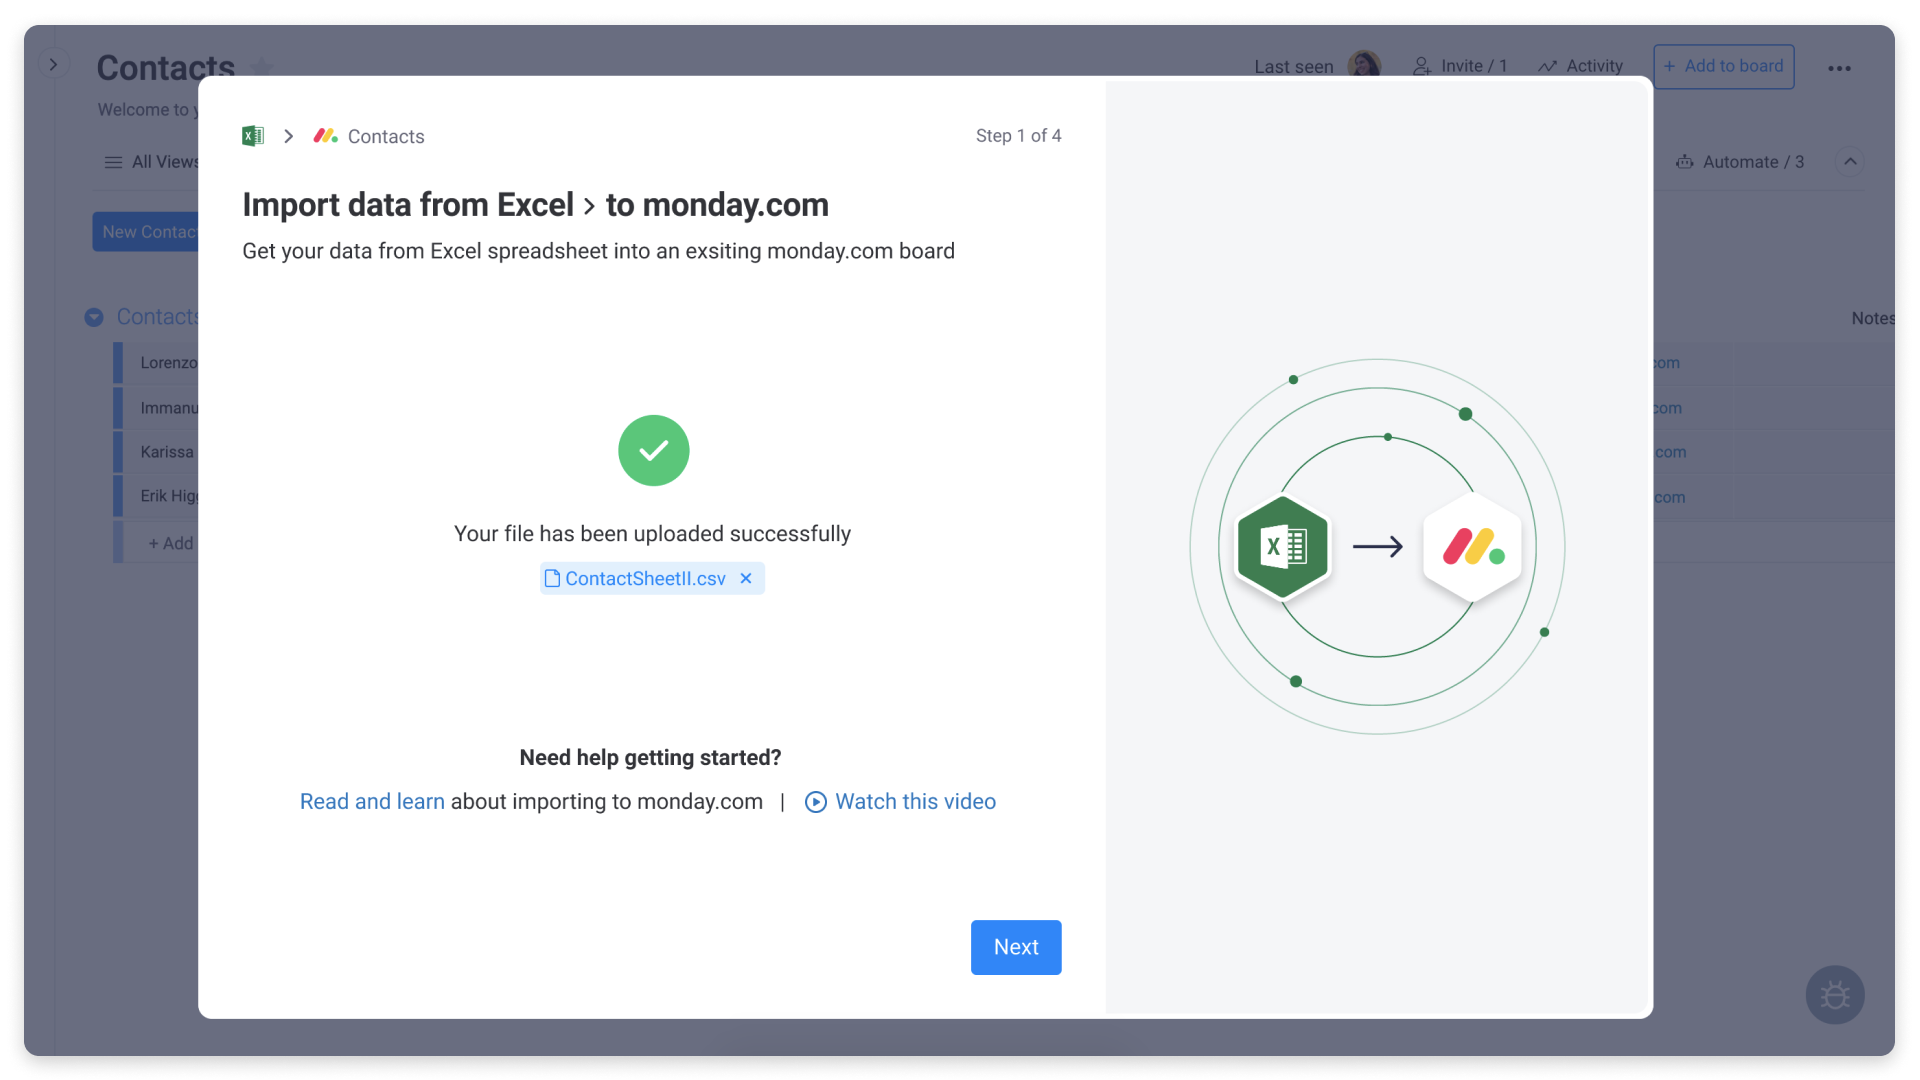
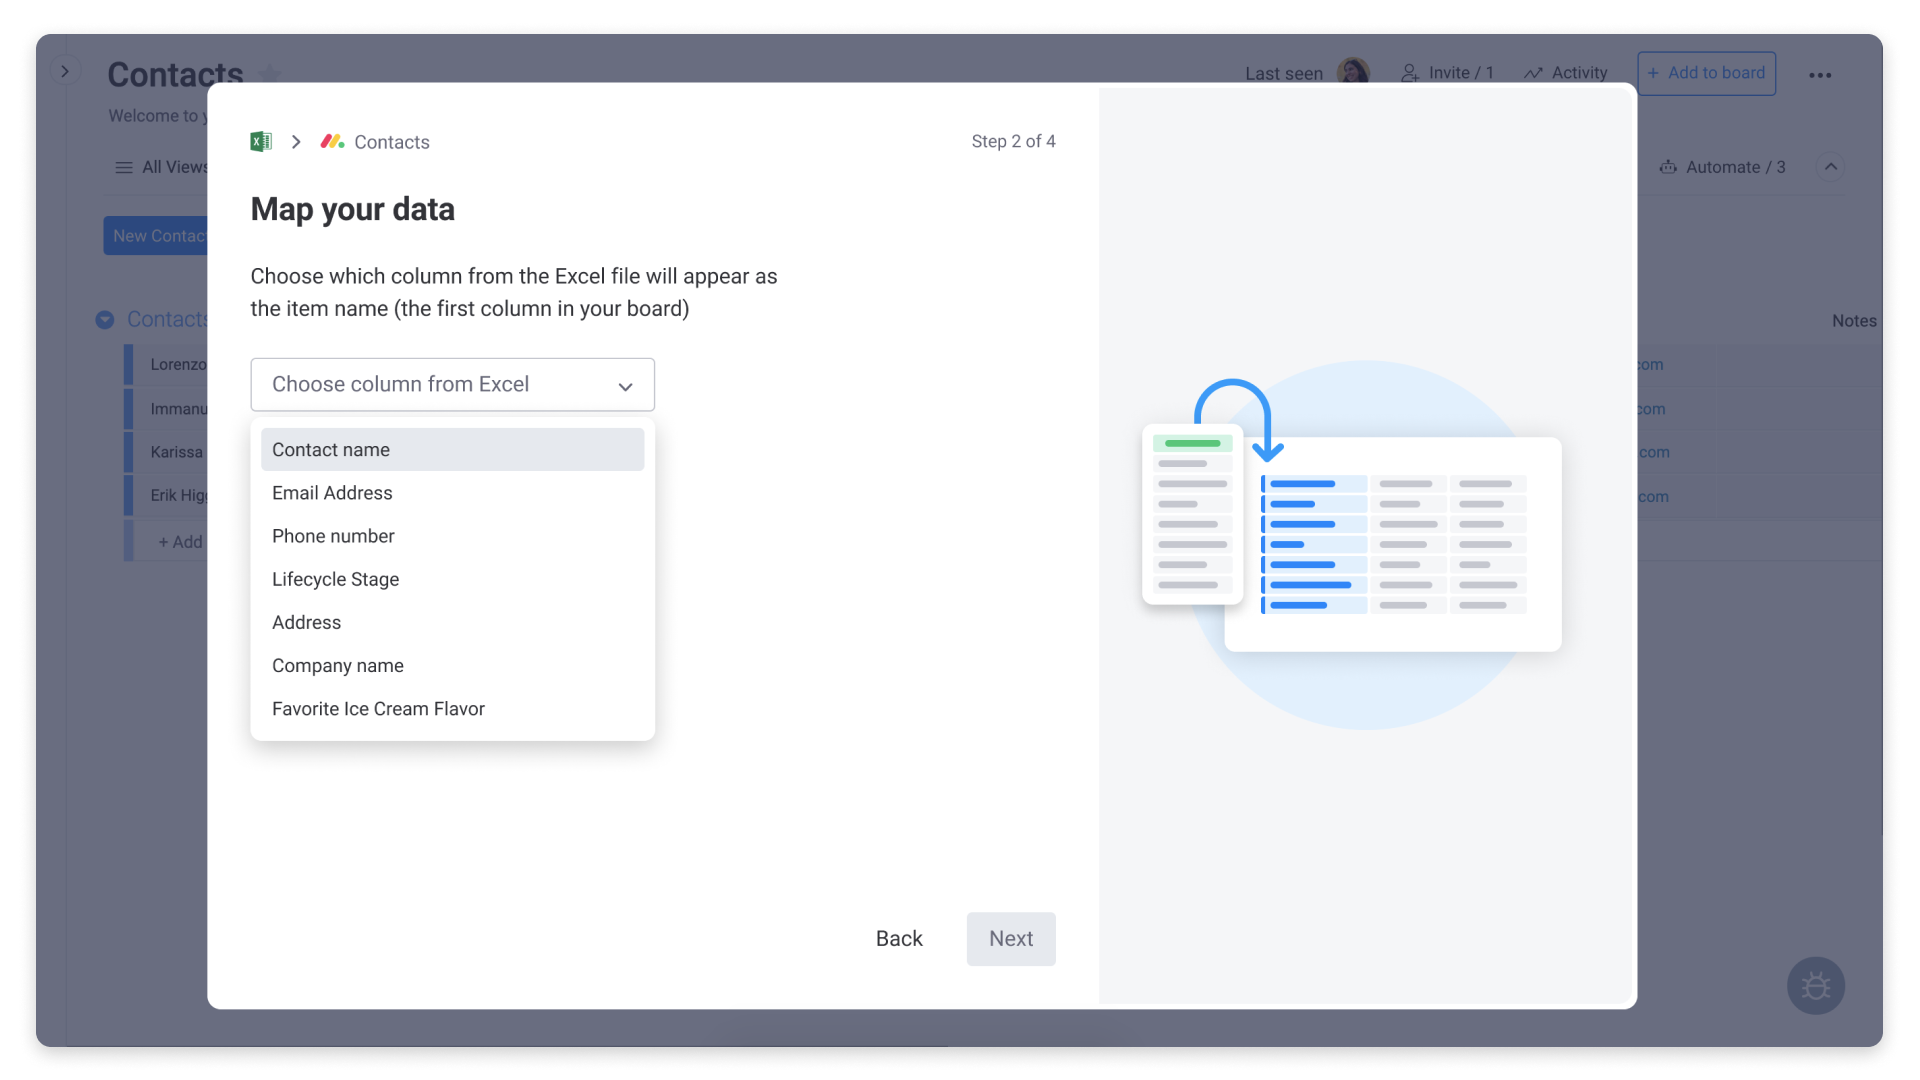
Click "Next" to continue. Then choose the column from your Excel document that you would like to appear as the item name on your monday.com board:
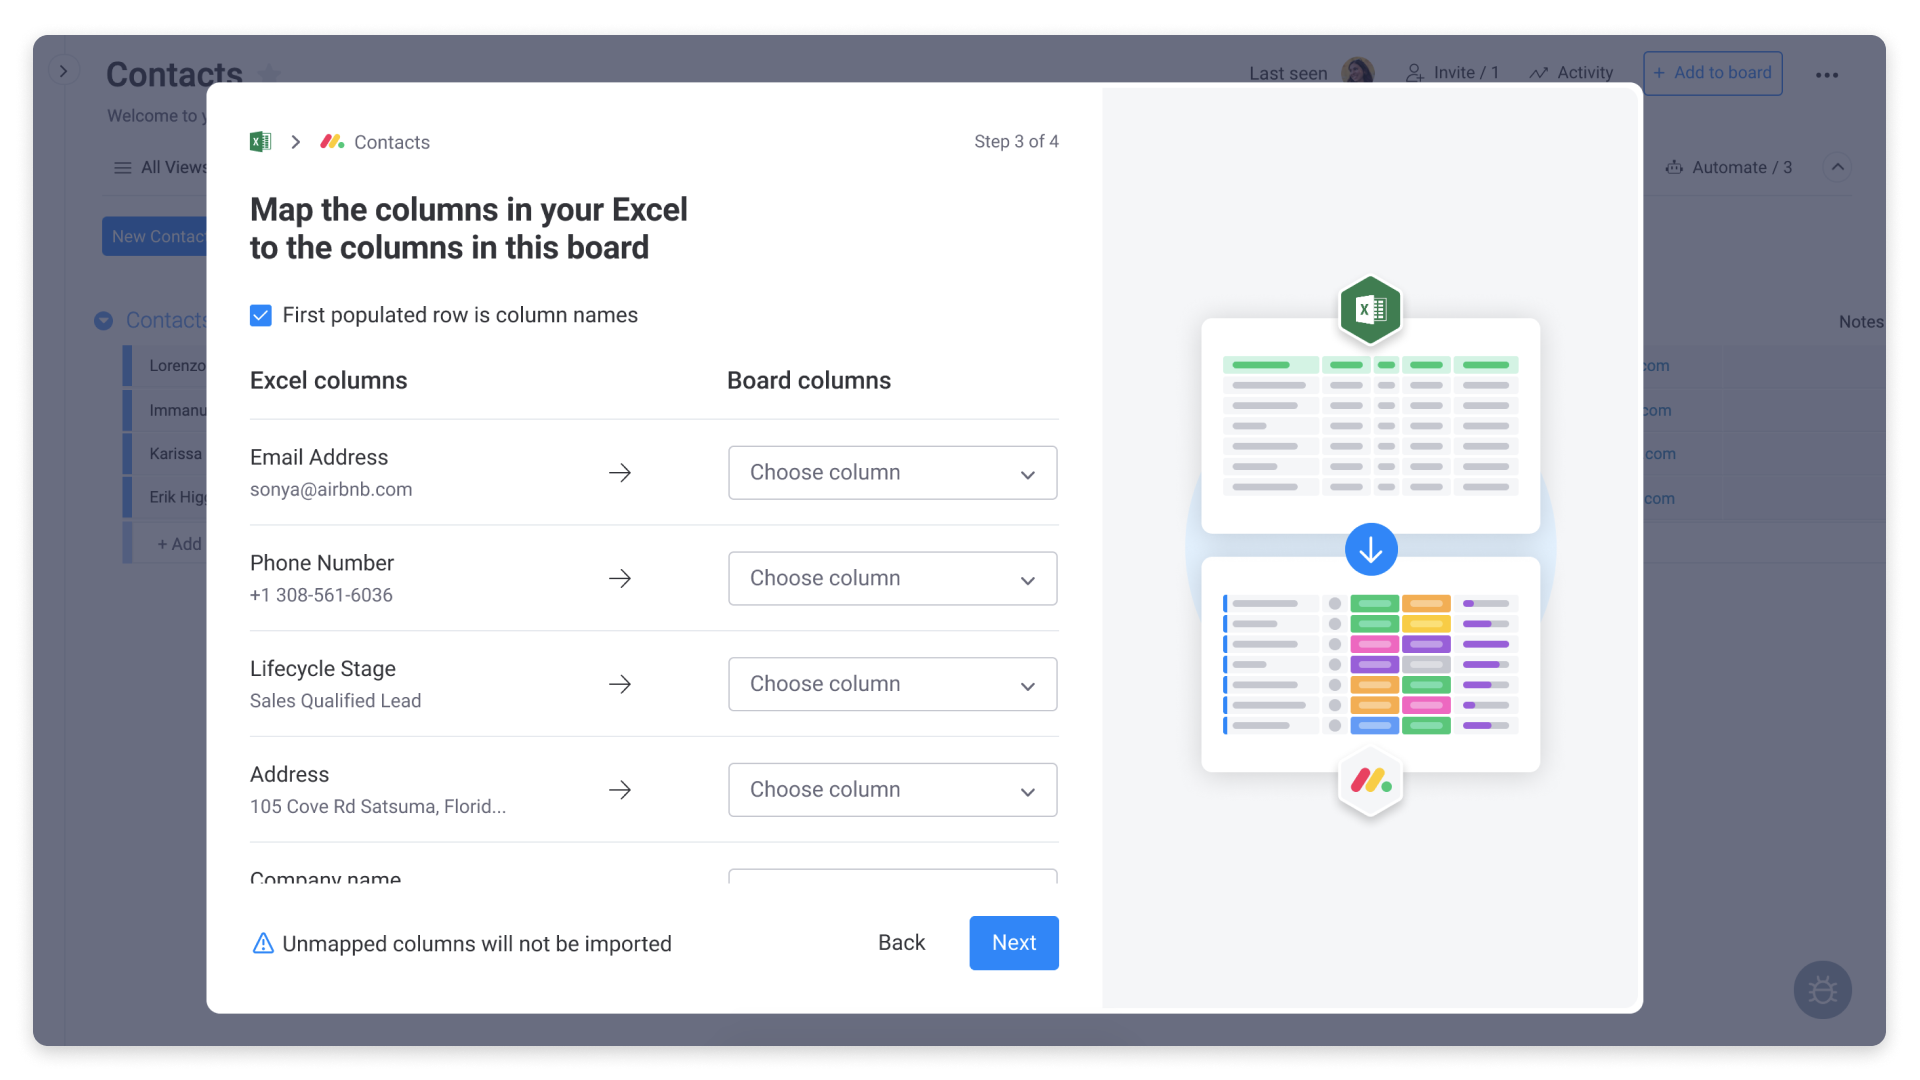
On the next screen, you will be asked to map the columns in your Excel document to the columns on your monday.com board. For example, you can choose to map the email addresses from your Excel document into the Email Column on your monday.com board.
Columns that you do not map will not be imported.
Manage duplicate items
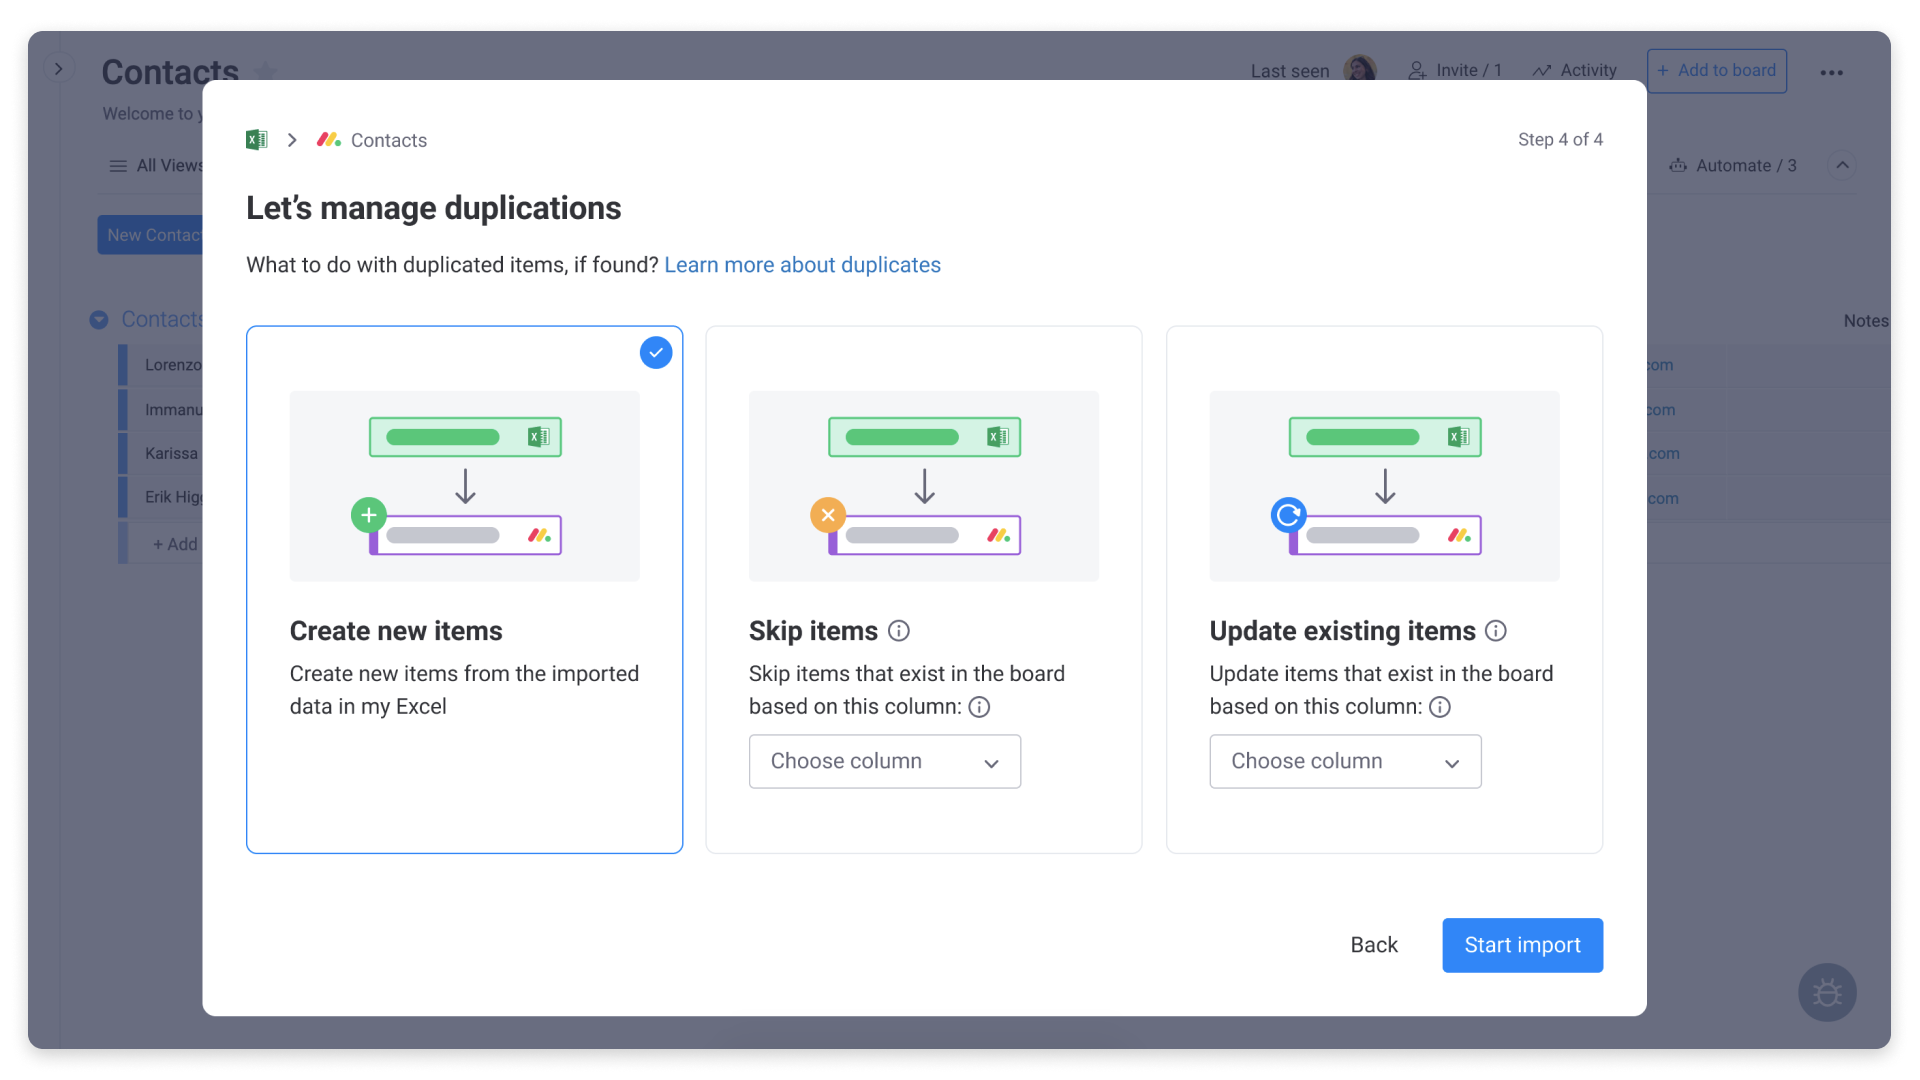
After mapping your items, you will be asked how you want to manage duplicate items. You have three options:
1) Choose "Create new items" to add the data as new items to the board.
2) If you choose "Skip items", this option will skip any duplicated data based on a column you've chosen. Be sure to choose a column with unique values in your data (i.e. email, phone number, address) to help us determine whether this item already exists in your monday.com board. The rest of the data will be added to a new group on your monday.com board.
3) If you choose "Update existing items" you will have the option to overwrite existing items based on the data in a specific column. Be sure to choose a column with unique values in your data (i.e. email, phone number, address) to help us determine whether this item already exists in your monday.com board. The new data will be added to a new group on your monday.com board.
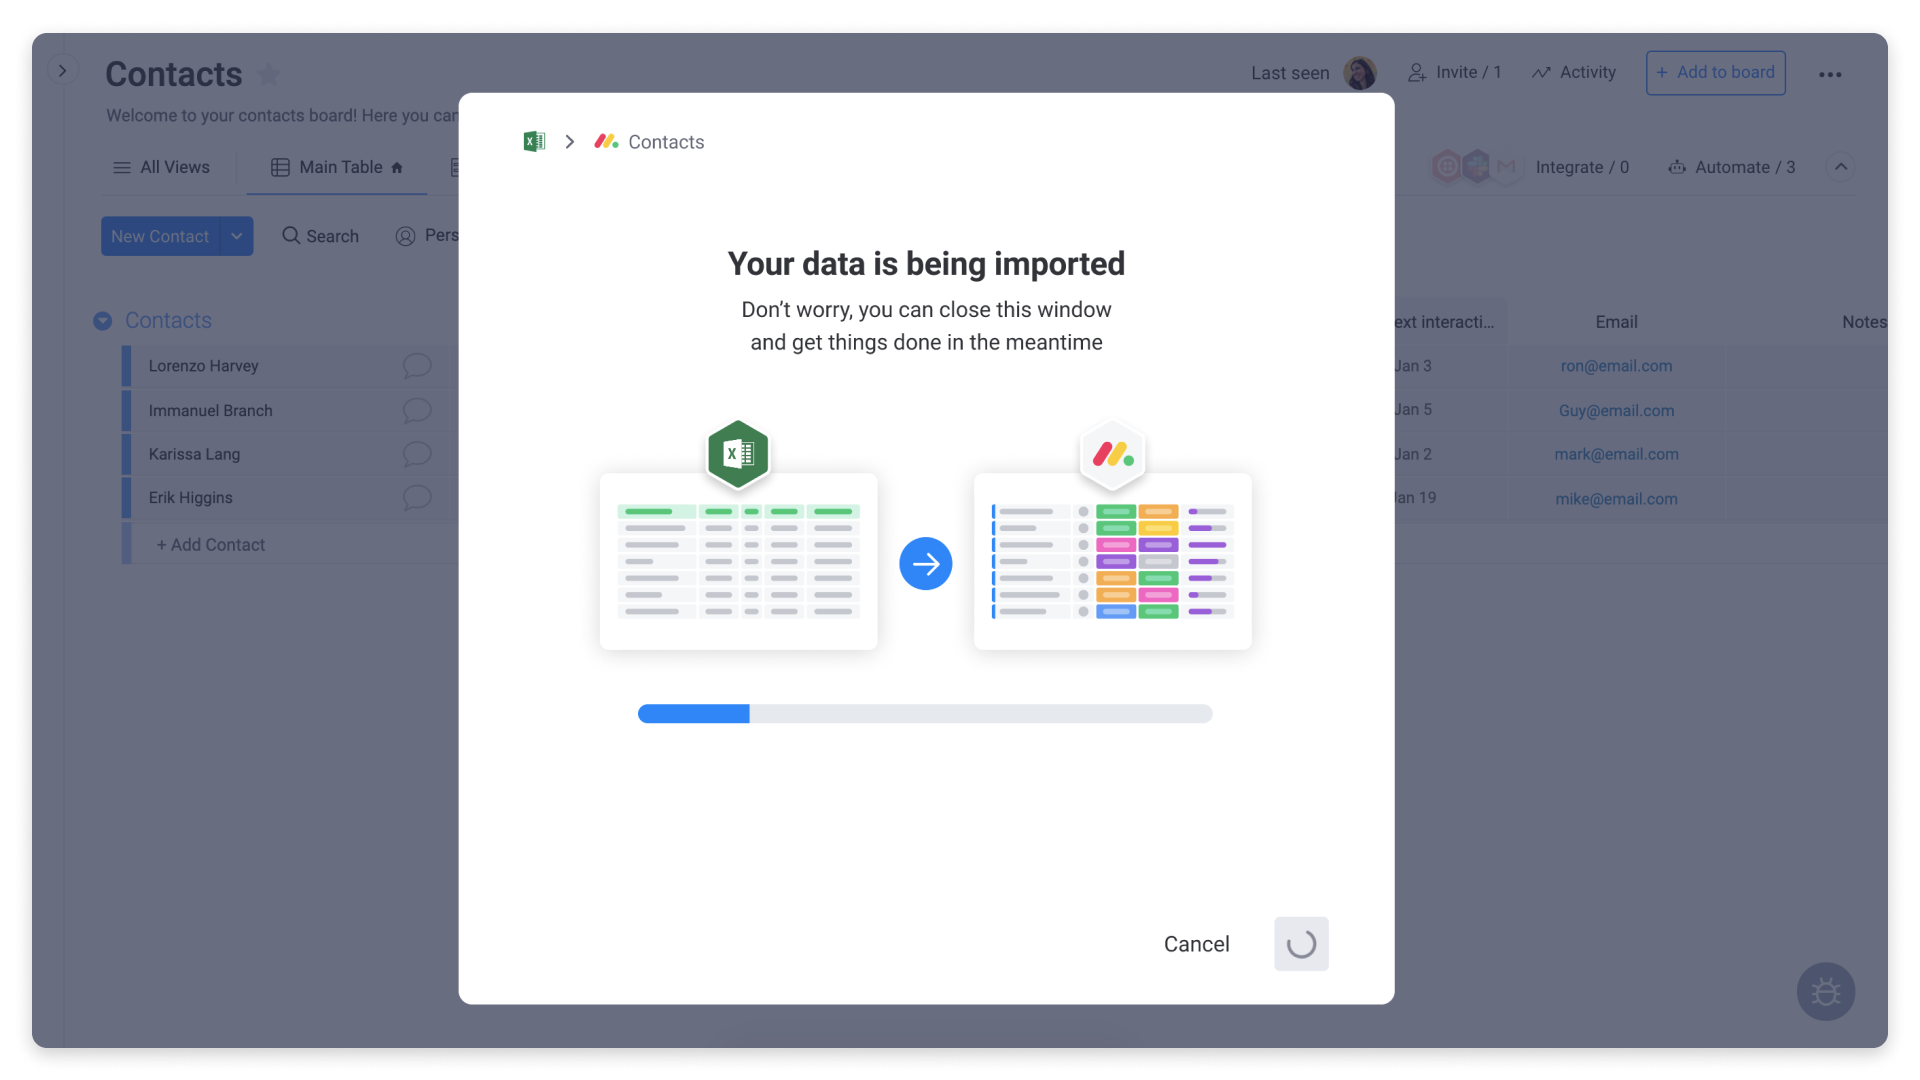
For this example, we're going to choose "Create new items". Click on the box corresponding to your choice, and select the blue "Start import" button to continue:
That's it! Your items will begin importing. You can close the window and continue working while you wait for all of your items to import.
Copy & Paste Heaps of Items
We've been brainstorming new ice cream flavor ideas on an Excel spreadsheet and we want to move them into our "New Flavor Ideas" group in our Ice Cream Flavors board! With just one click, we can copy and paste several items from our external source straight into our group of items!
- Step 1
All we have to do is highlight the items we'd like to import and use our keyboard copy shortcut or right-click to copy like this:

- Step 2
Next, we'll click on '+ Add' in the group we'd like to add these items to and use our paste keyboard shortcut or right-click "Paste" like this:

And voila! All of our items have been added to our board!
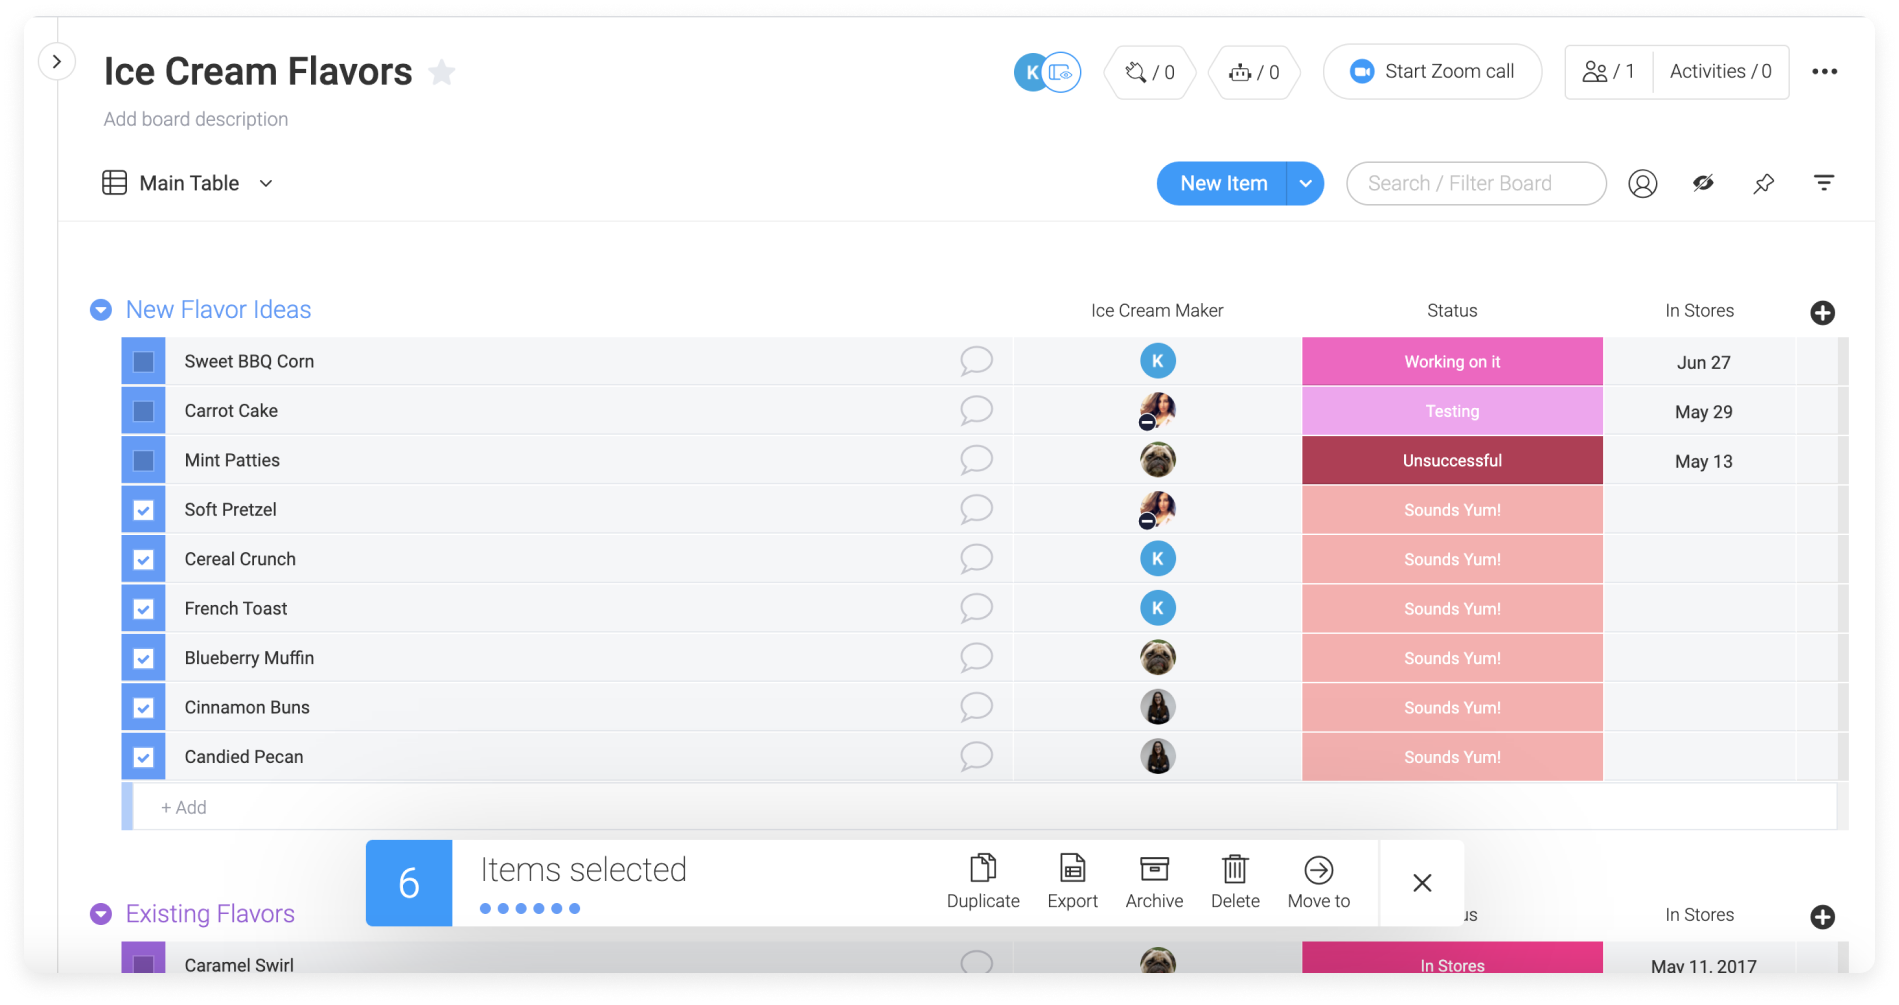 We can click the 'X' in the menu below to de-select these items, or use Batch Actions to update them to suit our board!
Batch Actions
If you have a list of items in another monday.com board, you can import them all into another board with just one click using Batch Actions! We have a board listing all of our ice cream toppings, and we're running low on a few of our toppings! Let's move a few of the toppings to our "Ice Cream Orders" board so that we'll remember to order them!
- Step 1
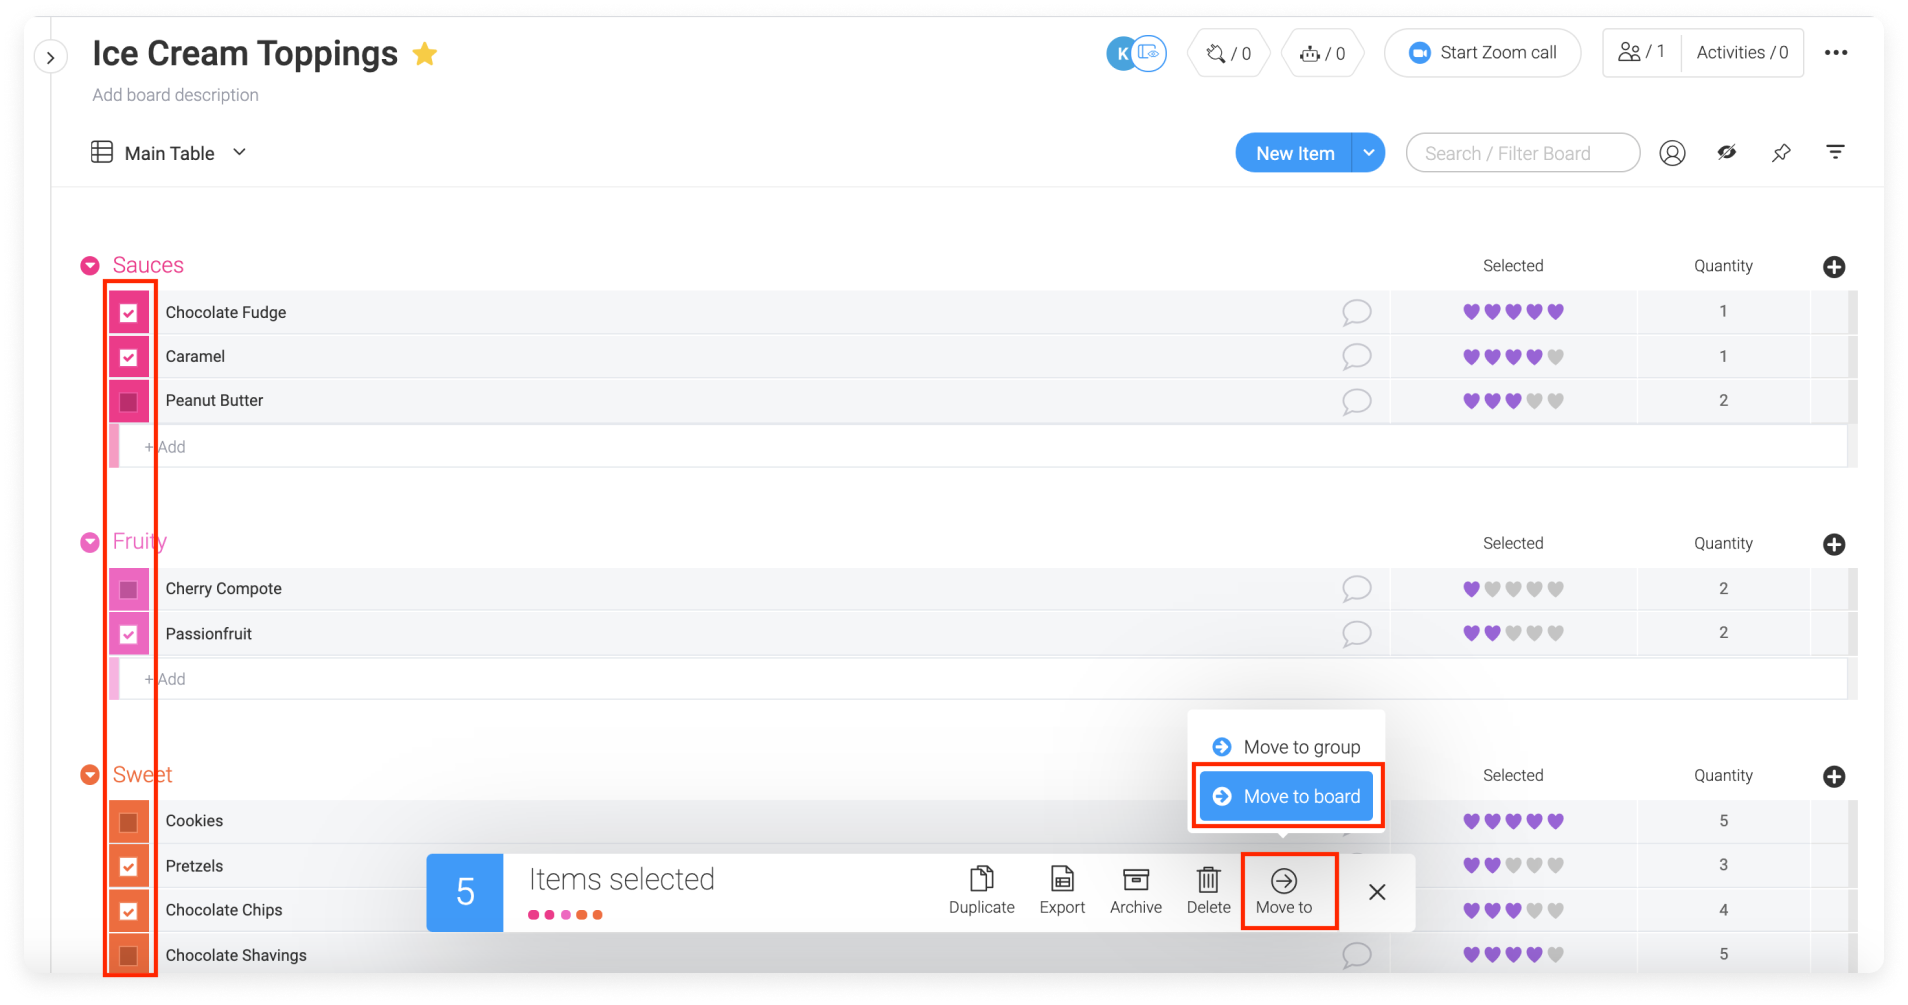
First, we'll select all of our items and click 'Move to' in our Batch Items menu and then select "Move to board".
- Step 2
We can then choose our board and which group within that board we'd like to see these items in!
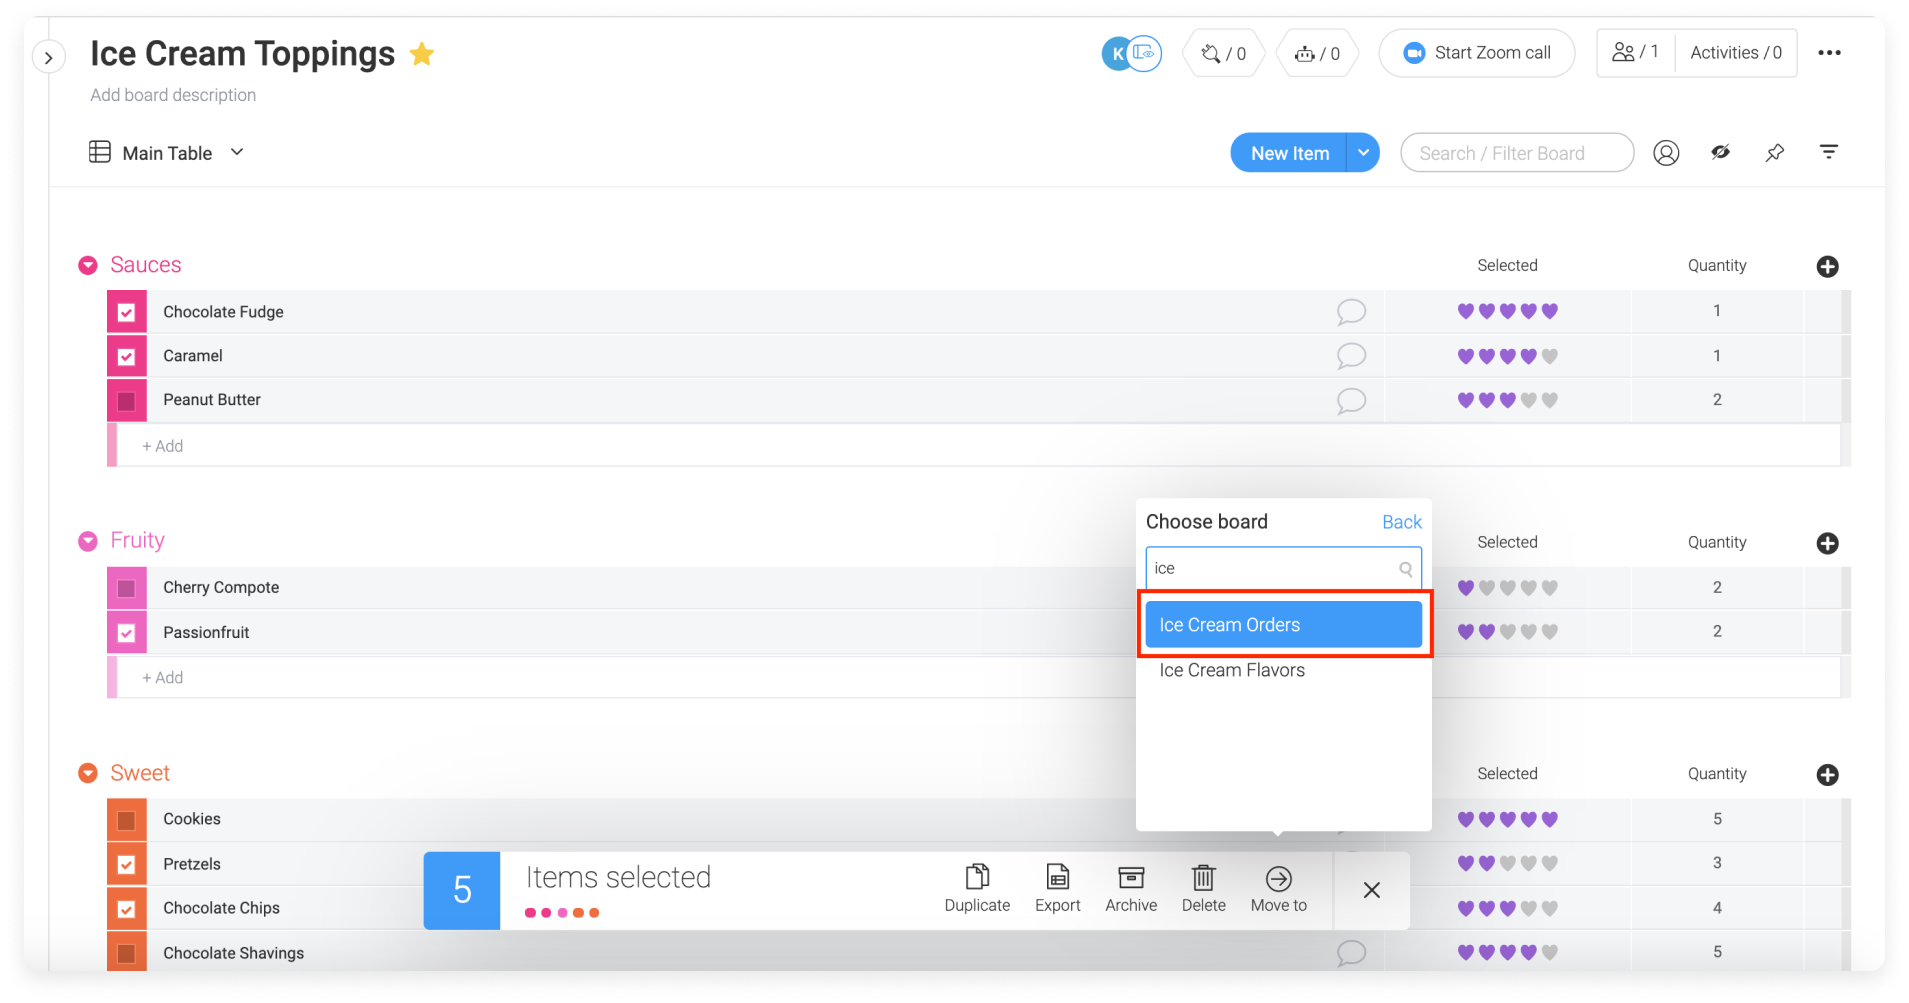
Check out how beautifully integrated these items are in their new spots!
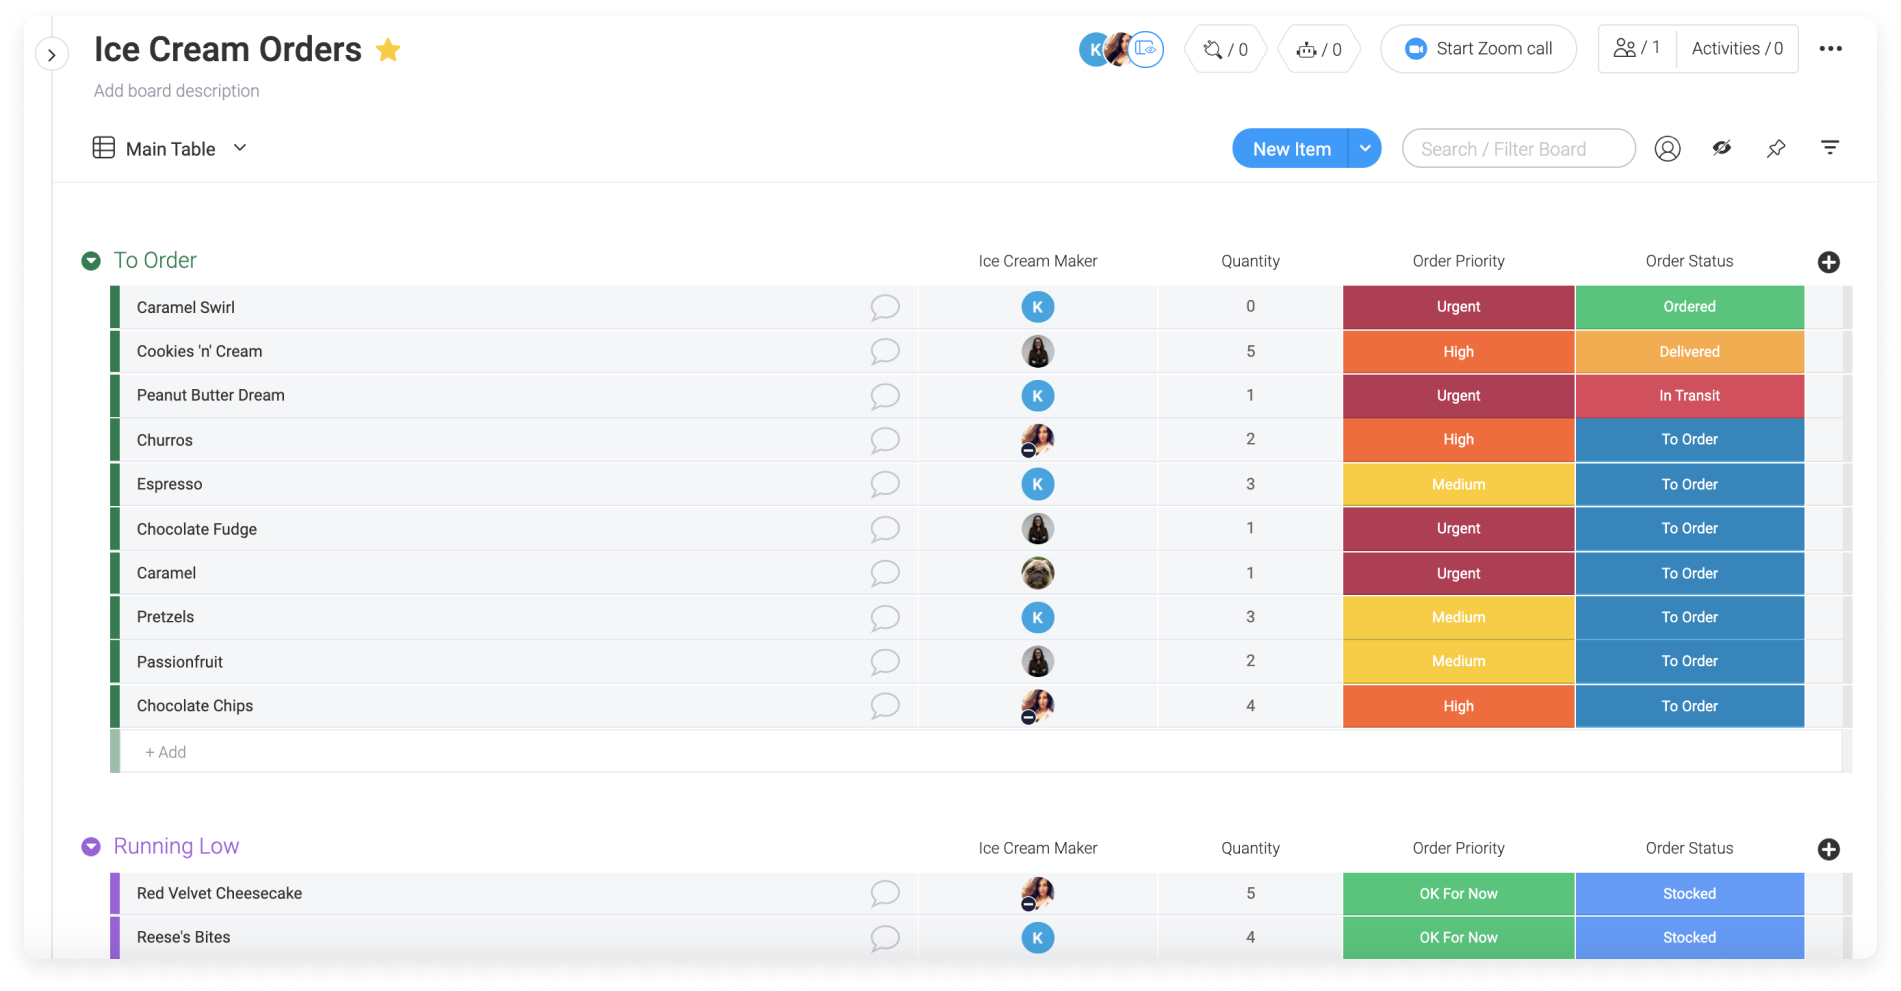
We have a board containing our ice cream shop's list of ice cream flavors that we want to export to Excel. Check out how easily we can export our board to an Excel spreadsheet!
All we have to do is click the 3 dot menu at the top right corner of our board, click 'More actions' and then 'Export board to Excel'. From here, we can choose whether we want to export just the table or to include all updates and update replies.

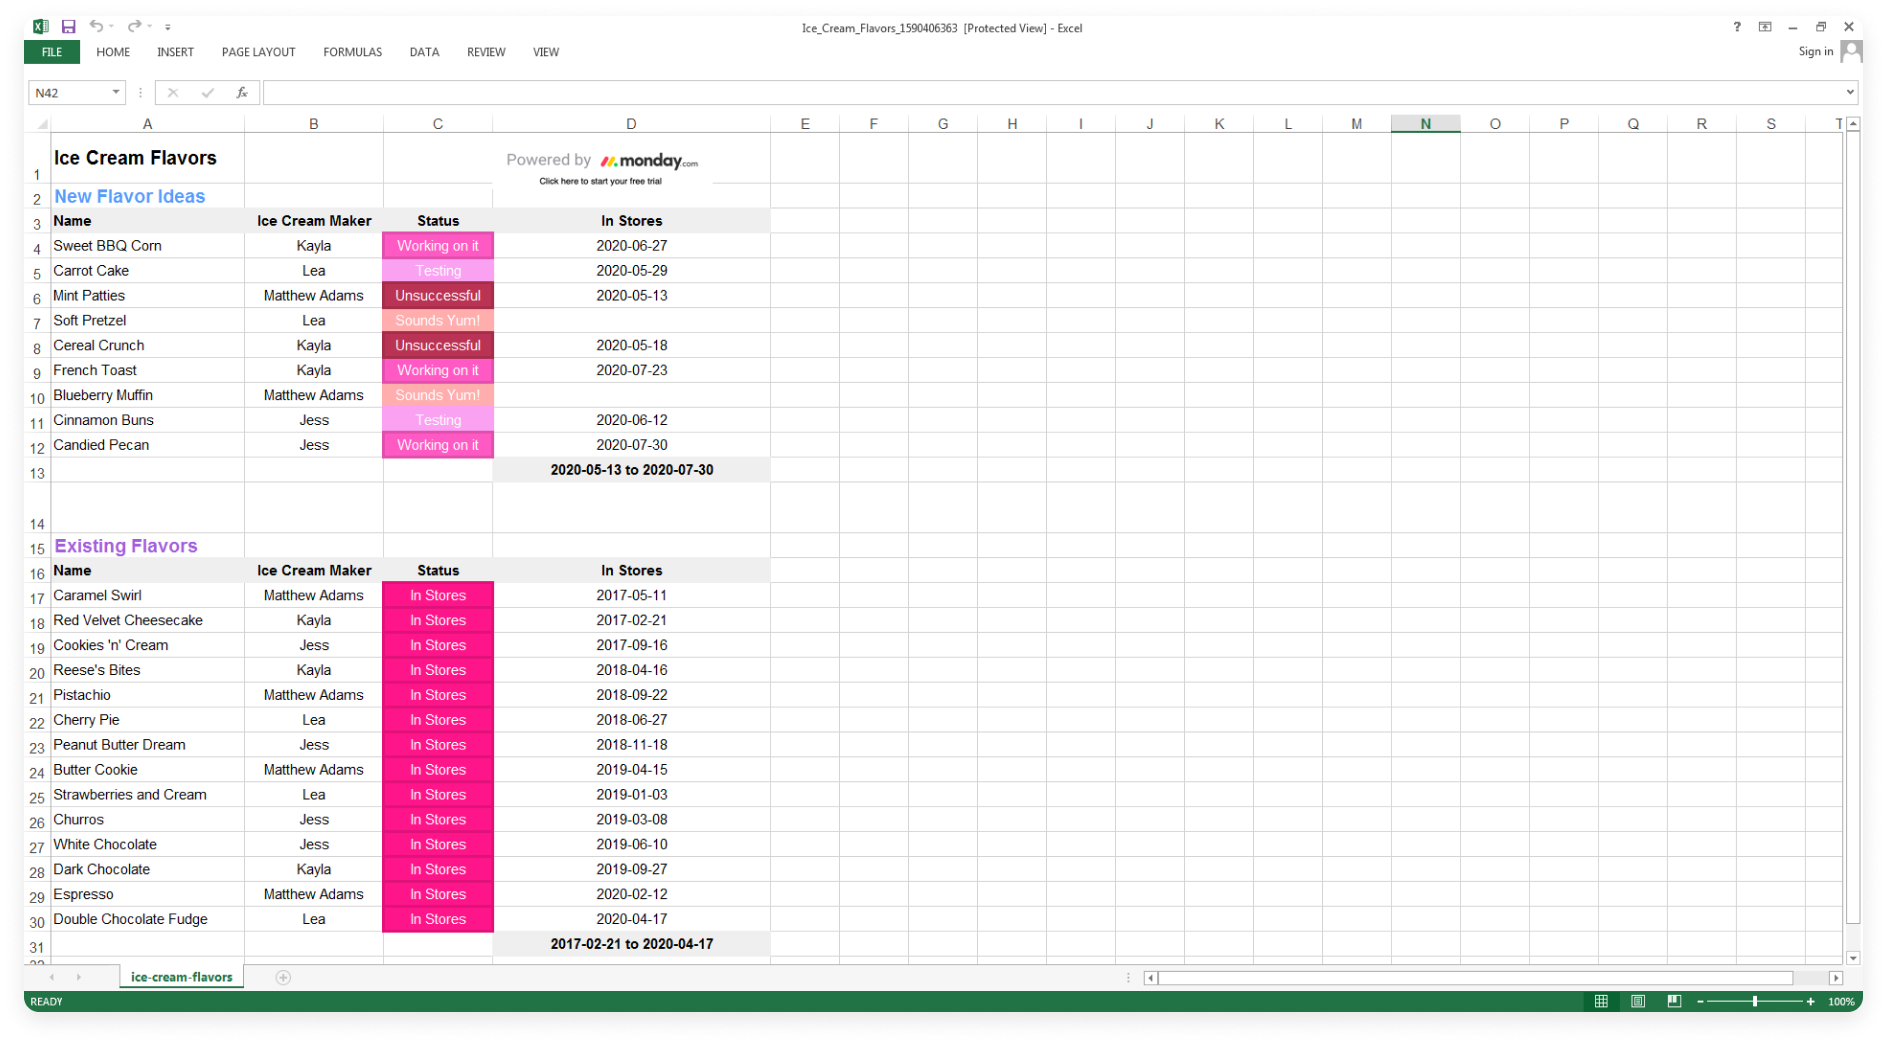
This is what our board looks like as an Excel spreadsheet:
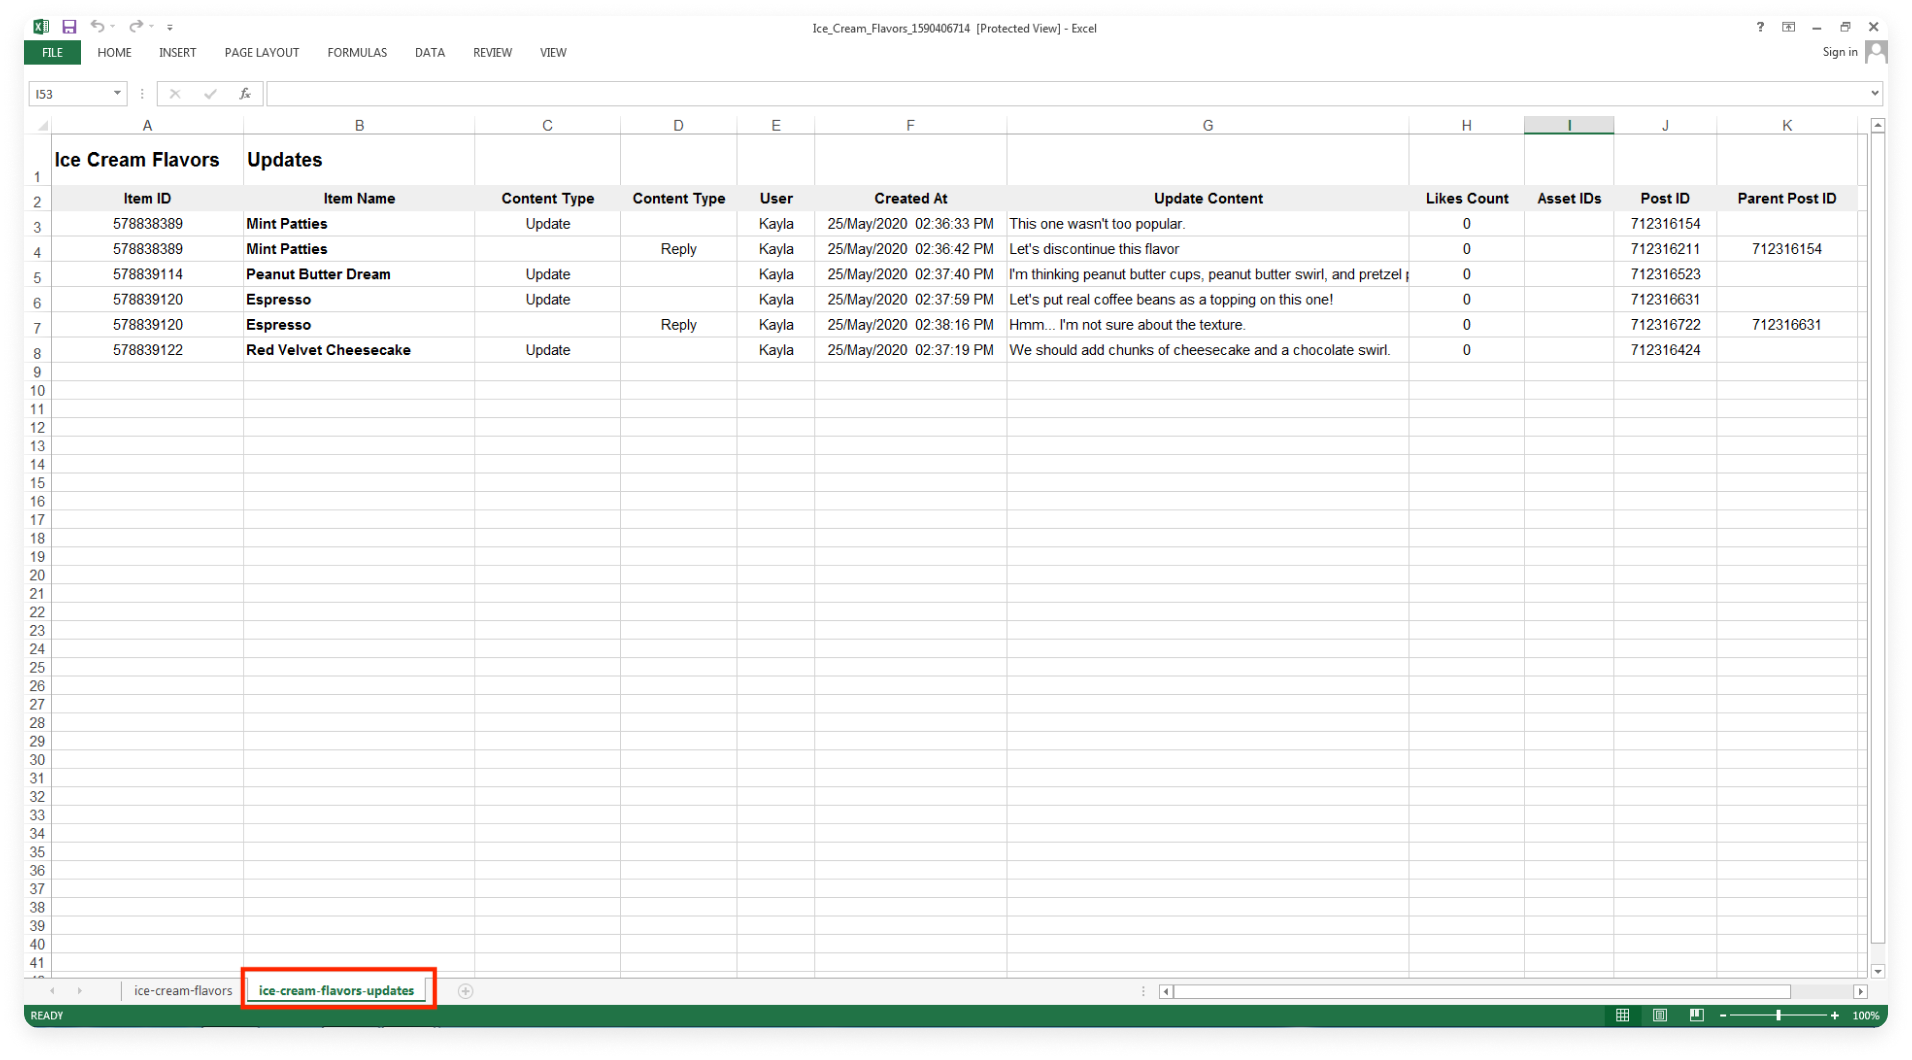
If we choose to export our table with updates, we will see the table in one tab, and all of the updates and replies in a separate tab in our spreadsheet just like this:
 Export groups or items to Excel
We can export full groups or individual items to Excel!
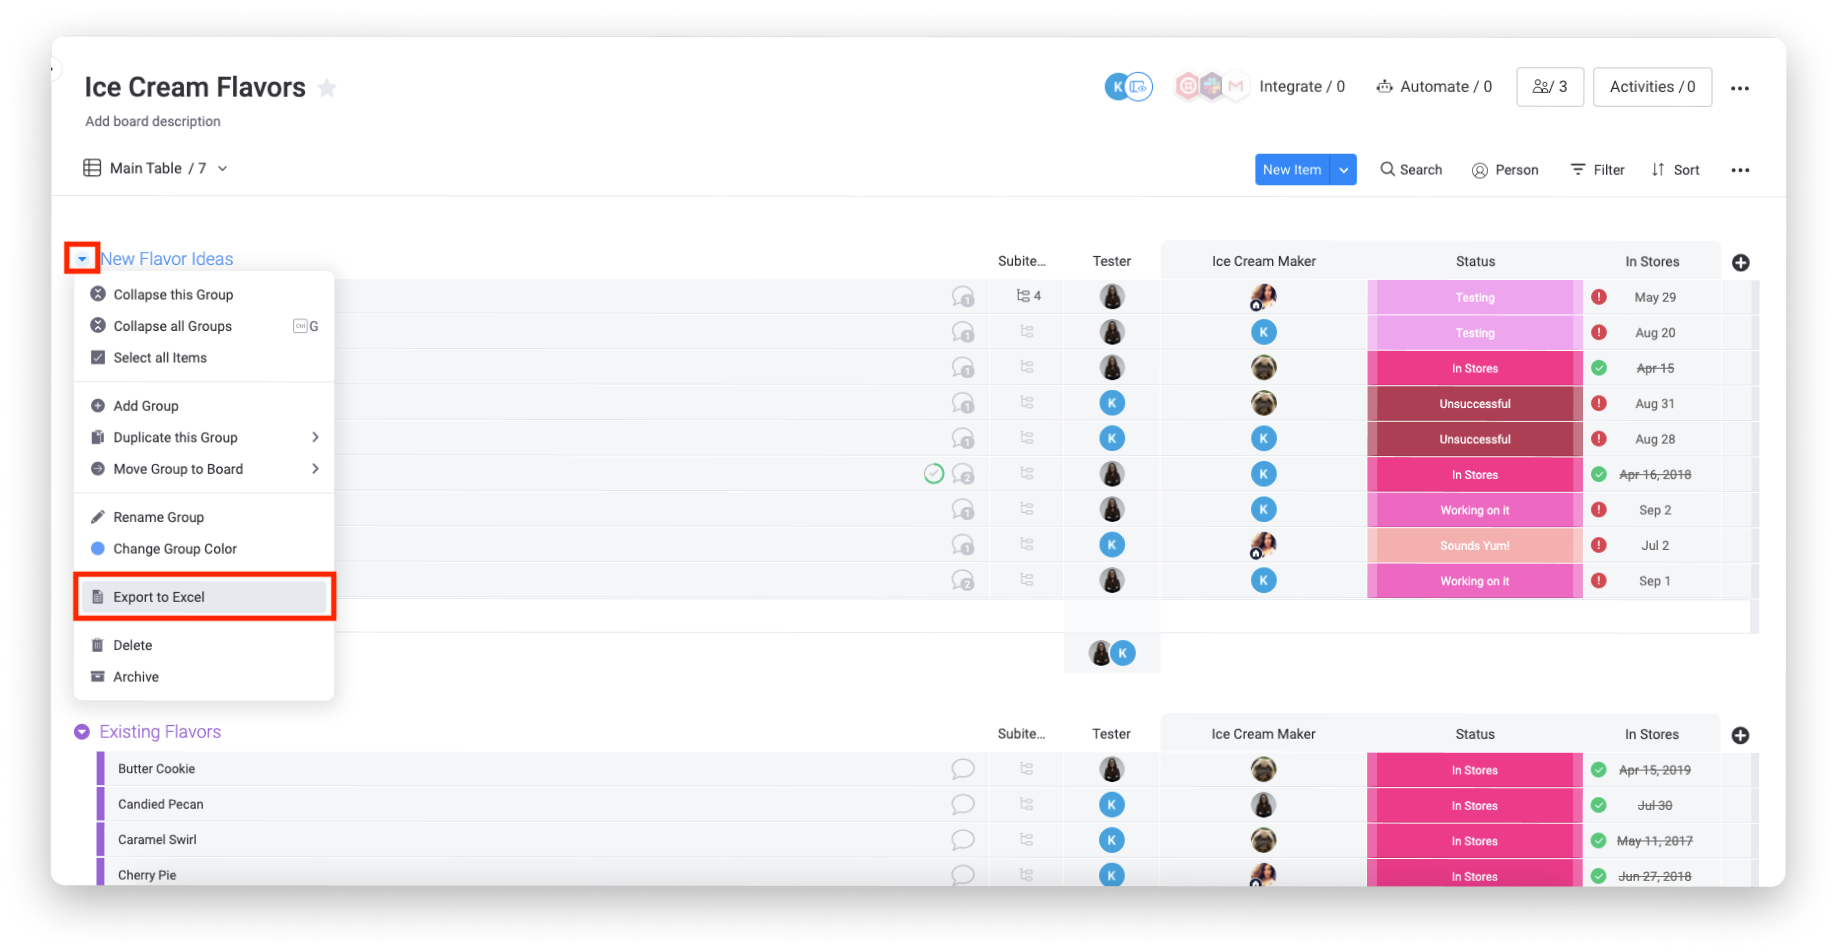
- Export groups
To export a group to Excel, simply click the arrow to the left of your group's name, and click "export to Excel"!
- Export items
To export items, select the ones you would like to export using Batch Actions. Next, click "Export" in the Batch Actions toolbar below.
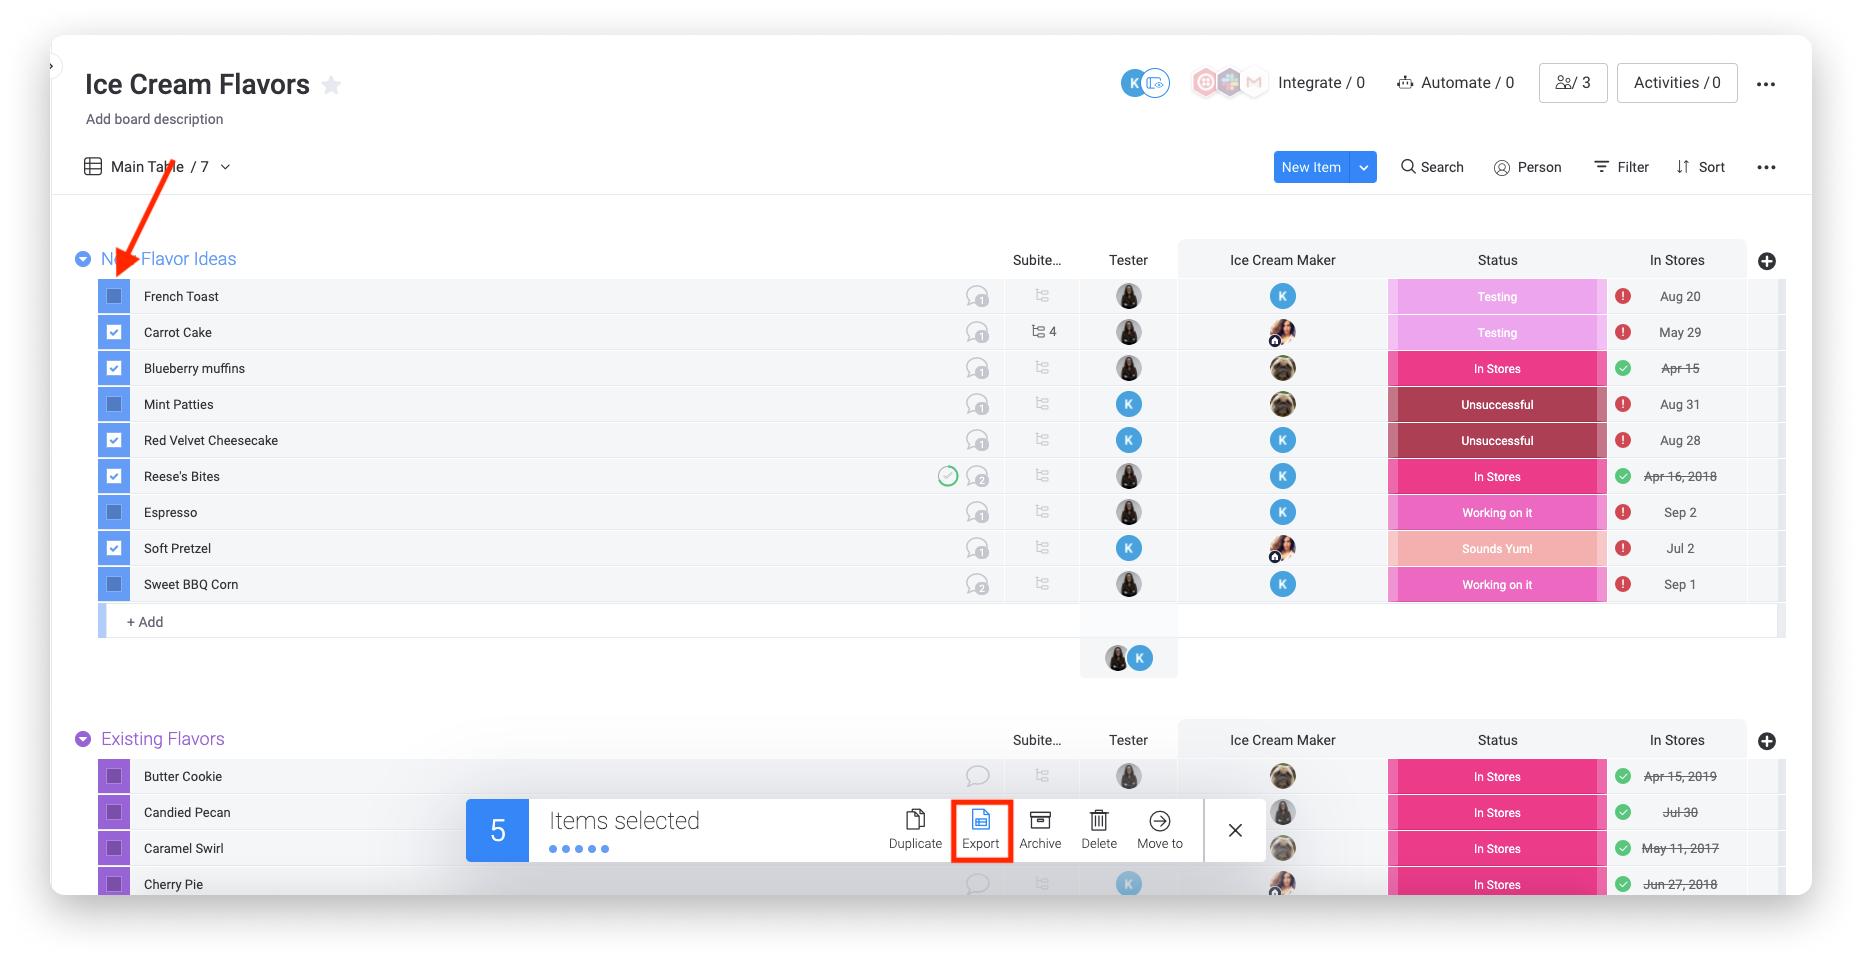
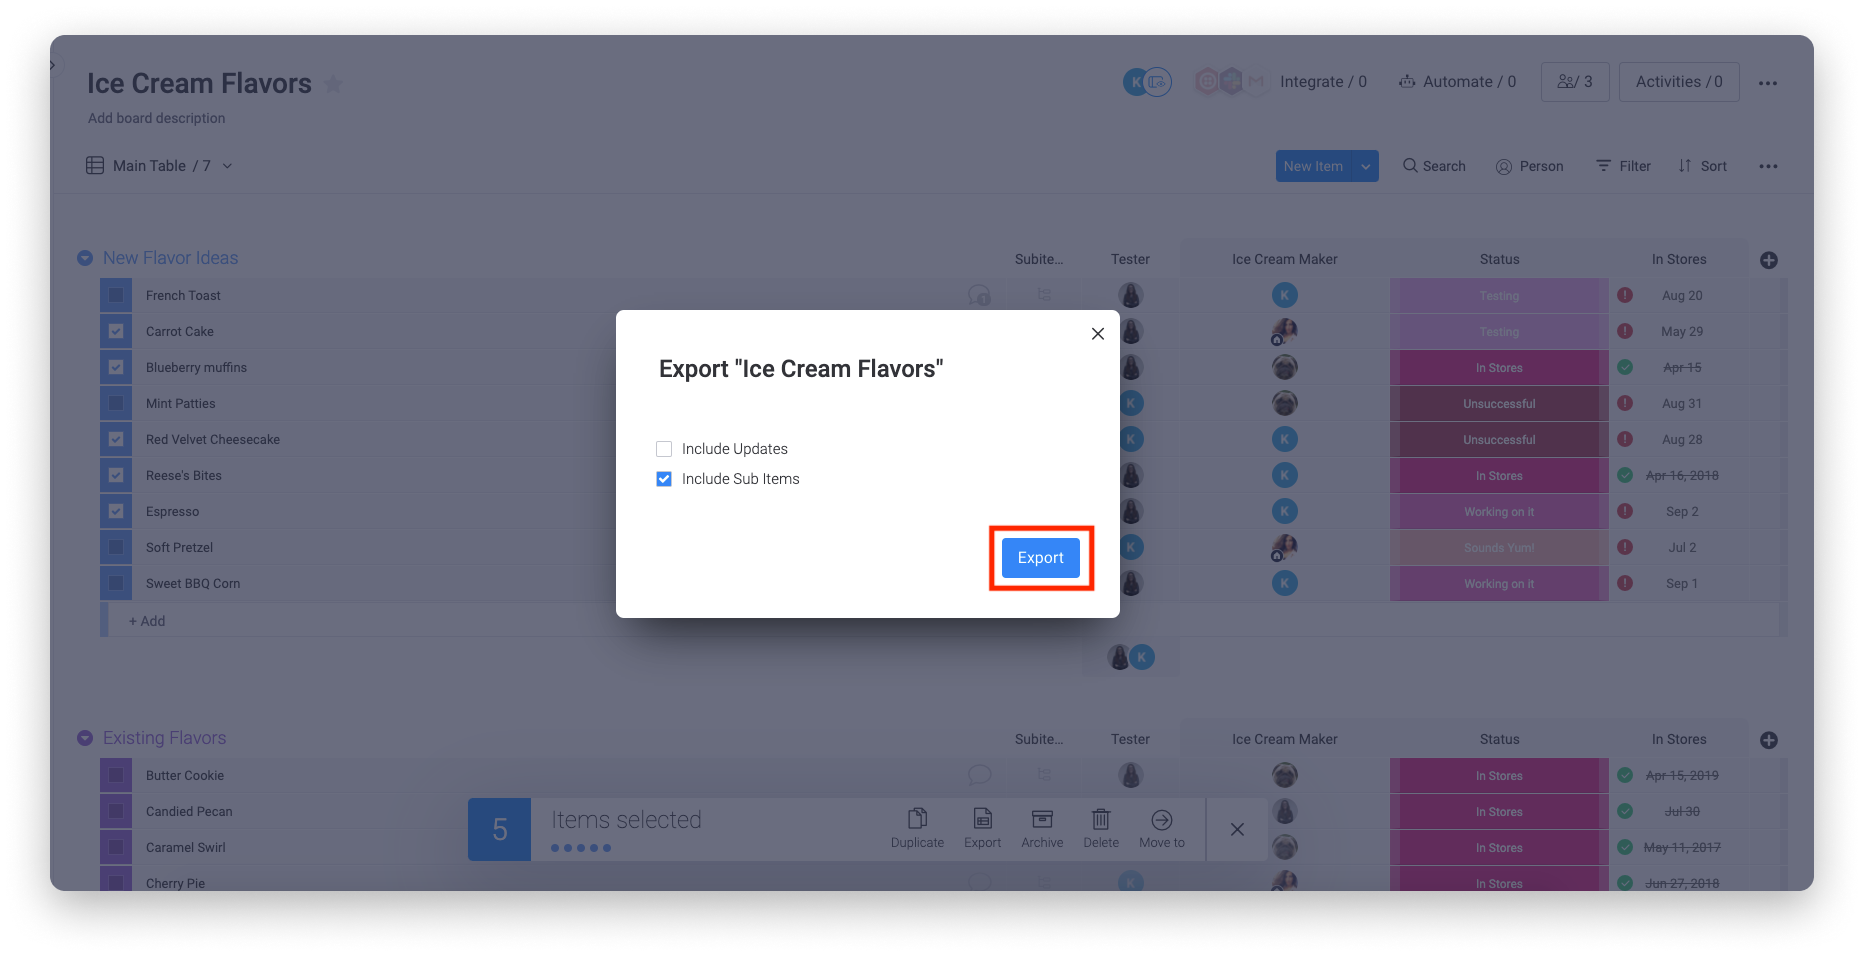
You will be prompted to choose whether or not to tick the boxes including or excluding updates as well as subitems in your Excel file!
Export your account to Excel
The admin of your account can download the entire account's data as a .zip file containing all boards and files including Private and Shareable Boards. The boards will each be downloaded as Excel spreadsheets. Check out this article to see how to do it in detail, or keep reading!
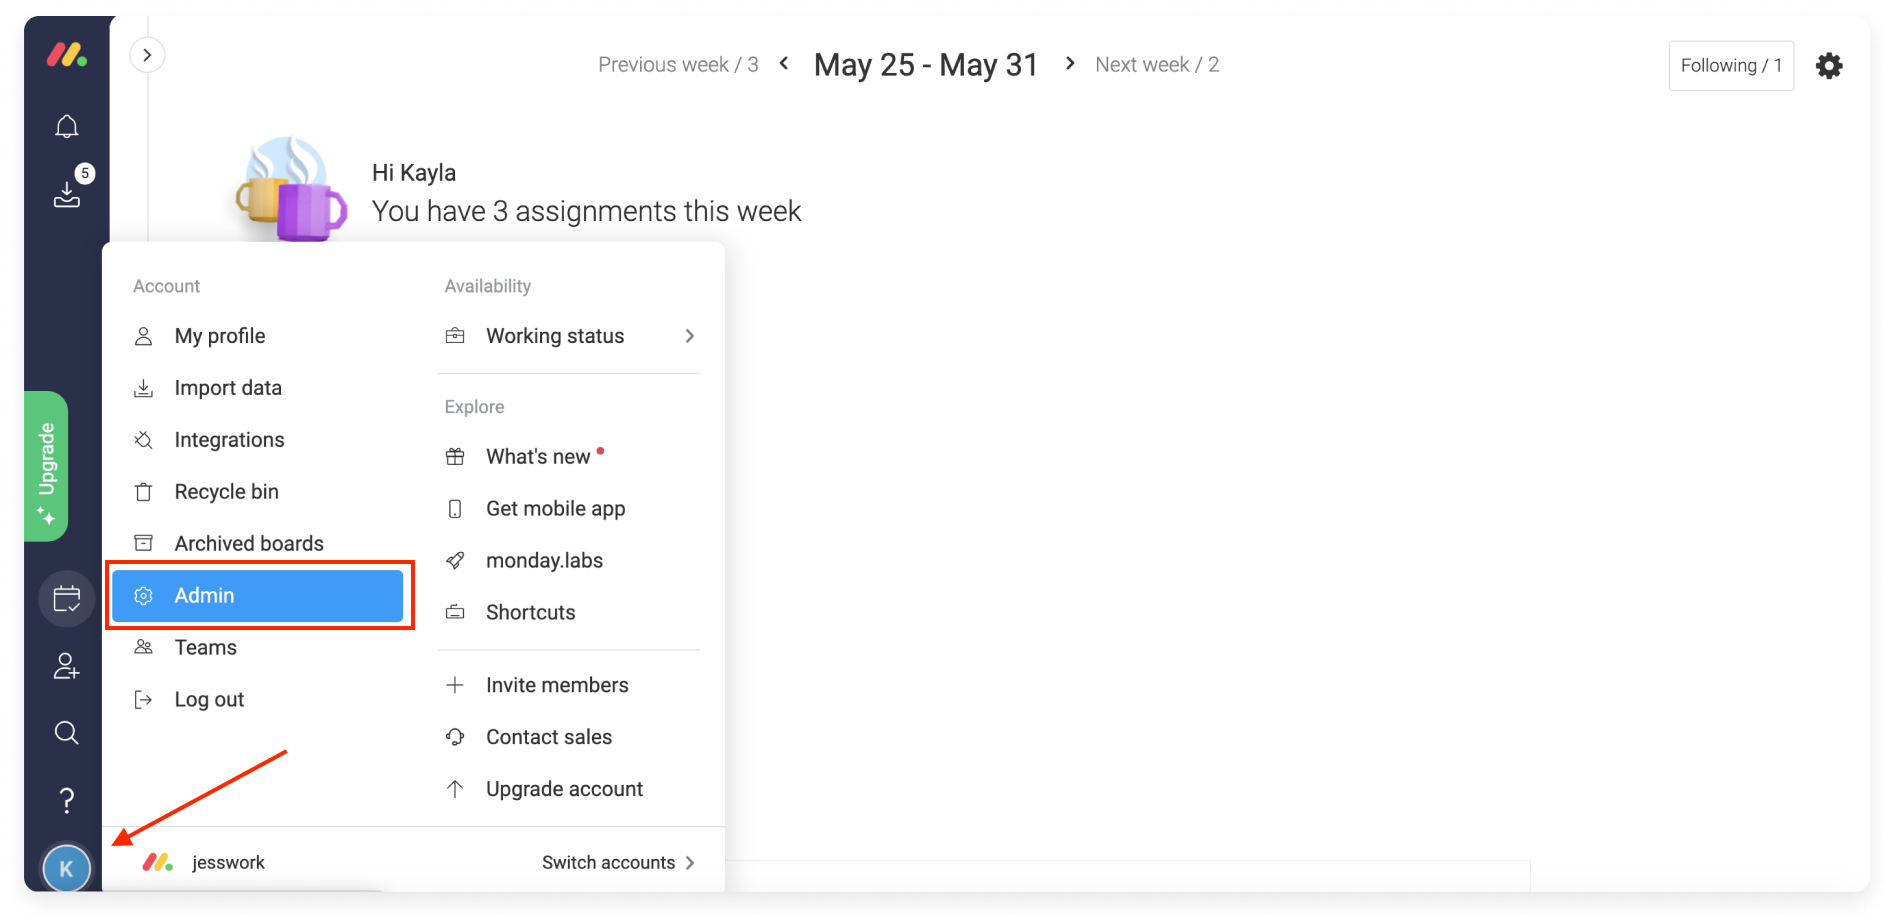
Click your profile picture, and select "Admin".
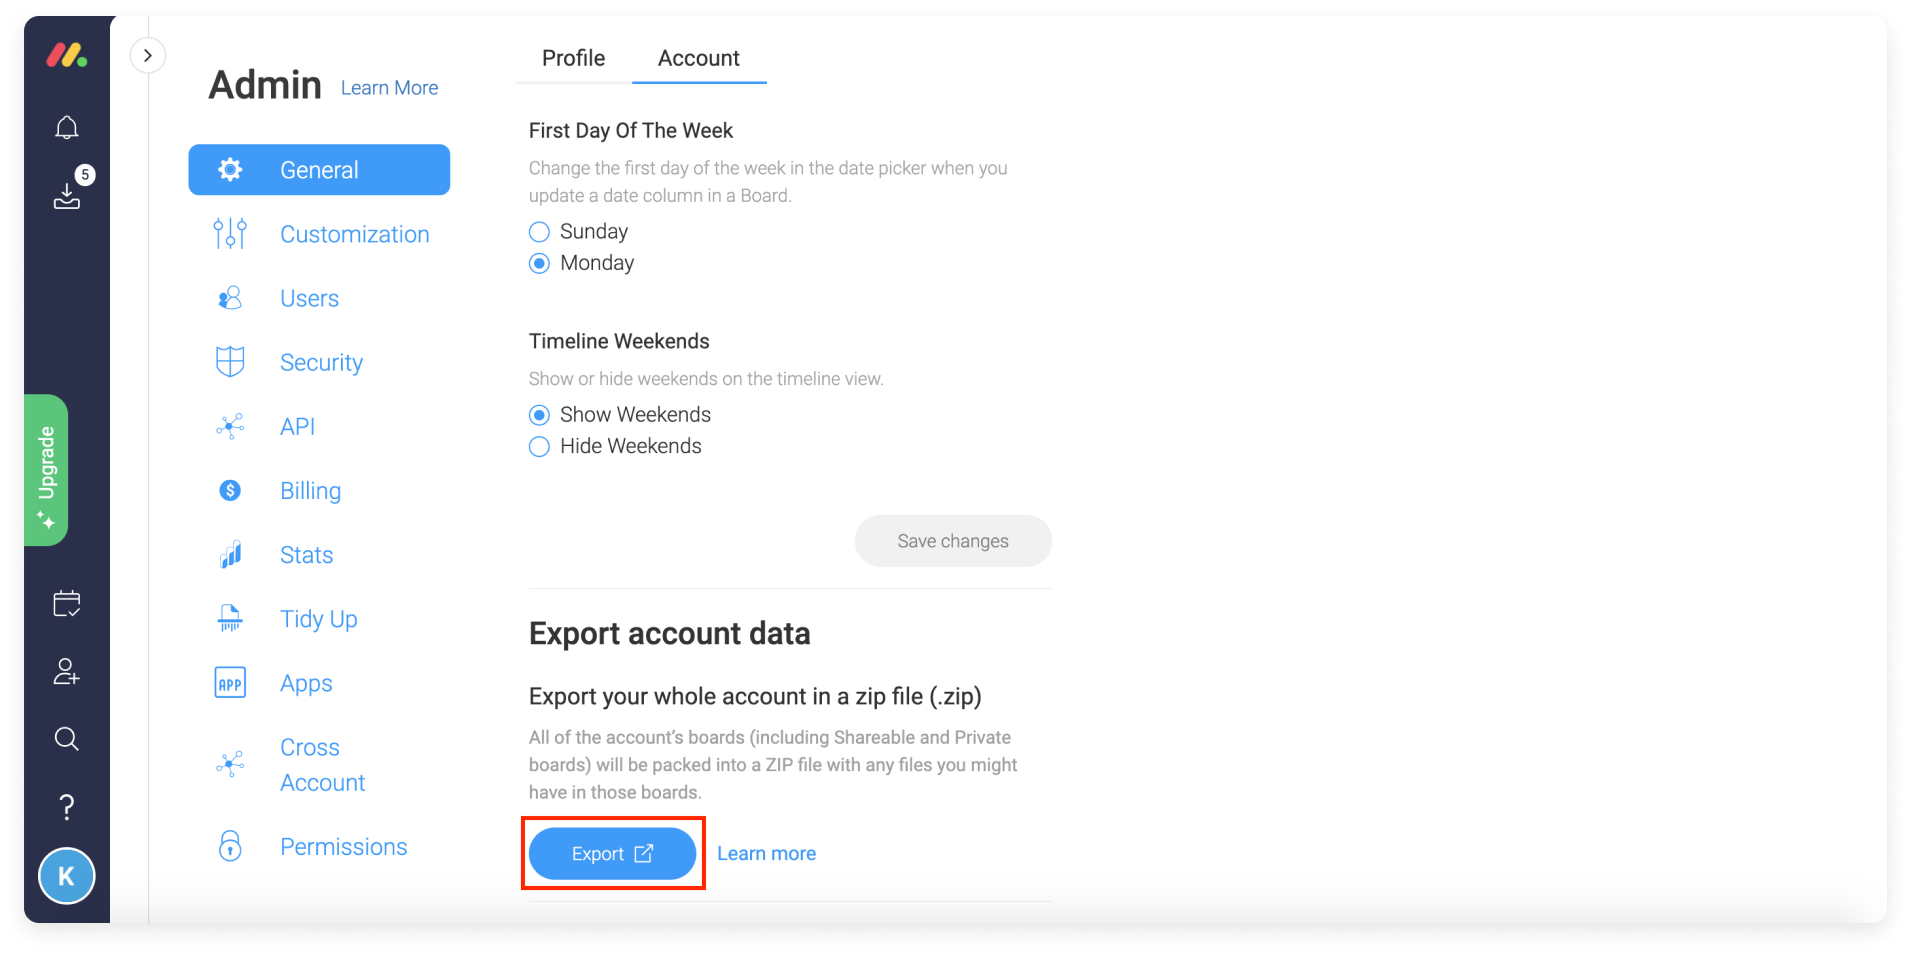
From the Admin section, under the "Account" tab of our "General" settings, you can scroll down to "Export account data" and click "Export"!
After a few hours, you'll receive an email with a .zip file containing all of your account's data! Make sure to download it within 24 hours of receiving the email, or you will have to repeat this process.
If you need any further assistance, please feel free to reach out to our Customer Success Team right here. We are available 24/7 and happy to assist :)