Looking to jumpstart your monday.com journey? You’ve come to the right place! This quick start article will help you learn all the basics to get going.
Just imagine getting to work and your email inbox is empty, everyone on the team knows what they are working on, everyone understands the big picture and you can easily see the progress of all tasks— not only this, you can communicate with the team directly on the task! 🙌
Step 1 - Create a Board
A board is a place to organize everything you need to do - a project, a to-do list, CRM, schedule... With multiple board types, our Main boards create transparency within the company, all users in the account can see and use these boards. Shareable boards can be used with outside guests and Private boards for confidential work. Check out this article to learn more about each board type. You can customize all boards to your needs. We will start with our main boards, just click “New” and name your board!
Step 2 - Choose a Template
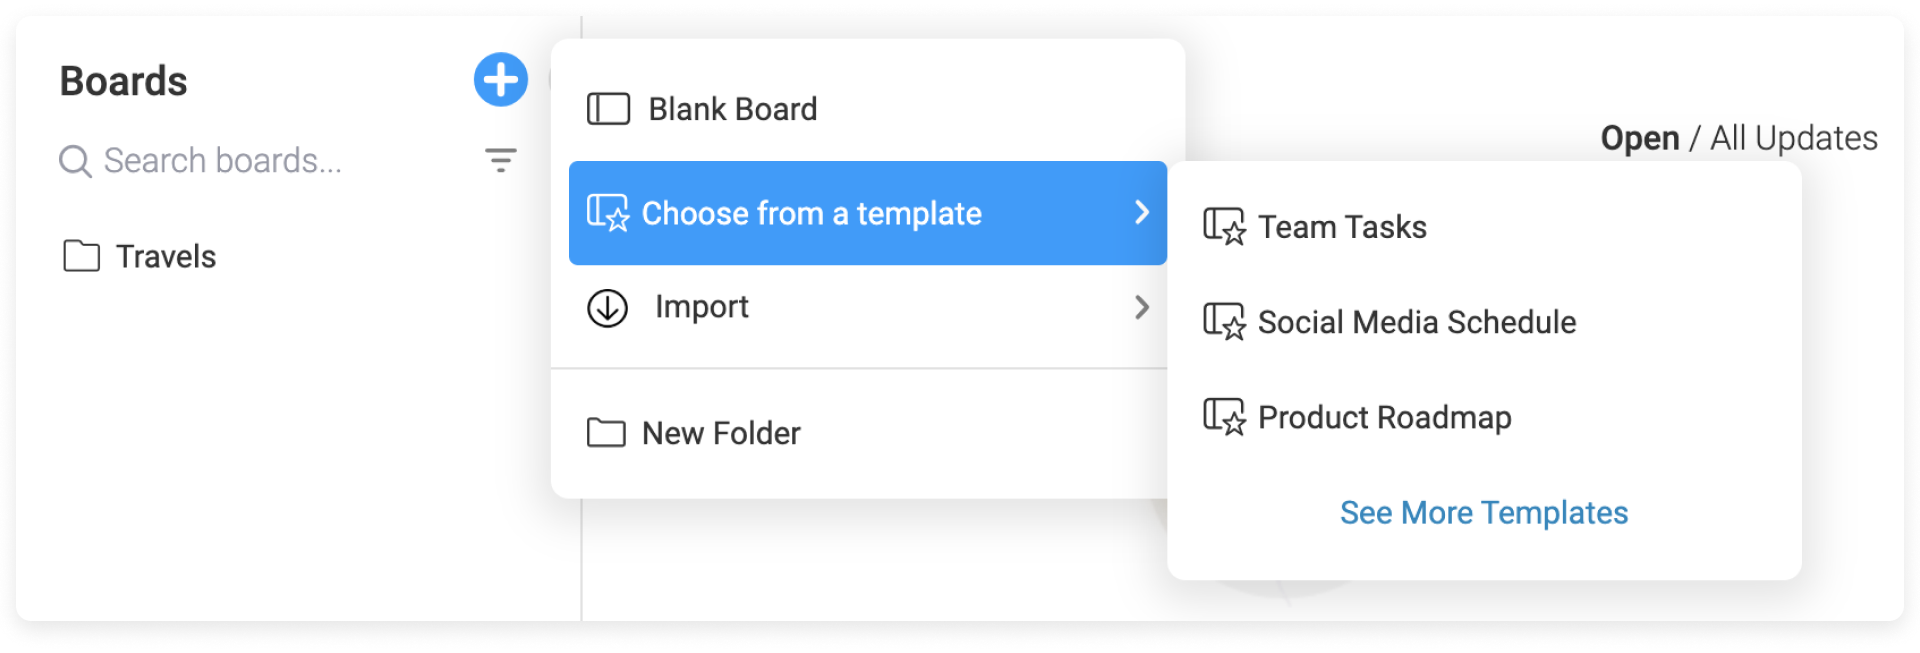
We offer pre-defined templates to help easily get started or you can start from scratch and customize to your needs. Check this out to learn how to use the board templates.  To add a template, simply click on "choose template". You can also select the option "start from scratch" to start with a blank board.
Step 3 - Create your Groups
A board is made of groups. A group is a color coded section on your board that will contain your tasks. A group can be a week, a month, a specific step of a project, or whatever you want.
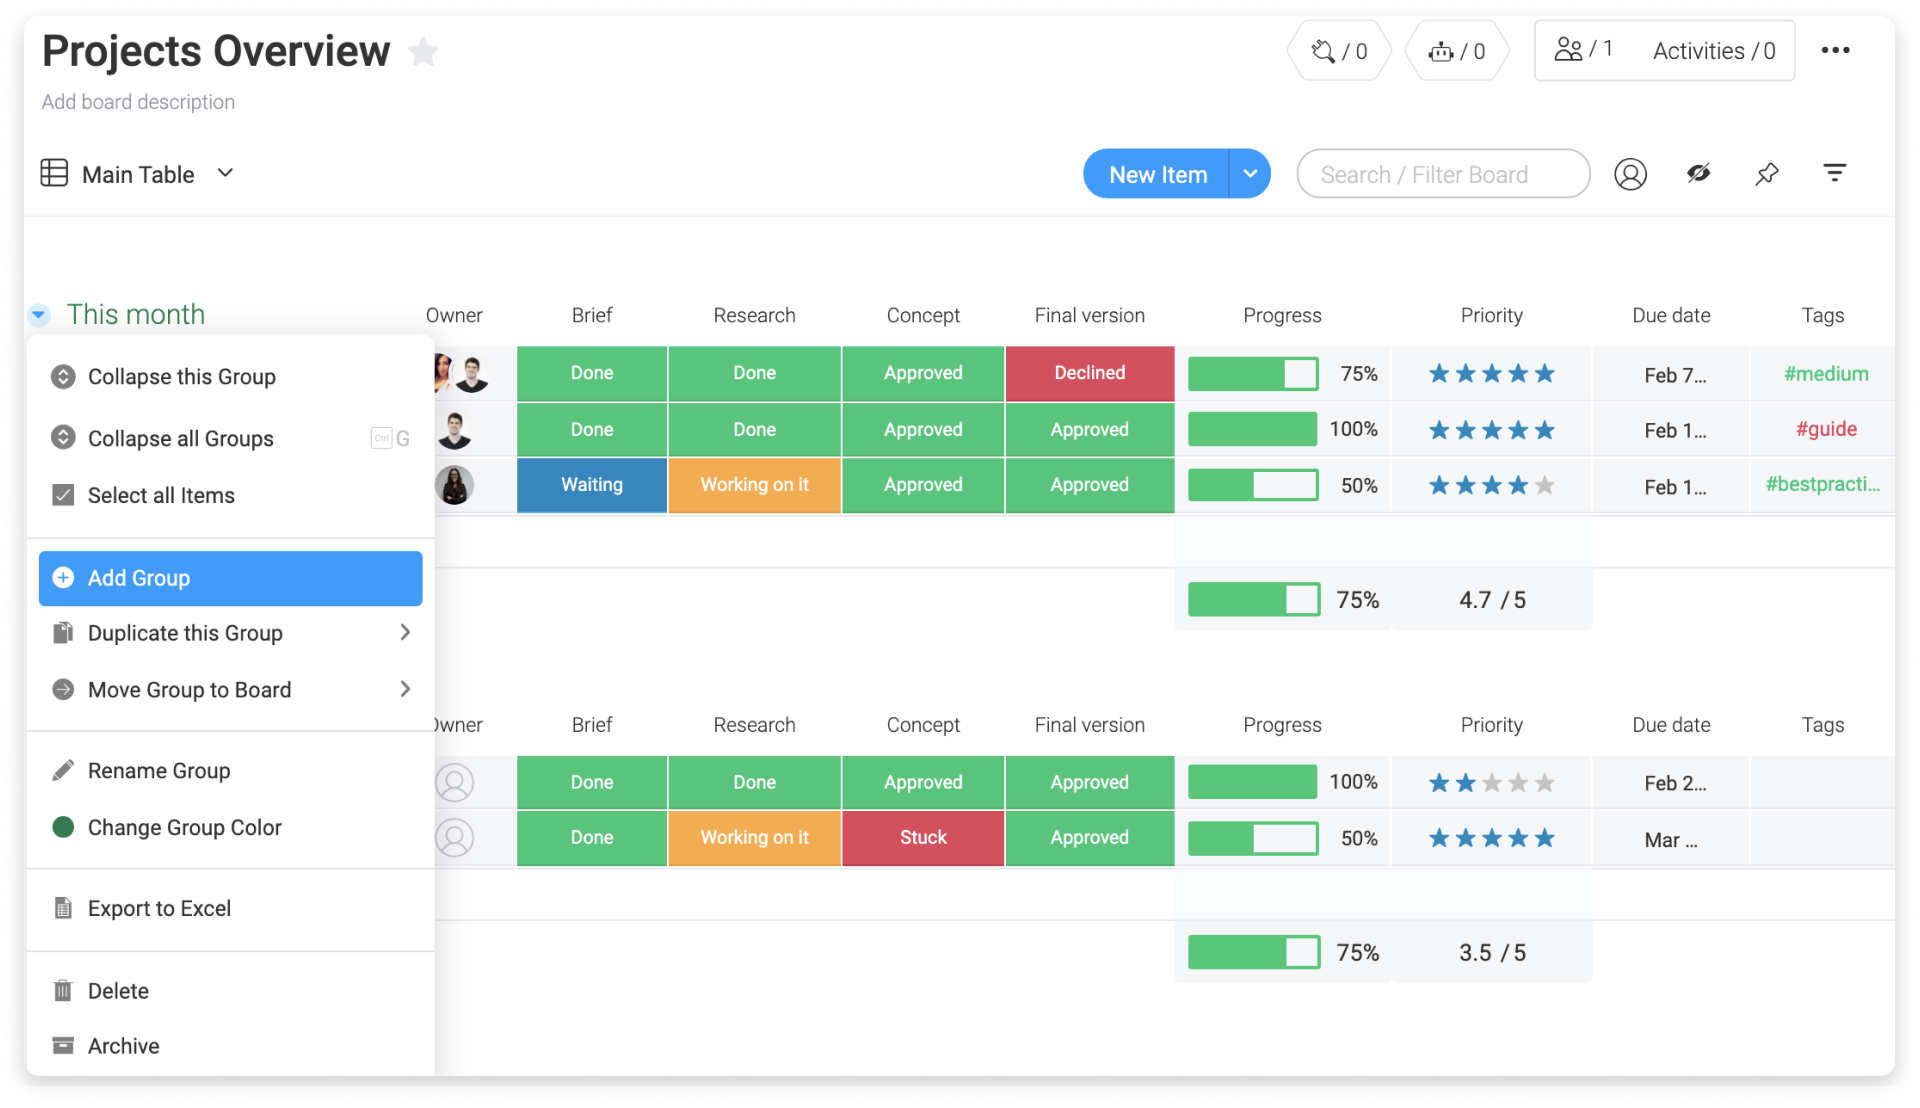
To add a new group to your board, hover over the title of any existing group and you will see an arrow appearing on the left side. Click it and choose "add group".
A new tab will appear at the top of your board as below right under the filter/board:
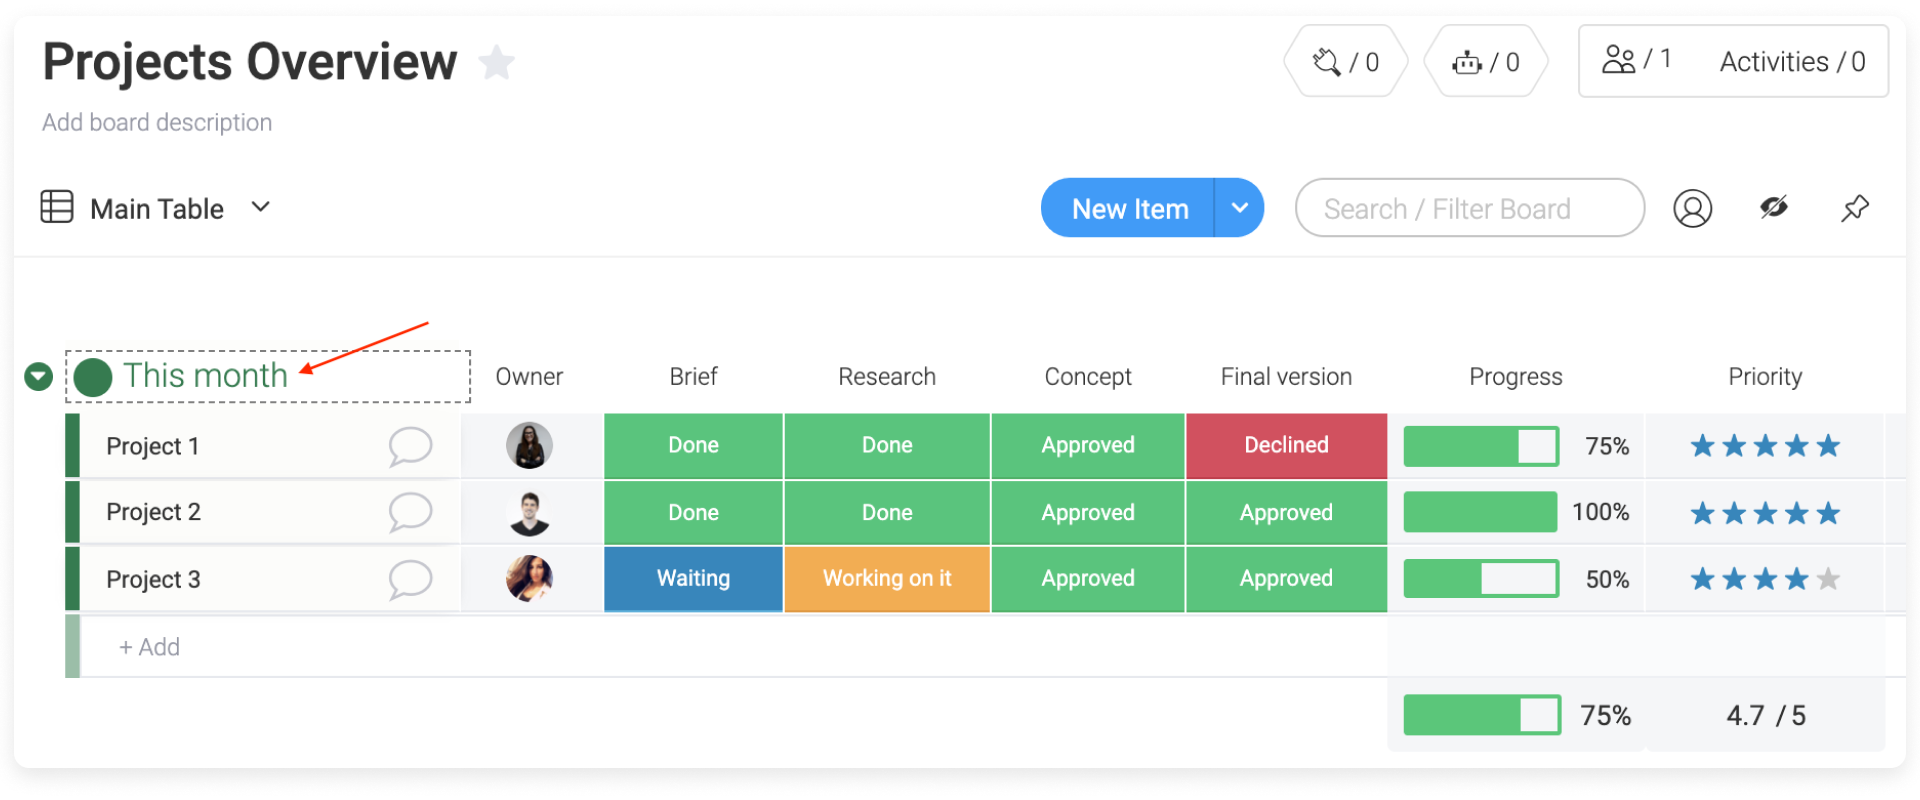
Type the name of your group, press enter and you are done!
Step 4 - Add your Tasks
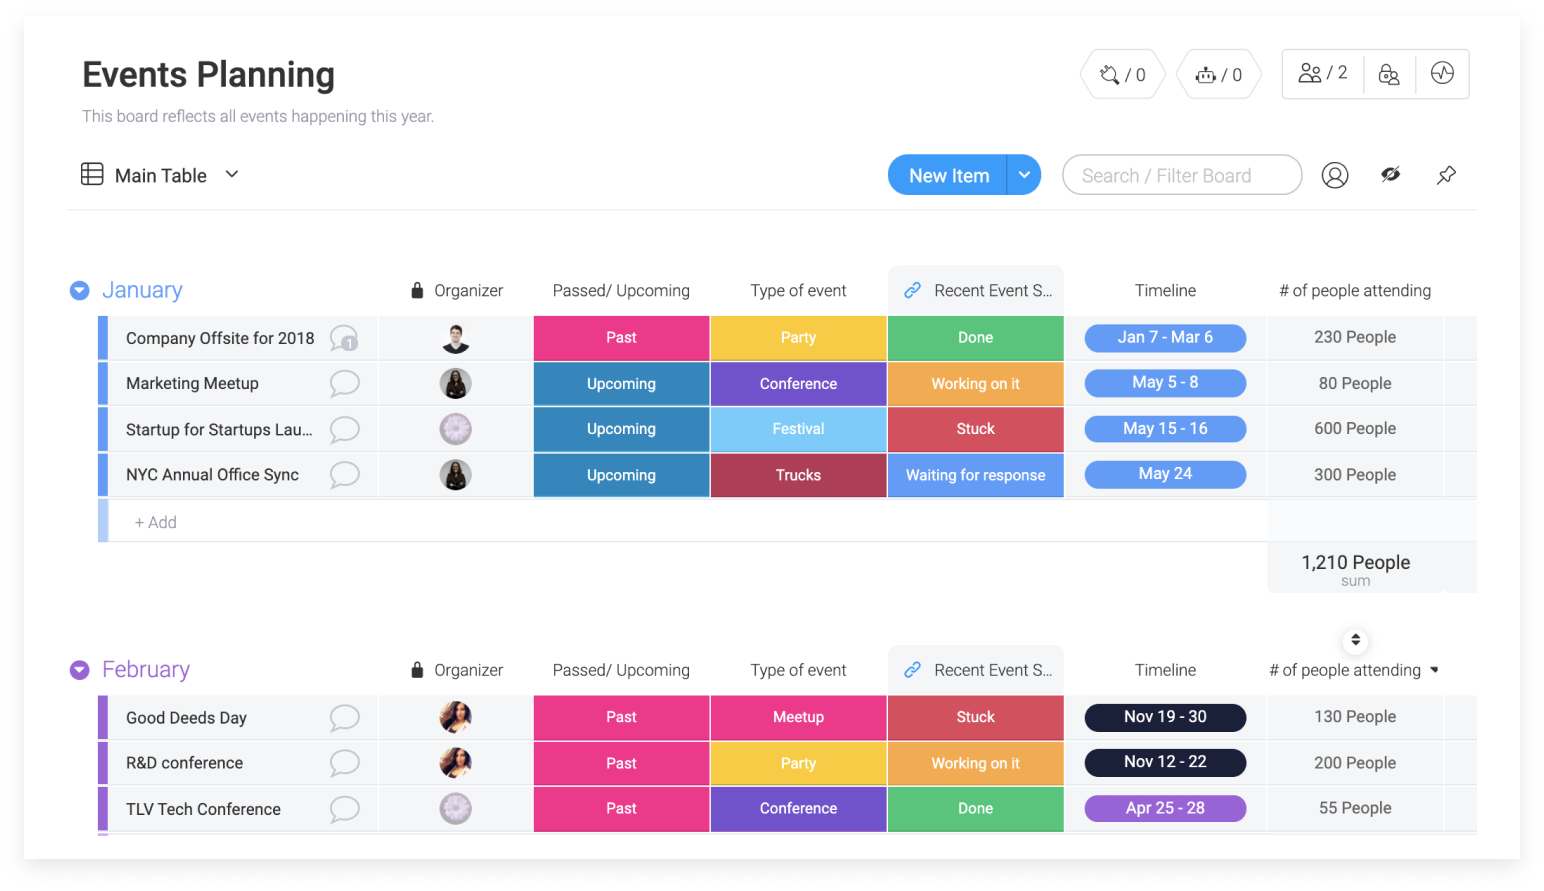
Now that you've created your first board, you can start listing your tasks; or in monday.com terms, create new Items. There is no limit to how many items you can have on a board, so list everything you need, but make sure all tasks are relevant to the board (project) you created.
You can divide your items into what we call "groups". Groups are a way to organize all your items, whether it be by time, category, theme, anything you wish. The groups are one way to bring color to your boards--with nine color choices, you can easily differentiate between groups.
Step 5 - Add your Columns
So, now that your tasks are listed, it’s time to start adding columns. Think of the columns as building a process or a way to include all aspects needed to complete the tasks. monday.com offers multiple column types to fit your needs, from a people column to a Status column, check out the list here.
Once you have your tasks listed and your columns created, you can start getting the team working on the board.
Step 6 - Start Turning Things Green
- Assign Tasks
Monday.com brings transparency and relevance to all your team members, everyone can see the big picture and really find purpose in their work. All team members can see all aspects of a project and collaborate within—but first giving ownership to each step is key. Use the person column to assign a task to a team member! The person assigned will receive a notification letting s/he know they are now assigned to a task and can get working.
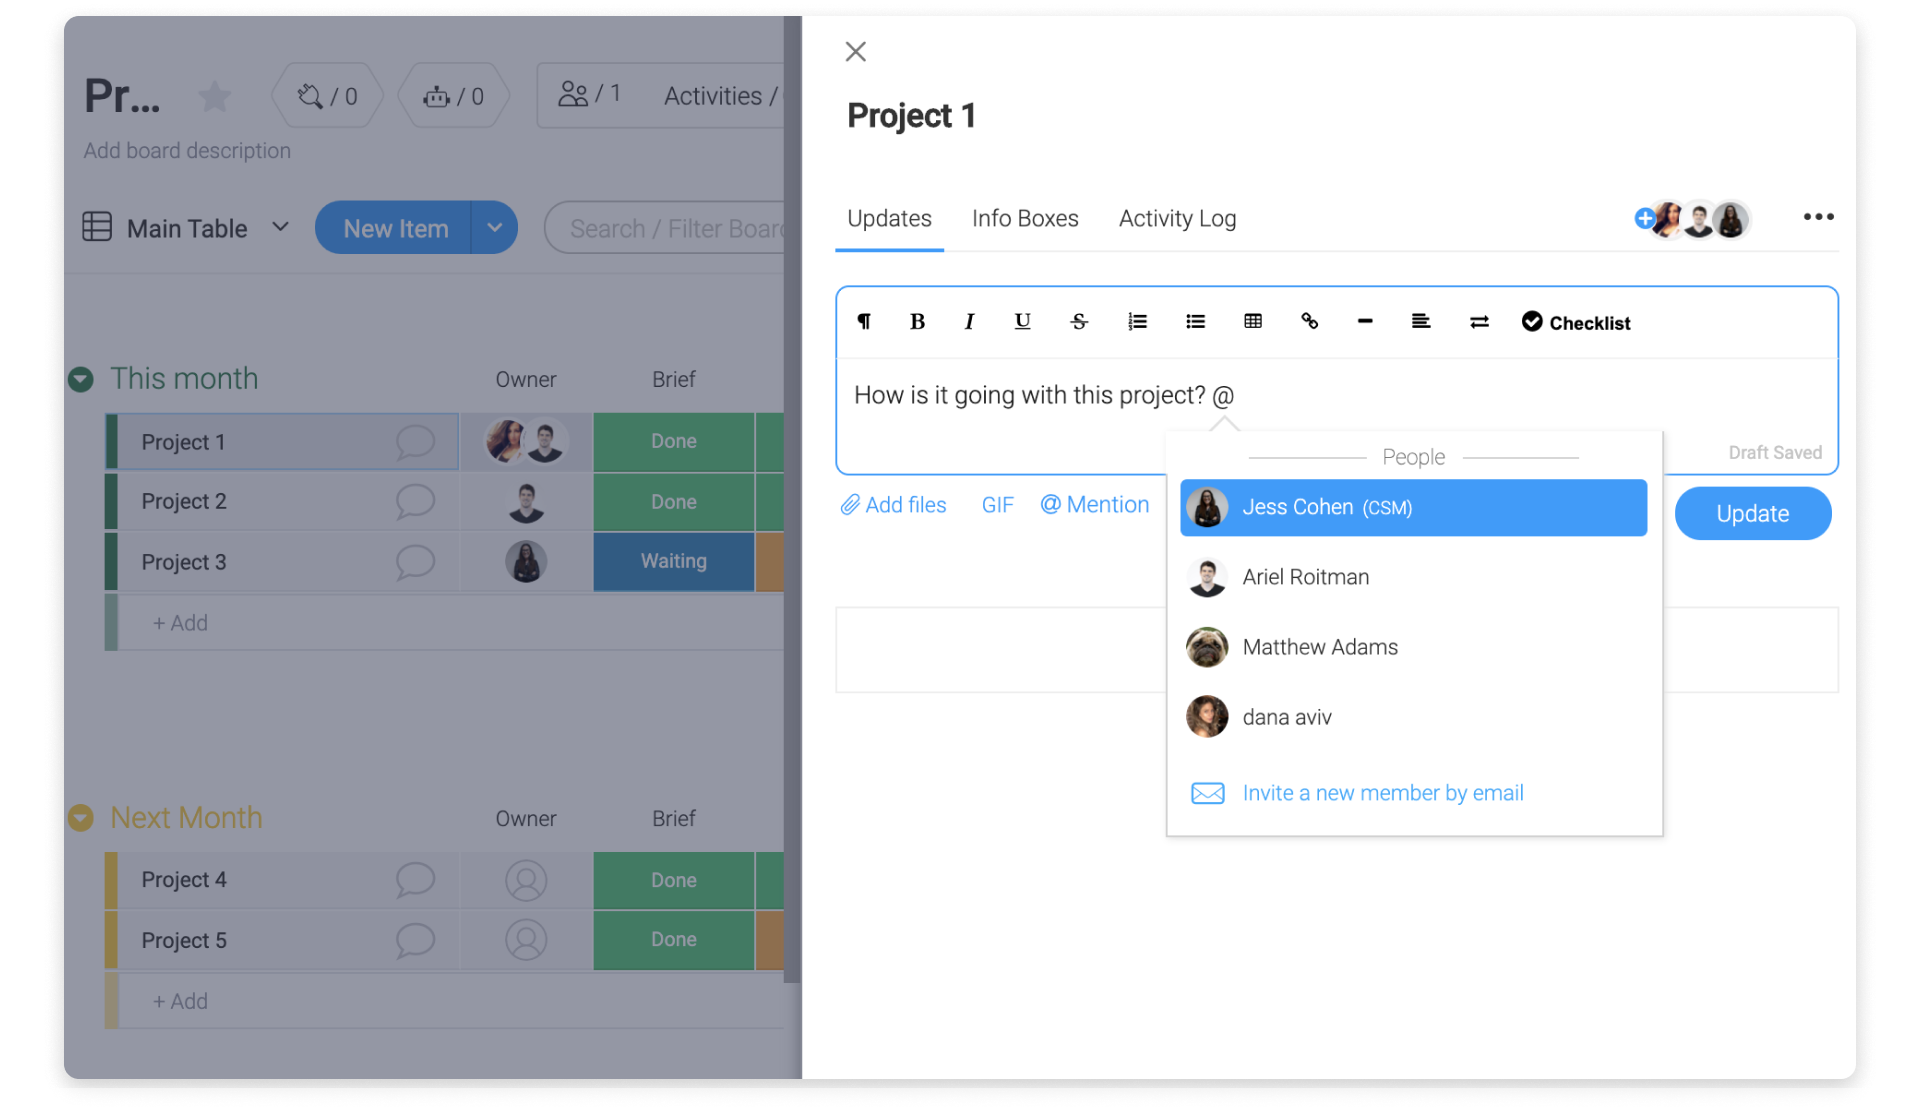
- Communicate within the task
Use the updates section to keep everyone in the loop; ask questions, write updates, upload docs and add some laughs with our gifs. You can use the @mention to communicate with your team. Check out this article to understand better how it works.
- Subscribe to board
Use the subscribe option to keep everyone on top of projects or follow the projects you are interested in. By subscribing to boards you can easily organize the important boards you visit, but most importantly you will receive updates on all tasks within your inbox.
- Stay up-to-date
All your updates from boards you are subscribed to (following) are instantly listed within your personal Inbox, never miss an update!
- Update your tasks
Use the status column to mark your progress. Nothing is prettier than seeing a green board, this means all is done! 🍀